This post may contain affiliate links. As an Amazon Associate we earn from qualifying purchases.
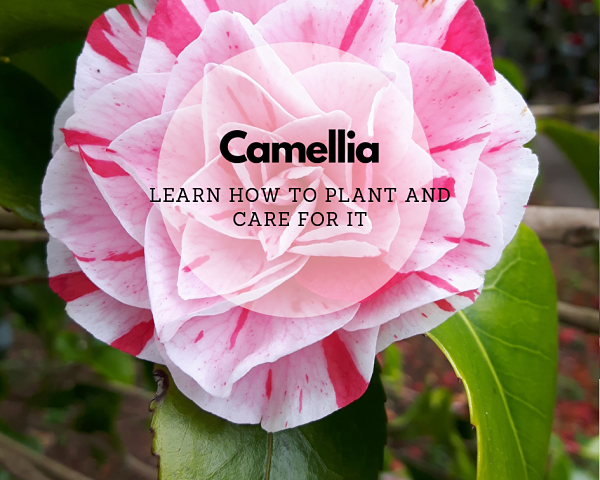
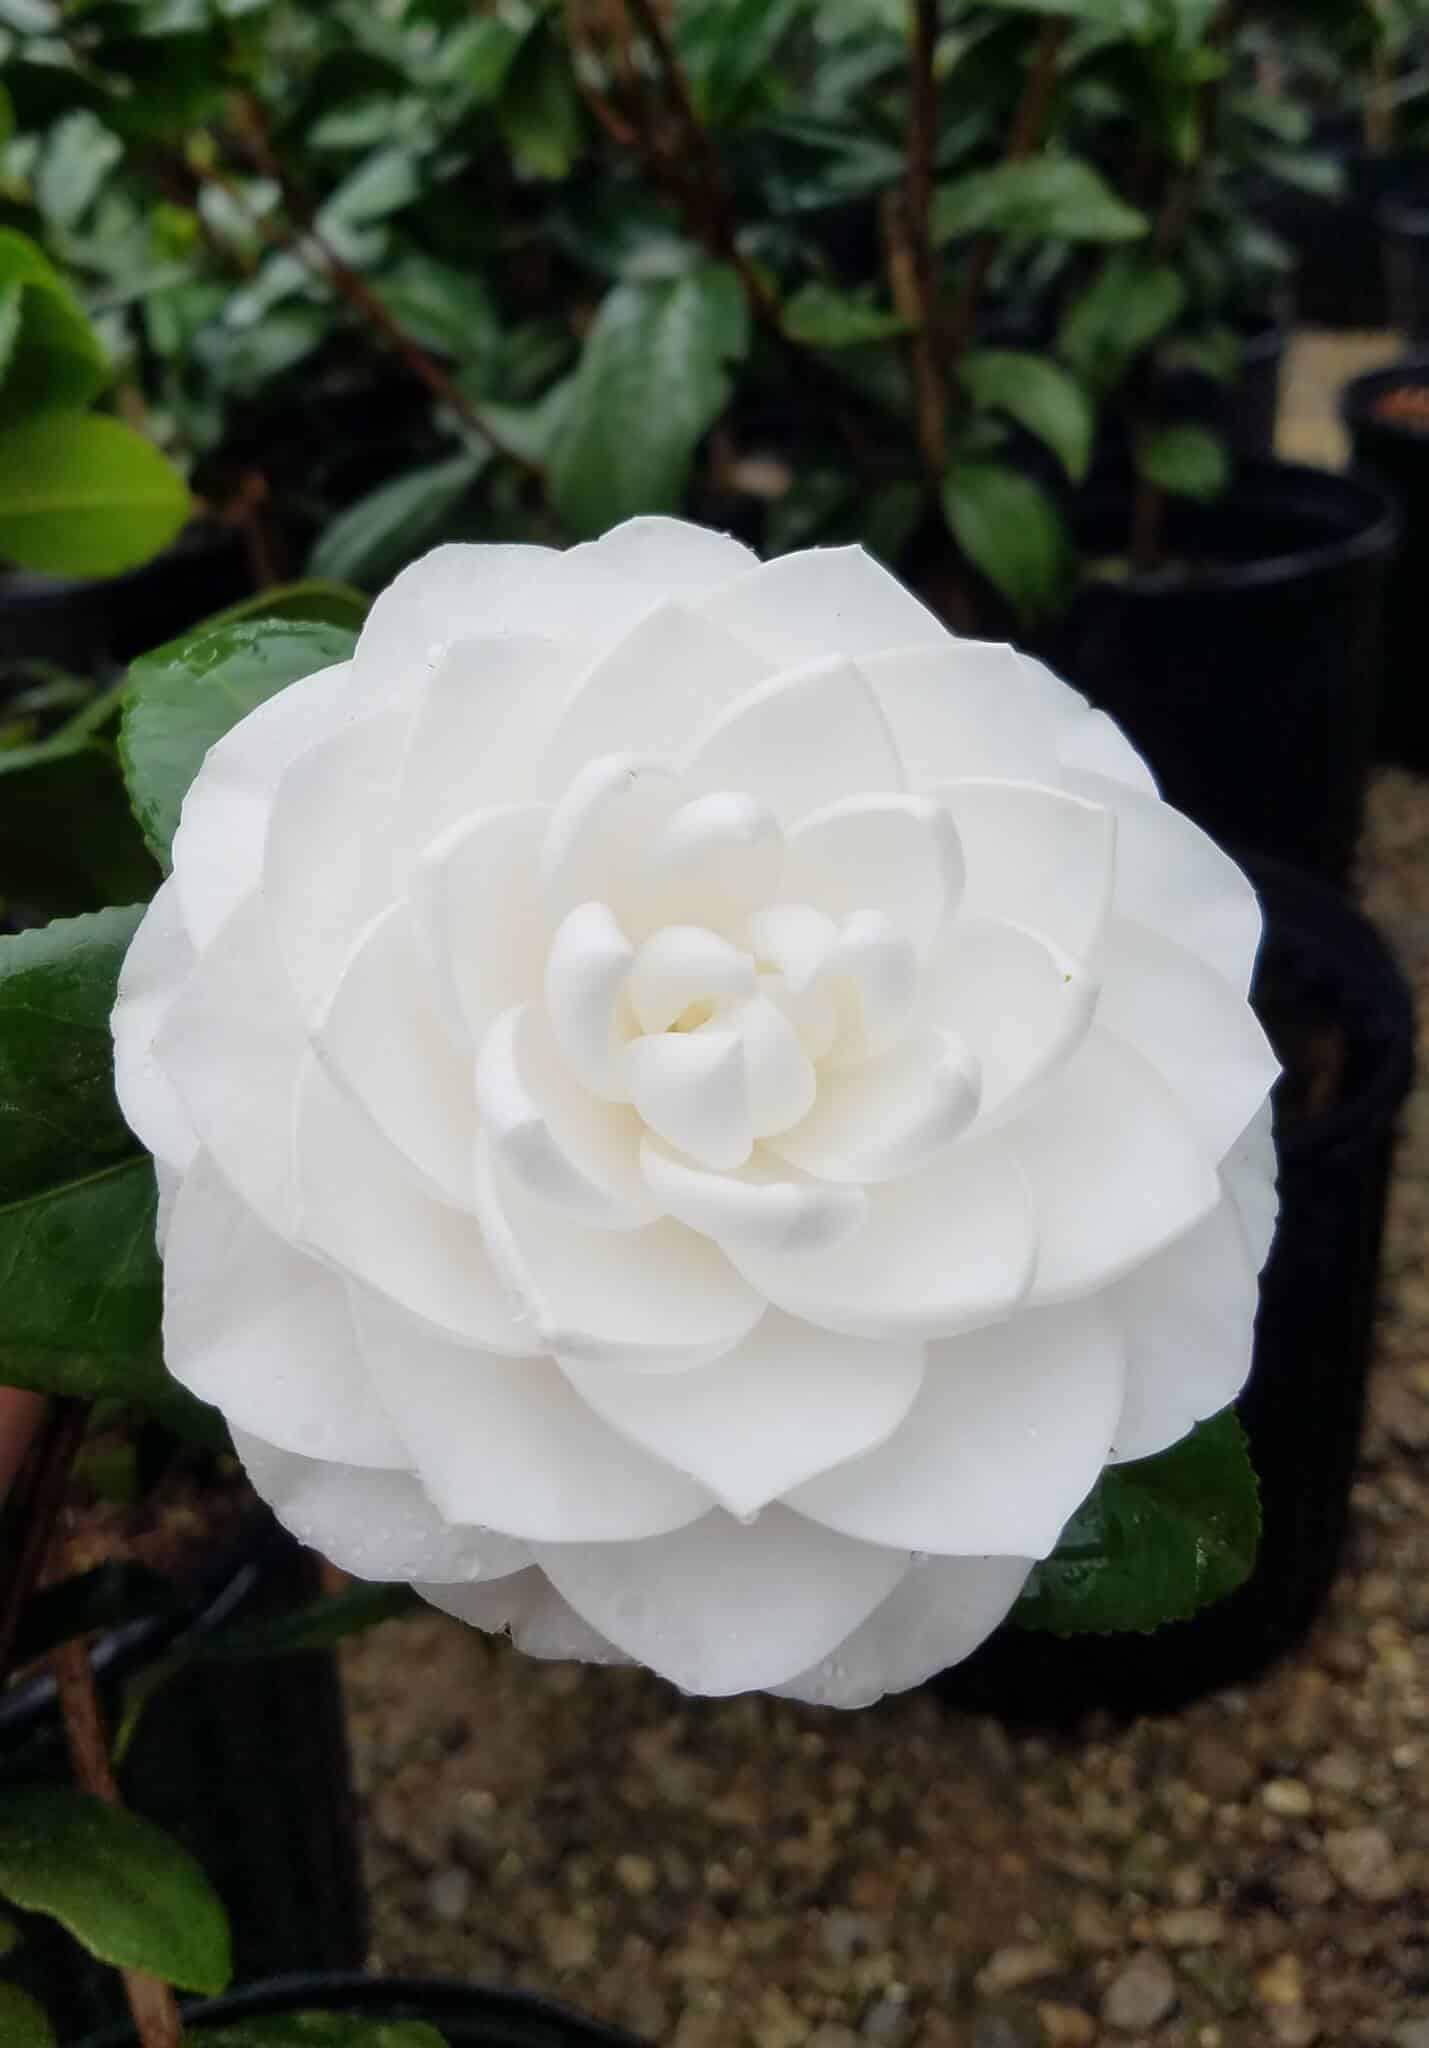
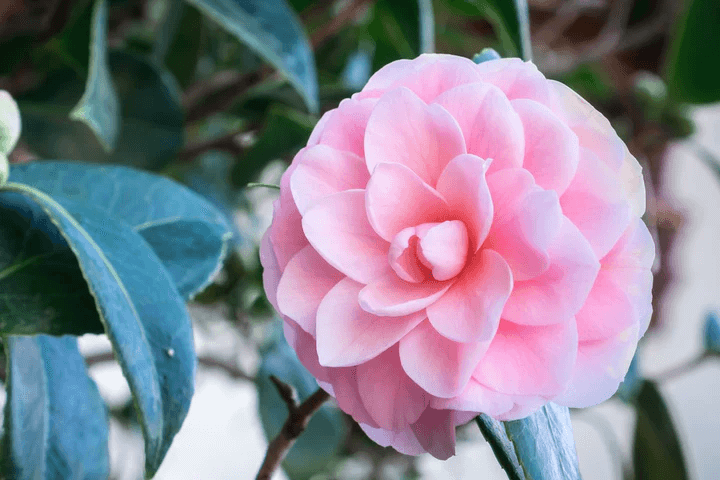
I don’t know about you, but every time I see a Camellia japonica I think “Now THERE is the perfect flower!”
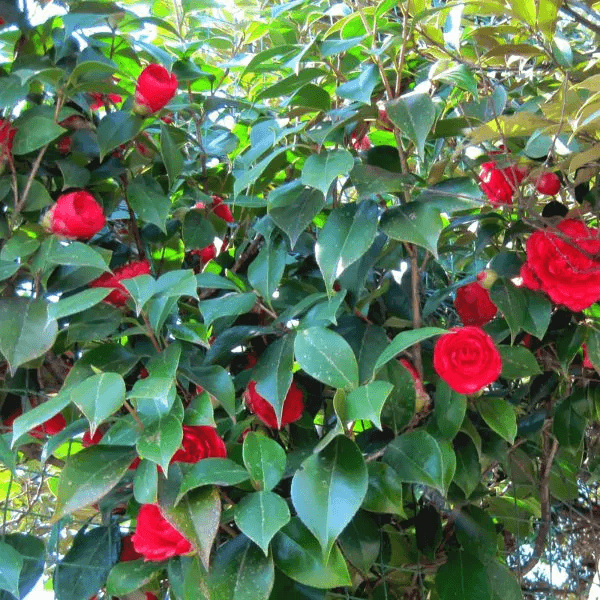
They grow on shiny-leaved, evergreen shrubs and are so popular, that both amateurs and professionals have produced more than 2,000 named cultivars.
Hardiness of the camellia depends upon variety, but the plant is generally hardy to USDA zone 7.
When shopping for a camellia, reject any plants that have scars at the base or brown roots, according to horticulturists at North Carolina State University Extension Service.
What you’ll need to grow the Camellia japonica
- Garden spade
- Wheelbarrow
- Peat moss
- Sand
- Mulch
- Fertilizer or cottonseed meal
- Pruning shears
How to plant a camellia
Plant the camellia in late fall to early spring. Choose a shady spot or, ideally, an area of dappled shade.
Amend the entire area where you’ll be planting the camellia. Typically this means digging up the soil to the same depth as the camellia will be planted and three times the width.
You’ll want to completely remove the excavated soil so grab your wheelbarrow and, as you dig the hole, throw the soil into it.
Replace the removed garden soil with a mixture of 2/3 peat moss and 1/3 sand. Mix these amendments into the soil to a depth of 6 inches.
Dig a planting hole in this newly-amended soil. Make it a bit shallower than the depth at which it was growing in the pot so that, when planted, the camellia sits 1-inch shallower than it did in the pot.
Place the camellia’s roots in the hole and backfill with the amended soil. Lightly press around the base of the plant.
Pour a 3-inch layer of mulch over the part of the root ball that is exposed and spread it out on the soil, the same width as the camellia’s branches.
Give the camellia enough water so that the soil is wet to a depth of 15-inches. Check the soil in two weeks and if it is dry, water again.
How to fertilize the camellia
Wait until buds form in spring to fertilize the camellia. Water the camellia the day before you fertilize and water again right after the application.
Use a commercial product labeled for use on camellias, at the rate suggested on the label. Whichever fertilizer you choose, ensure that it contains minor elements. The American Camellia Society says that “Magnesium, Sulfur, Calcium, Iron, Manganese, Copper, Zinc, Boron, and Molybdenum” are all essential to the camellia’s health.They also recommend that you choose fertilizer based on its life stage.
A 9-15-13 fertilizer with minor elements included is ideal for the established camellia. Fertilome makes an excellent product and it’s available online at Nature Hills Nursery.
Young plants need to grow more so they’ll do better with 6-2-4 fertilizer. Don’t forget to read the label on the fertilizer package to ensure the minor elements are in the product.
If your summers are particularly hot, consider using cottonseed meal during these periods to avoid burning the plant’s roots.
Reapply fertilizer every six weeks, stopping in August.
Prune the Camellia japonica in early spring. Some cultivars are sensitive to over-pruning, so if you have any doubt about how hard to prune, consult your county cooperative extension office.
You’ll find a Cooperative Extension Directory, here.
Check the camellia periodically for pests, such as scale, aphids and spider mites. Sometimes a strong blast from the garden hose will rid the plant of certain pests. The extension service is also a good source of information about which pesticides to use in your area.
Camellia japonica is non-toxic for kids and pets.
Mention of a fertilizer or pesticide, or use of a pesticide or fertilizer label, is for educational purposes only. Always follow the product’s label directions attached to the container you are using. Be sure that the plant you wish to treat is listed on the label of the pesticide you intend to use. And observe the number of days between pesticide application and when you can harvest your crop or allow pets to enter the area.