This post may contain affiliate links. As an Amazon Associate we earn from qualifying purchases.
Pilea propagation and care instructions in one handy place? Yup! Thanks for stopping by!
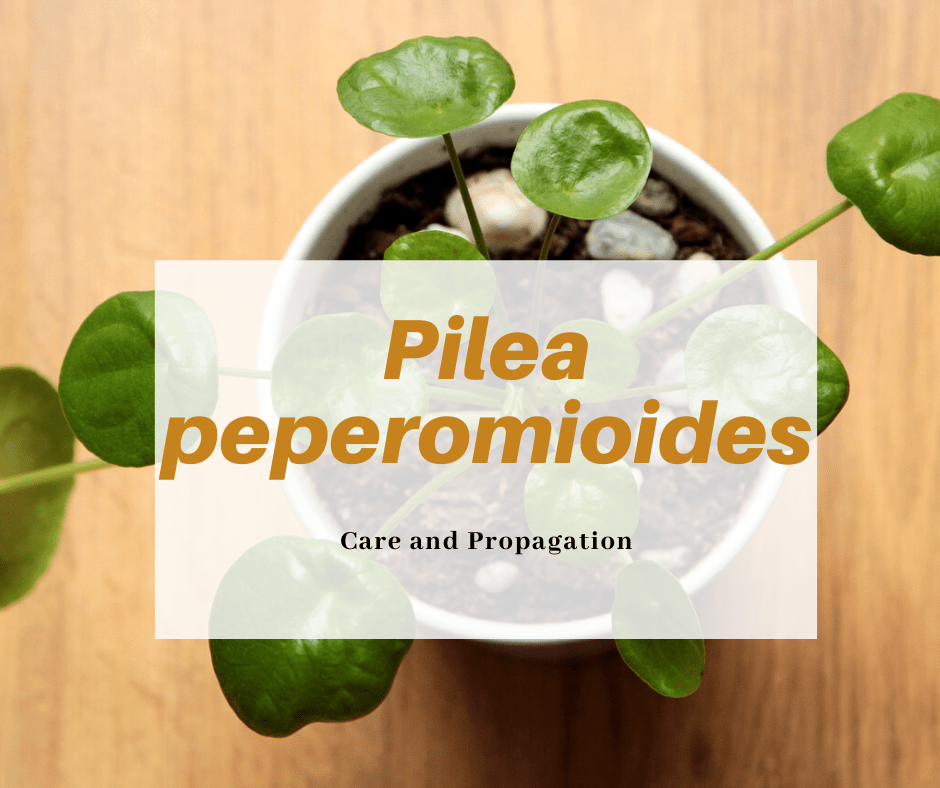
A distant cousin to the rose, Pilea peperomioides (aka Chinese money plant) is one of the current darlings of houseplant collectors. The name alone is a mouthful, often mispronounced. But not by you – because we’ll show you how:
“Pie-LEE-uh pepper-o-me-OY-dees”
Just keep saying it – it will roll off your tongue before you know it.
More important than pronouncing the plant’s name, however, is caring for it so that it thrives and you can feel proud showing it off on social media.

Light for Pilea Peperomioides
There’s an old gardening saying that you may have heard, but it sums up whether or not a gardener will be successful with any particular plant:
“Right plant, right place.”
In the landscape, we have many choices as to the right place for a plant. Indoor gardening, however, presents challenges – especially when it comes to light.
Many indoor gardeners tend to try to force a plant to thrive in light where it simply can’t. Then they show up in Facebook houseplant groups with a photo of a weak, sick plant, begging for answers as to why it isn’t thriving.
Pilea peperomioides prefers bright light. Not direct sunlight, mind you, as that will burn the foliage. But bright, indirect light such as it will get if you set it near a south-facing window, provided there are no trees or overhangs or other objects that obstruct the light.
Remember that light changes with the season. Keep an eye on the Pilea as winter turns to spring. If the leaves begin to turn pale, move it further away from the window.
If Pilea is the “right plant” but you don’t have the “right place,” you may consider artificial light. Since Pilea requires bright light, you’ll need high-intensity lamps, with at least 1,000 foot-candles. A three-to four-tube fluorescent fixture will do the trick, but do you want that in your living room?
Get the light right and you’ve won half the battle with any plant.
Soil for Chinese Money Plant
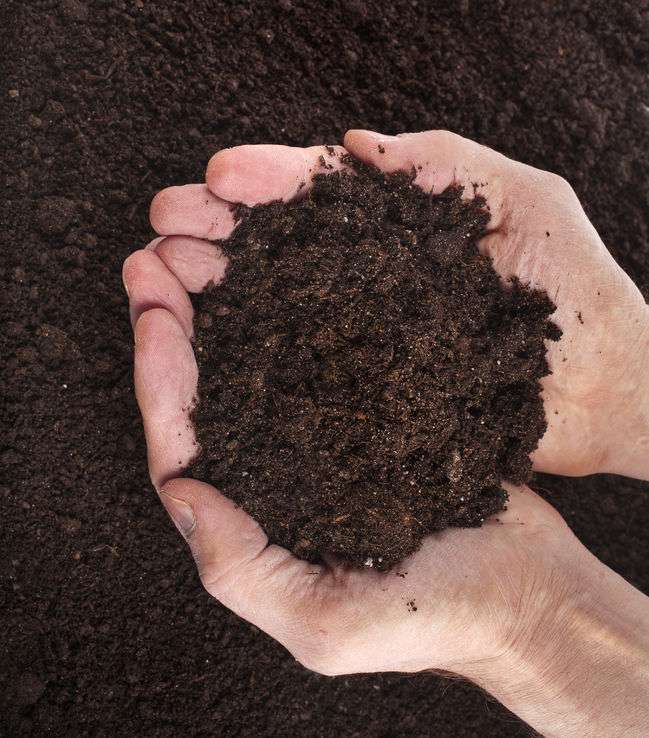
The most important quality to look for when choosing a potting soil for the Pilea is that it is somewhat porous, well-drained and contains organic matter.
The porosity is especially important for all houseplants because a lack of aeration can cause the roots to develop mainly in the upper layer of the soil, restricting the top growth of the plant.
Pilea growers complain a lot about stunted leaf growth, never guessing that it’s the soil that’s causing it.
Researchers at the Central Florida Research and Education Center of the University of Florida recommend peat mixes, which is fine unless you have a problem with fungus gnats. The little buggers are especially attracted to peat moss, so look for an alternative (such as choir, perlite or pumice – see the Resources section, below) in your potting mix to discourage them.
TIP: Avoid compacting the soil when you repot – just lightly press the soil around the plant.

How Much and How Often to Water your Pilea
Watering plants, both indoors and out, seems to be the most challenging aspect of gardening for many. There are those who hover over their houseplants, overwatering and drowning the poor things.
Then there are the haphazard gardeners who water when they remember to.
You’ll find conflicting advice on how much and how often to water Pilea. A good rule of thumb is to allow the soil to dry somewhat between waterings.
Stick your index finger into the soil – if it is dry to that first line on your finger, consider watering. It won’t hurt, however, to allow it to dry a bit more. Not bone dry; but enough to give the roots a chance to breathe.
Pilea peperomioides needs humidity as well so plan on buying a humidifier to keep nearby. And, no, misting doesn’t work (unless you stand by the plant 24 hours a day and mist it every few minutes) and “humidifier” trays with pebbles are ineffective as well.
We’re working on a post about humidifiers that we hope to publish soon. In the meantime, look for one with a large tank (it’s a hassle to have to frequently refill the tank with water) and plan on running it for about 12 hours a day. See the Resources section, below, for our recommendation.
Pilea Fertilizer
Plants make their own “food.” They get the ingredients to make this food from the soil, sun, moisture and carbon dioxide in the air. Most of the nutrients they require they obtain from the soil.
Indoor plants, however, often live in soil in which the nutrients have been depleted, thus the need to fertilize.
Yet, fertilizer is NOT “plant food.”
The purpose of fertilizer is to add just enough of these nutrients to compensate for the loss over time in soil – not to encourage quick growth or blooms or whatever else you think it should do.
Growers recommend a 3-1-2 fertilizer for Pilea (see the Resources section below). The fertilizer we recommend is labeled as tomato fertilizer, but don’t let that throw you off.
When you mix it, dilute the recommended rate to one-fourth or one-half. For instance, the instructions call for using one scoop of fertilizer per gallon of water. Use either ½ scoop in a gallon of water or ¼ scoop in a half gallon of water.
Always apply fertilizer to damp soil and water again, lightly, after fertilizing.
Reapply monthly during the growing season (typically March through September).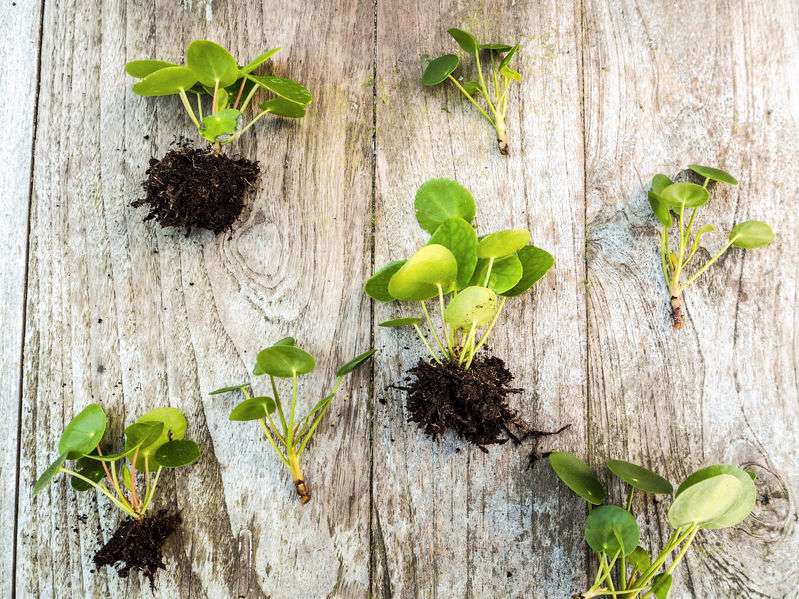
Pilea Propagation
In 1946, a Norwegian missionary took Chinese money plant cuttings back to his home country of Norway, where it soon spread throughout all of Scandinavia.
It’s rather amazing how he kept the cuttings viable on such a long journey when many of us can’t seem to take a cutting from plant to pot, when both are located in the same room.
Thankfully, he was successful because today, peperomia is an in-demand and beloved houseplant.
Commercial propagators use Pilea cuttings, which, despite what you’ll read online at amateur gardening sites, typically root easily.
YouTube gardeners seem to prefer separating the Pilea’s pups from the mother plant and sticking them in water. Without roots. Sigh.
They also confuse propagation by cuttings with propagation via division and seem to think all propagation methods are by cutting.
Let’s start with division.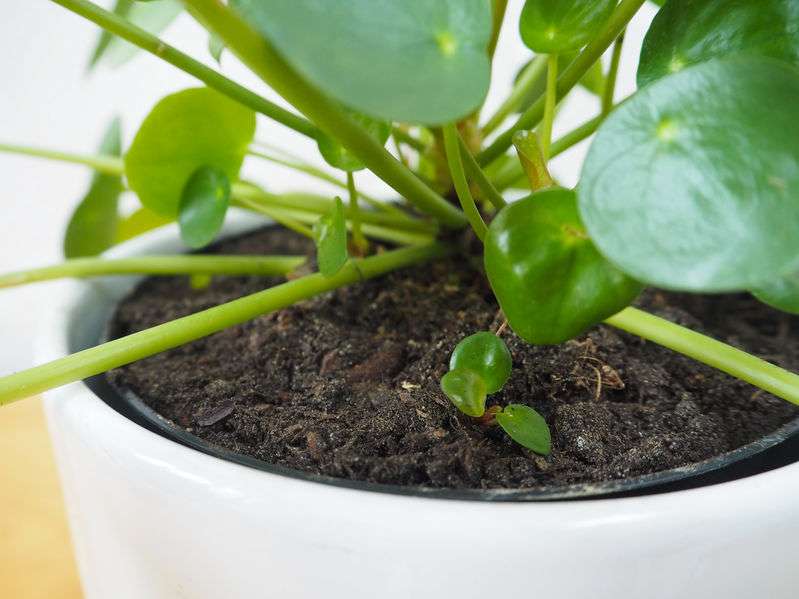
Propagating by Division: Chinese Money Tree Pups
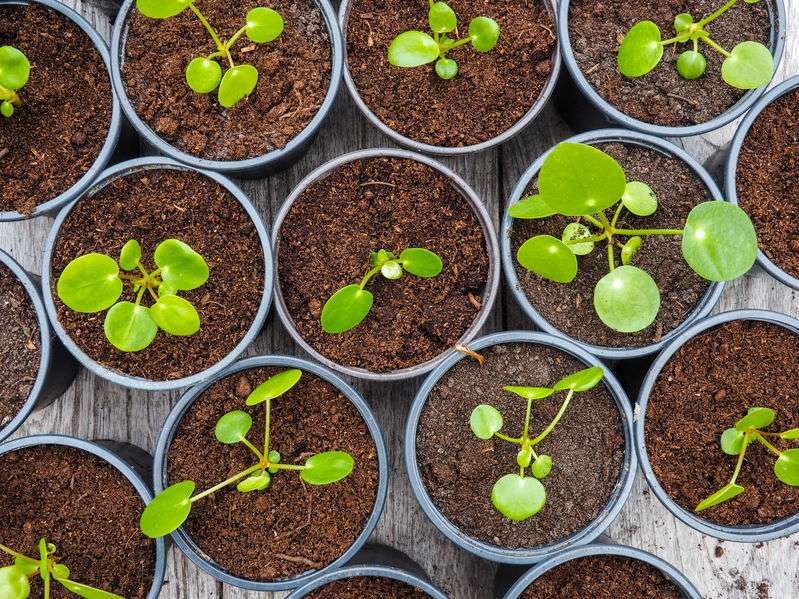
- Prepare the propagation container. Typically, with pups especially, you’ll want a 3-inch to 4-inch pot with adequate drainage in the bottom. The size of the pot depends upon how many cuttings you plan on sticking.
- If the pups you’re choosing don’t have roots, use a propagation medium that is loose and low in fertility (yes, the opposite of what you may hear or read online). We recommend a mixture of coco coir and perlite. If they do have roots, a well-drained, aerated potting soil will work.
- Place the medium in a bowl or other large container and completely moisten it, stirring to ensure that there are no dry spots.
- Pour the medium into the propagation pot (about halfway full) and allow it to drain. Don’t pack the medium into the container. Keep it loose.
- Remove the Pilea mother plant from its pot and lay it on its side on a sheet of newspaper or anything else that will catch the soil.
- Determine which pup or pups you want to remove and use a sharp instrument to remove it from the mother plant (just slice through the root ball). Often, on small plants, the pups can be removed by hand. We use a scalpel on small plants (see the Resources section) to ensure we get a good root supply, but a small knife will do the trick as well.
- Ensure that the pups you remove have their own roots. Pilea pups without roots can be rooted in the planting medium mentioned in Step 2 or in water but the process takes longer than it does with a pup with roots.
- Place the pup into the prepared pot and pour the planting medium over and around them as you fill the pot. Press lightly on the soil around the base of the pup. Remember to avoid compacting the soil.
- Water thoroughly. This helps remove air pockets from the soil.
- Place the newly-potted pup on a heat mat, near a humidifier. If you don’t have a humidifier, find an alternative means of providing humidity (cover with a plastic bag, overturned vase, soda bottle with the bottom cut out, cloche, etc.).
- Remove the plant from the heat mat and humidity dome when new growth appears. Place under lights (if you don’t have a light set-up, the pros at the University of Maryland Extension show you how to build a table-top light stand on the cheap, here).
When you repot, use standard, well-drained and aerated potting mix, as described earlier in this blog post.
Propagating Pilea Peperomioides Stem Cuttings
No pups? No problem; Pilea stem cuttings root readily. Follow the first four steps in the instructions for propagating pups. Then:
- Use snips or the scalpel to remove a stem from the Pilea. Ensure that it’s about 2 inches in length and includes the leaf.
- Moisten the bottom inch of the cutting and roll it in rooting hormone powder.
- Stick your finger into the planting medium to create a hole for the cutting and then sick the cutting into the hole.
- Lightly pat the soil around the base of the cutting, water and proceed as you would for propagating from pups (heat, humidity, etc.)
Stem cuttings may take from three to five weeks to root. After three weeks, give the cutting a gentle tug. If it meets with resistance, the cutting has produced roots. At this point, remove from the heat mat and place under lights.
Feel free to leave a comment, below, or contact us with any questions you may have. We’re happy to answer them.
Resources
The following links may be affiliate links. We may get paid if you buy something or take an action after clicking one of these.
Pilea peperomioides, Chinese Money Plant


Honeywell Germ-Free Cool Mist Humidifier

Espoma PR8 8-Quart Organic Perlite

Jobe’s Organics Vegetable & Tomato Fertilizer


Plantonix Coco Bliss Coco Coir Brick


Vivosun Heat Mat and Digital Thermostat Combo Set


Viparspectra LED Grow Light (various wattage)


Hormodin #2 Rooting Hormone Powder