This post may contain affiliate links. As an Amazon Associate we earn from qualifying purchases.
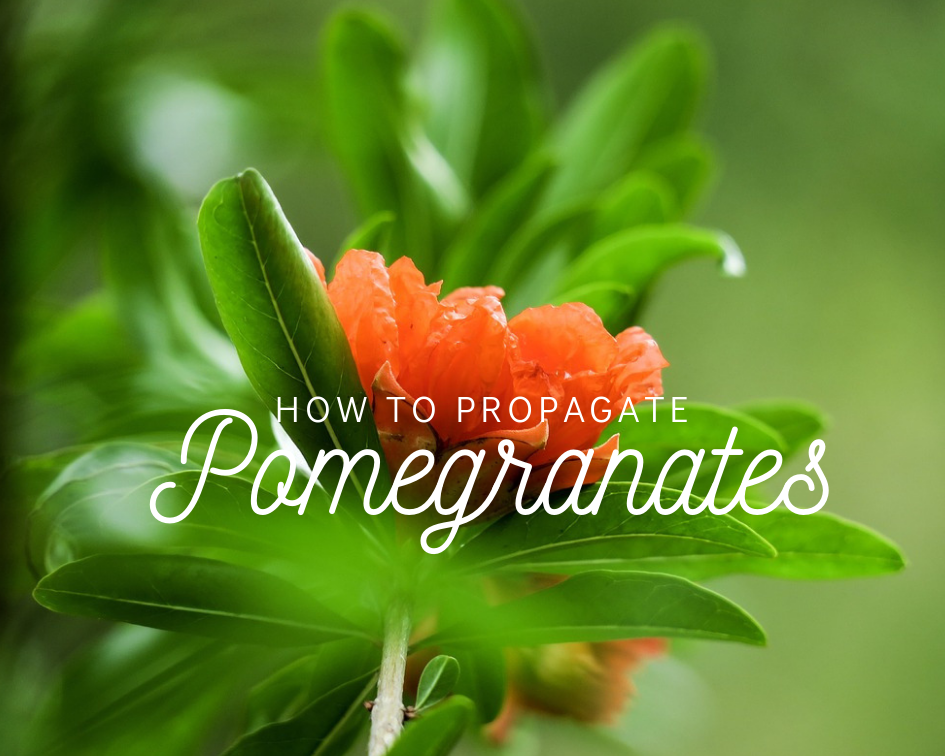
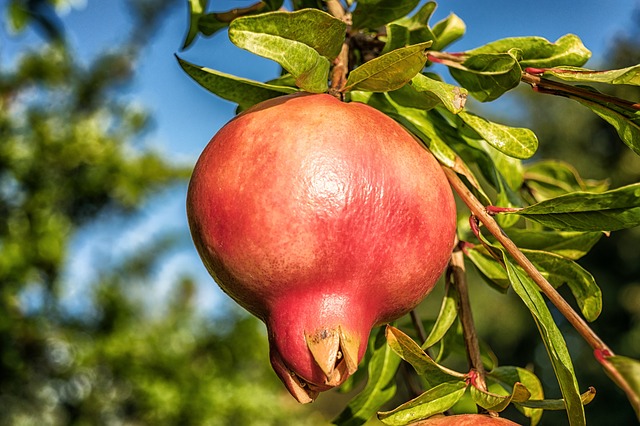
It might seem weird that I enjoy rooting pomegranate cuttings. After all, I don’t particularly care for the fruit of the pomegranate shrub (I know, I’m in the minority) but, when grown as a tree, it’s my favorite. In fact, I grow several ‘Wonderful’ pomegranate trees (Punica granatum ‘Wonderful’) in my garden. (Learn how to train your pomegranate as a tree at the University of Georgia Extension website).
Right now, they’re in bloom and looking oh-so-gorgeous. It’s getting just slightly past the best time to take cuttings if you hope to propagate your pomegranate tree.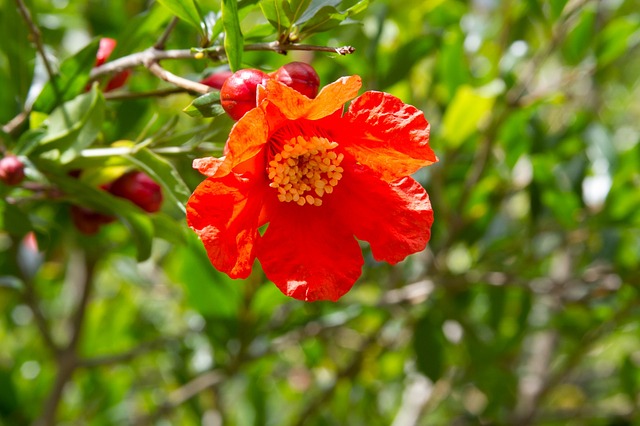
I’m often asked what I use for certain gardening processes. This is why we put a Resources section at the end of each post. Scroll down and you’ll find everything you need to propagate a pomegranate.
Get your pot ready
Choose a propagation container. It doesn’t really matter what it is, as long as there are holes in the bottom for drainage and it’s been cleaned and sanitized if it previously housed a plant. Learn how to clean and sanitize planting pots here. I use inexpensive plastic pots for rooting cuttings.
Next, add the planting medium. Anything that drains well will work. This includes perlite, coarse sand, vermiculite or a commercial seed-starting mix (which is what I use).
I always pre-moisten my planting mix in an old plastic bowl rather than trying to get it moist by pouring water over it once it’s in the container. Pre-moistening ensures that it is uniformly moist. It’s an especially good process if there is peat in the mix.
Pour the moistened mix into the propagation container until it’s about ¼ full. Use your fingers to tamp it down firmly. Then, pour in the rest of the mix, leaving it fluffy, for now.
Poke a hole in the mix where you want to stick your cutting. If you’ll be using a bag to provide humidity, hold the cutting above the pot to estimate the location where the leaves will have the least contact with the plastic bag.
Taking the pomegranate cutting
Although it’s possible to propagate pomegranate from a hardwood cutting, soft, young shoots root more readily. These stems are predominant in spring, just after the tree comes out of dormancy.
Once it begins blooming, the stems begin to get woody. If you’ve waited too long, however, all is not lost. Look for suckers at the base of the plant (unlike other suckers, pomegranate’s will produce a tree identical to the mother) and search through the canopy – there may still be a young shoot or two you can harvest.
Ok, let’s get to removing and sticking the cutting.
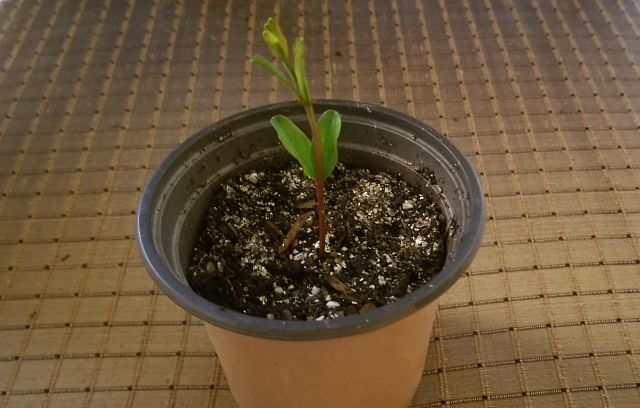
Remove a young stem from the pomegranate with razor-sharp garden snips and then cut it to 4 to 6 inches in length. Remove all of the leaves except for two sets near the tip of the stem (see the potted cutting at the top of this section).
Dr. Michael Dirr (my favorite plant propagator) uses an IBA-quick dip (1000 ppm) rooting hormone before sticking. To mimic his process would require the purchase of a rooting hormone such as Hortus IBA Water Soluble Salts at around $550.
No thanks.
But, as Dr. Dirr says, “Very few things are absolute in the biological world.” You’ll find a link to his brilliant propagation handbook in the Resources section at the end of this post.
While I have had good luck without the use of hormone, if you would feel more confident with one, use a commercial product such as Hormex Rooting Powder. It comes in various strengths and #8 is listed for use on pomegranate cuttings (find a link in the Resources section, below).
Don’t stick the cutting into the jar, though. Pour out about a dime’s size dollop into a shallow bowl or plate
Dip the cut-end of the cutting into water and gently shake off the excess. Then, dip it into and swirl the bottom of the cutting in it. Tap it on the side of the bowl to remove the excess and then stick it into the prepared hole in the planting medium.
Care while rooting pomegranate cuttings
The pomegranate cutting needs three conditions to produce roots:
- Sunshine
- Humidity
- Slightly moist planting medium
Humidity is probably the most confusing part to beginning propagators. Many gardening sites recommend plastic zip-lock bags and that’s fine, as long as the foliage doesn’t come into contact with the plastic. It will most often rot if it does.
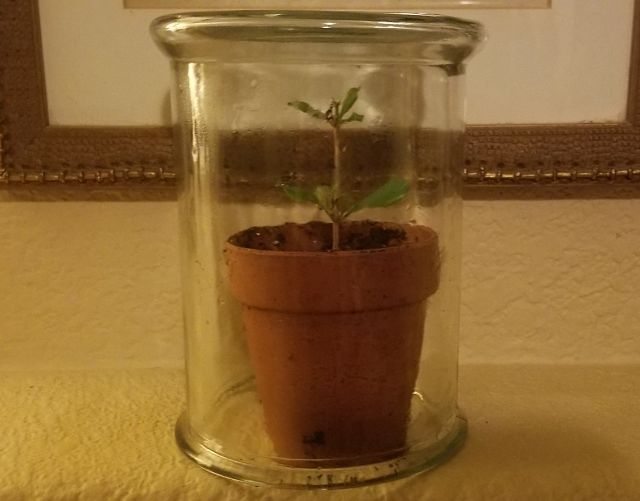
I used a DIY cloche (pronounced klōSH) for the cutting pictured below. Anything will work as long as it’s tall and wide enough – old mayonnaise or pickle jars, glass vases or purchase commercial cloches. You’ll find some in the Resources section at the end of this post.
Not only are they roomier than a plastic bag, they’re better at keeping moisture around the cutting. All that humidity also keeps the soil moist, the third “must-have” mentioned above.
Now all you need to do is ensure it’s getting enough sun and that the planting medium remains moist. Don’t hover over it, offering it a drink of water every day. Too much moisture will rot the bottom of the cutting.
You’ll also need to ventilate the pomegranate cutting if it appears to be too warm or too moist beneath the cloche. Tilt it and prop it open (I use a rock). Ok, it’s a cute rock.
The commercial units you’ll find in the Resources section (which I use when I’m striking a number of cuttings) have ventilation at the top, so all you’ll need to do is open the hatch.
Although your pomegranate cutting should root within 4 to 8 weeks, your tree won’t bear fruit until it’s about three or four years of age. But, in spring, it will blow you away with it’s beautiful foliage.