This post may contain affiliate links. As an Amazon Associate we earn from qualifying purchases.
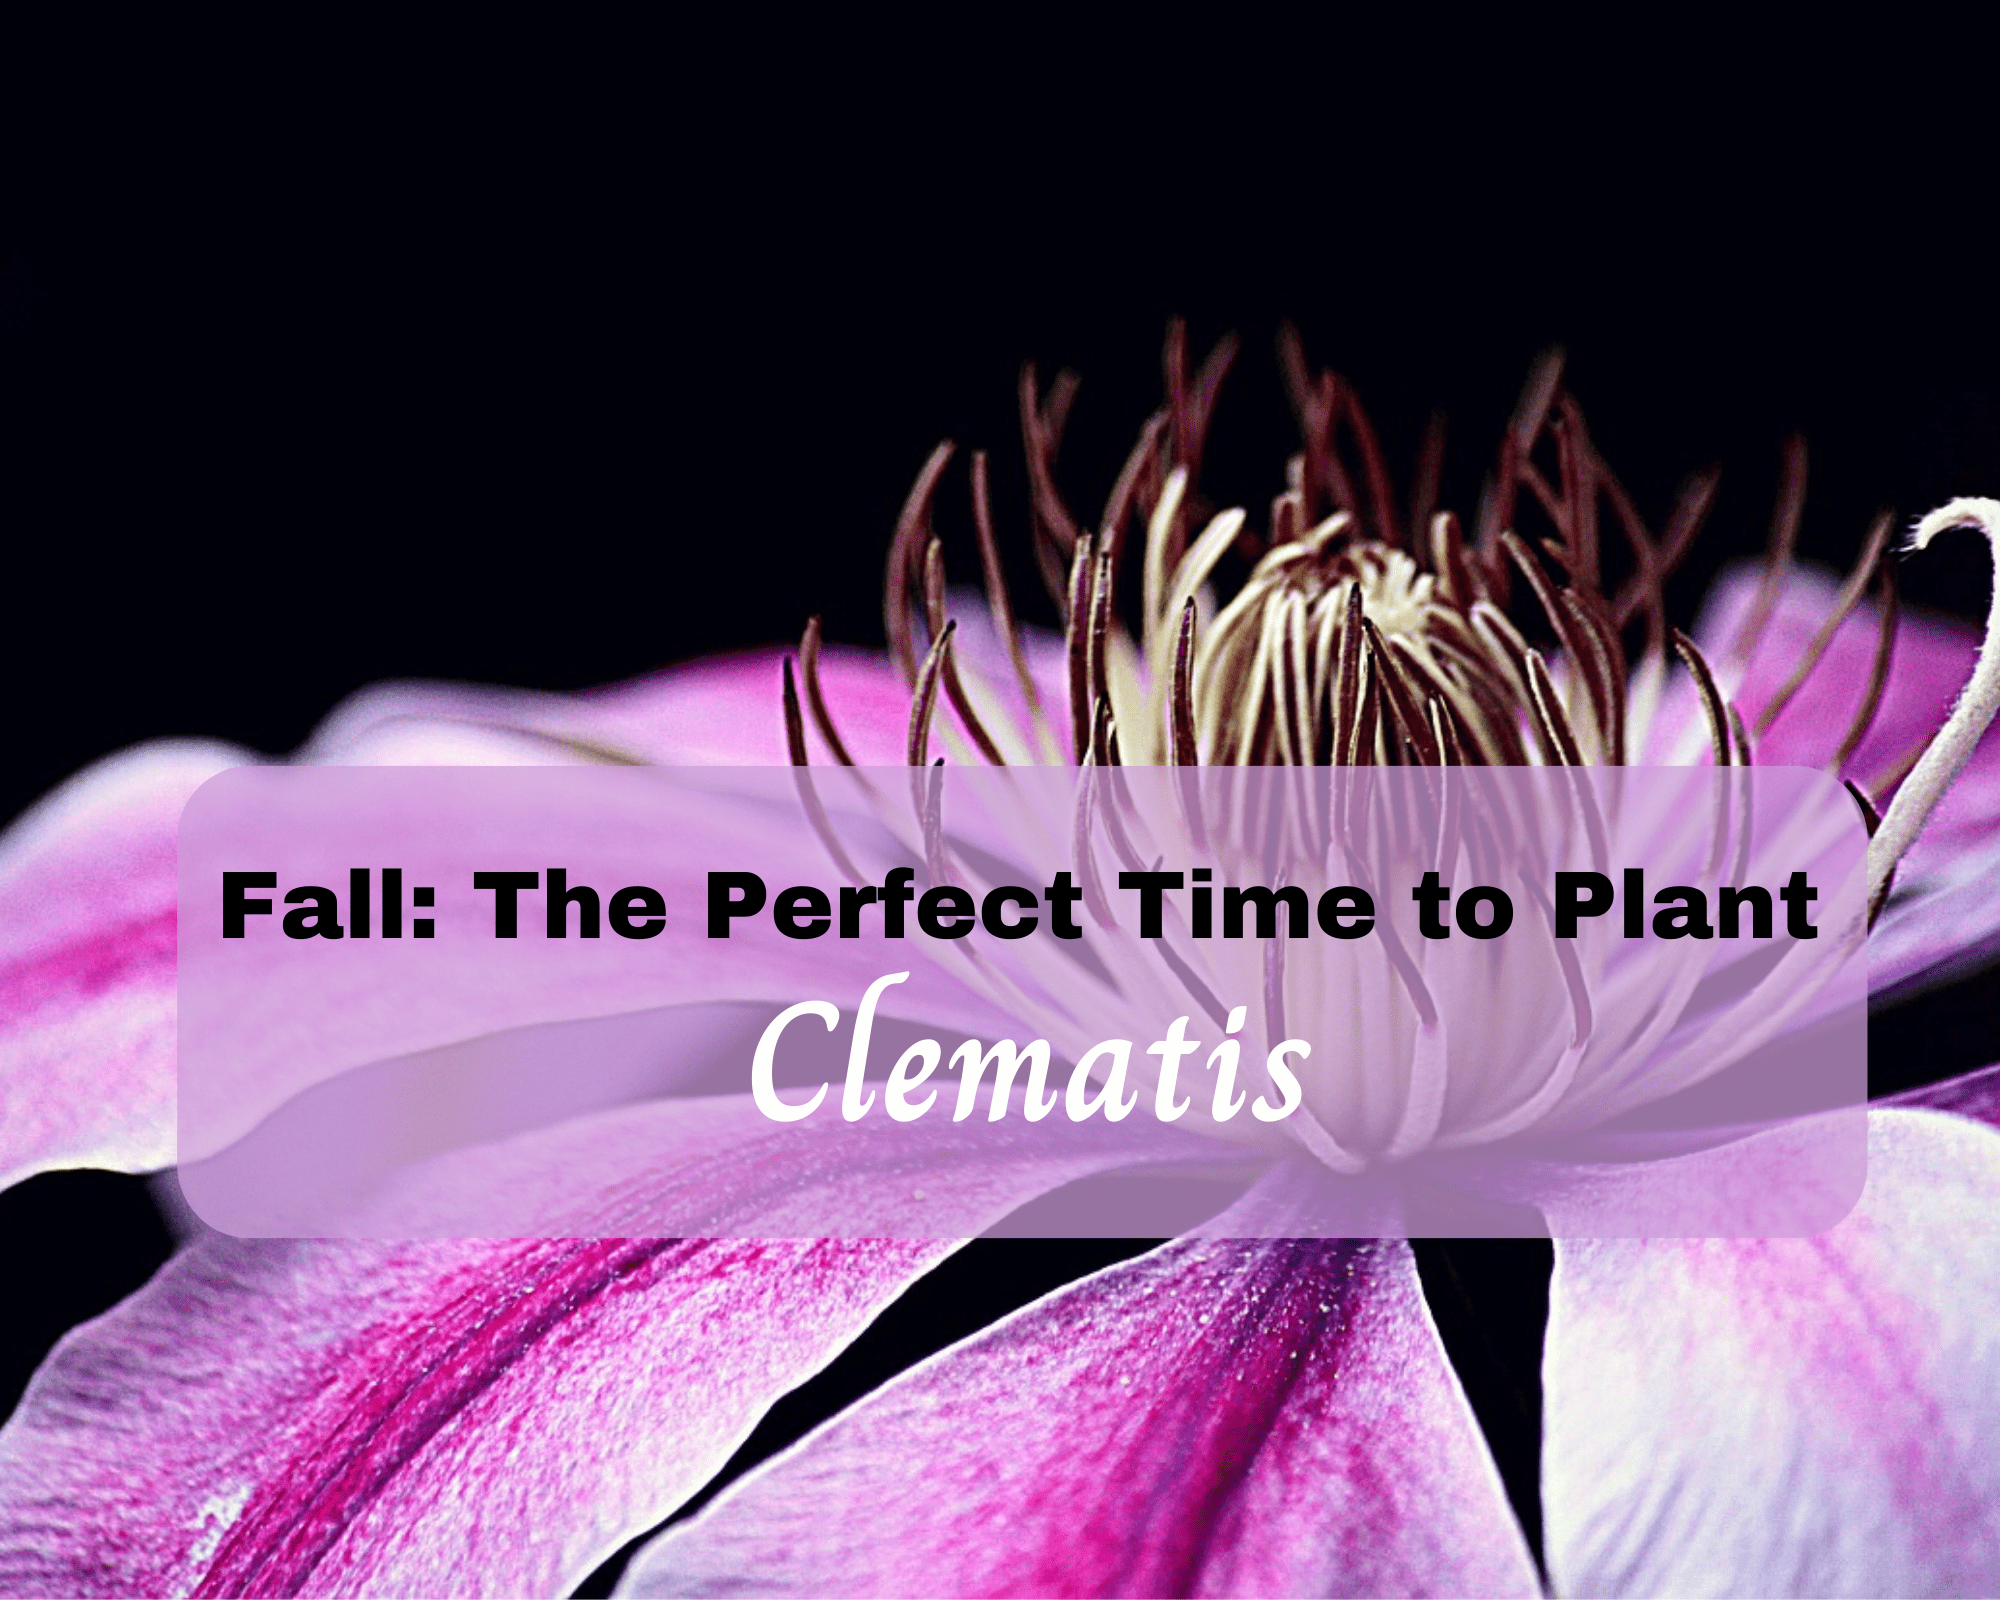
Yes, you can plant clematis in fall!
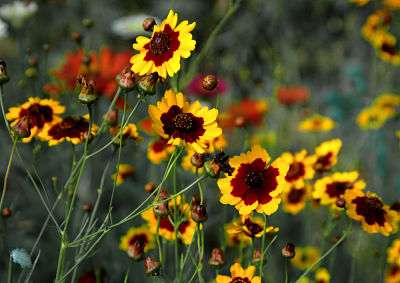
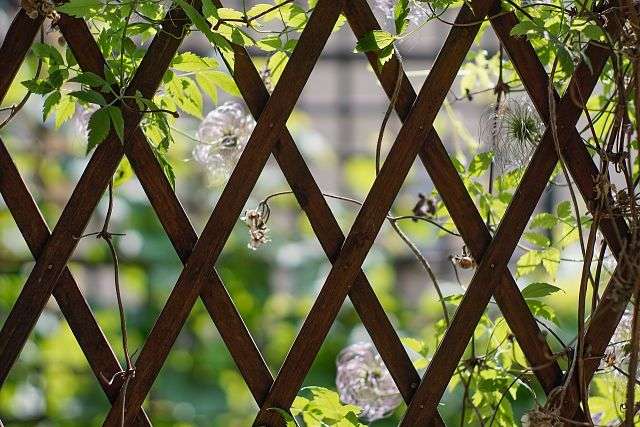
Whether you plant clematis to grow on a trellis to hide an ugly wall or fence or because of its amazing flowers, clematis (Clematis spp.) is a garden multi-tasker.
The more than 250 species, hybrids and cultivars of the plant are hardy to U.S. Department of Agriculture hardiness zones 3 to 8, depending on species. Planting preparation is the most important aspect of success with clematis.
Supplies you’ll need to plant clematis
- Support structure
- 8 inches of organic material (compost, manure, peat moss, fine bark)
- Shovel
- Mulch
- Pruning shears (See our pruning shears review)
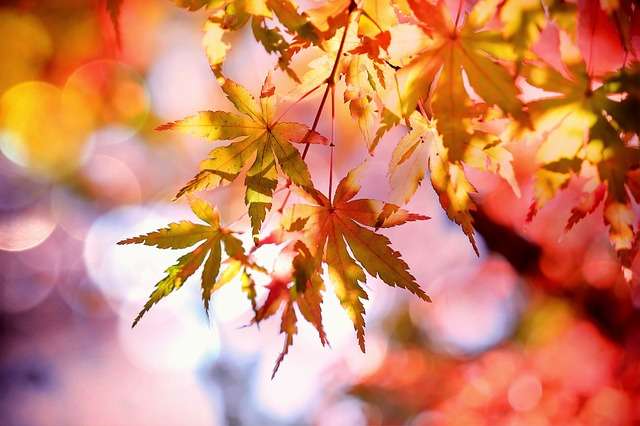 When to plant clematis
Spring is best time to plant clematis but it can also be planted in fall, provided it’s in the ground early so that it has time to become established before the cold weather sets in.
Too much heat at planting time may stress the clematis, so plant it on a day when the temperature is lower than 85 degrees Fahrenheit.
Finally, choose a clematis plant that isn’t blooming. Transplanting is stressful and the plant needs to devote its energy to becoming established, not producing flowers.
Where to plant clematis
Your clematis requires 6 hours of sun each day. If it gets particularly hot in the summer where you live, choose a planting location that will offer it protection from direct sun in the afternoon.
In fact, the flowers of some of the red and blue-flowering hybrids, such as “Nelly Moser” (Clematis “Nelly Moser”) and “Hagley Hybrid” (Clematis “Hagley Hybrid”), will fade with too much direct sun.
Choose a site with eastern exposure for these types of hybrid clematis. Finally, plant the clematis where it will receive air circulation through and around it to help it ward off fungal infections.
 How to prepare the soil to plant clematis
Prepare the soil properly and you’ll be repaid with a healthy clematis that blooms all season. Amend the soil in the planting area with 8 inches of organic material.
This can be compost, manure, fine bark, peat moss or a combination of any of them. Combine the amendments with the existing soil to a depth of two feet.
Clematis can be grown as either a ground cover or a vine. If a vine is what you want, determine the type of support system you will provide and install it before planting.
Clematis clings to the support with small petioles so a wire-type support is preferred.
Planting the Clematis
Clematis’ roots love to roam so ensure that you’ve got plenty of room in the planting location.
You’ll also need to provide it with a large planting hole to give it a successful start. The hole should be deep enough so that when the clematis is planted, the crown – where the main stem joins the roots — sits 2 inches below the soil.
Dig the hole twice the depth required to meet that goal and twice the width of the container in which it is growing.
Set the roots in the hole and backfill with the amended soil. Spread a 2-inch layer of mulch around the base of the clematis, 2 inches from the plant, and spread out in a 1-foot radius around it.
One week before the first hard freeze, add 2 to 3 additional inches of mulch.
Finally, cut the plant’s stems to 12 inches in length.
 Care during establishment
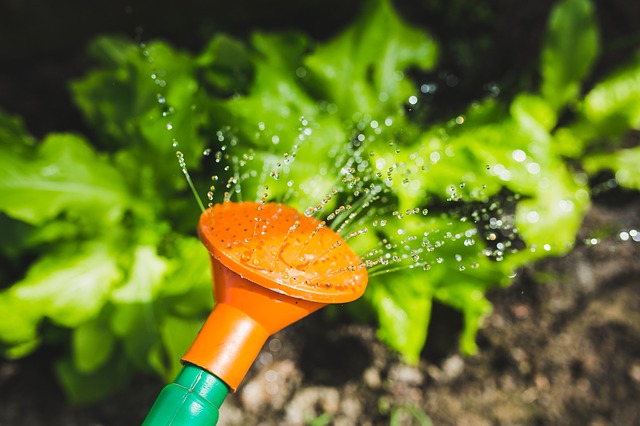
Immediately after planting the clematis, water the soil until it is saturated to the depth at which it is planted. Provide it with an inch of water a week if it doesn’t rain.
Although the clematis should naturally twine, you may need to encourage it by leaning it against the stake or whichever support structure you’ve chosen.
If you’re new to growing clematis, there’s a lot to learn, especially about pruning. Learn more online at the University of Illinois Extension.