This post may contain affiliate links. As an Amazon Associate we earn from qualifying purchases.
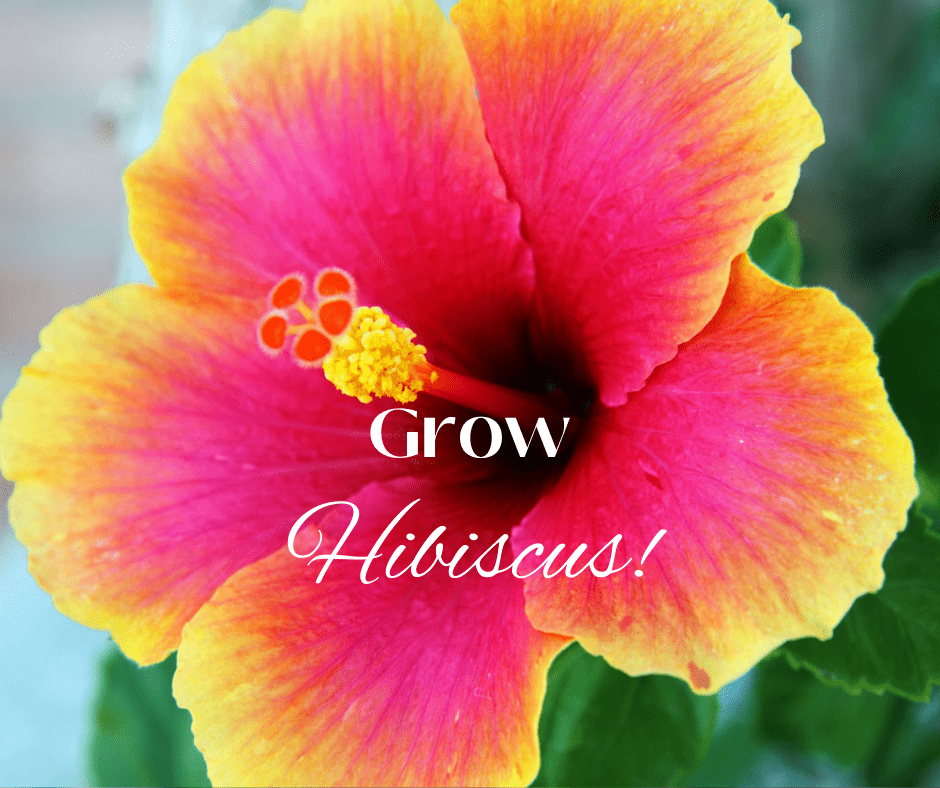
The tropical hibiscus, scientifically known as Hibiscus rosa-sinensis, is a stunning flowering plant that has captured the hearts of gardeners around the world. And for good reason.
Its vibrant and exotic blooms, coupled with a rich history and diverse varieties, make it a popular choice for adding a touch of the tropics to gardens and landscapes.
It also has the surprising ability to grow in regions where many of us assume it can’t. Read on to learn how to grow your own tropical hibiscus.
Historical significance
The tropical hibiscus, although native to Vanuatu, holds deep cultural significance in various regions. It is the national flower of Malaysia and is Hawaii’s state flower (Hibiscus brackenridgei), or, in Hawaiian, “Ma’o hau hele.”
In fact, there are five species that are native to our 50th state. Two of these, H. arnottianus and H. waimeae are the only known hibiscus with fragrant flowers.
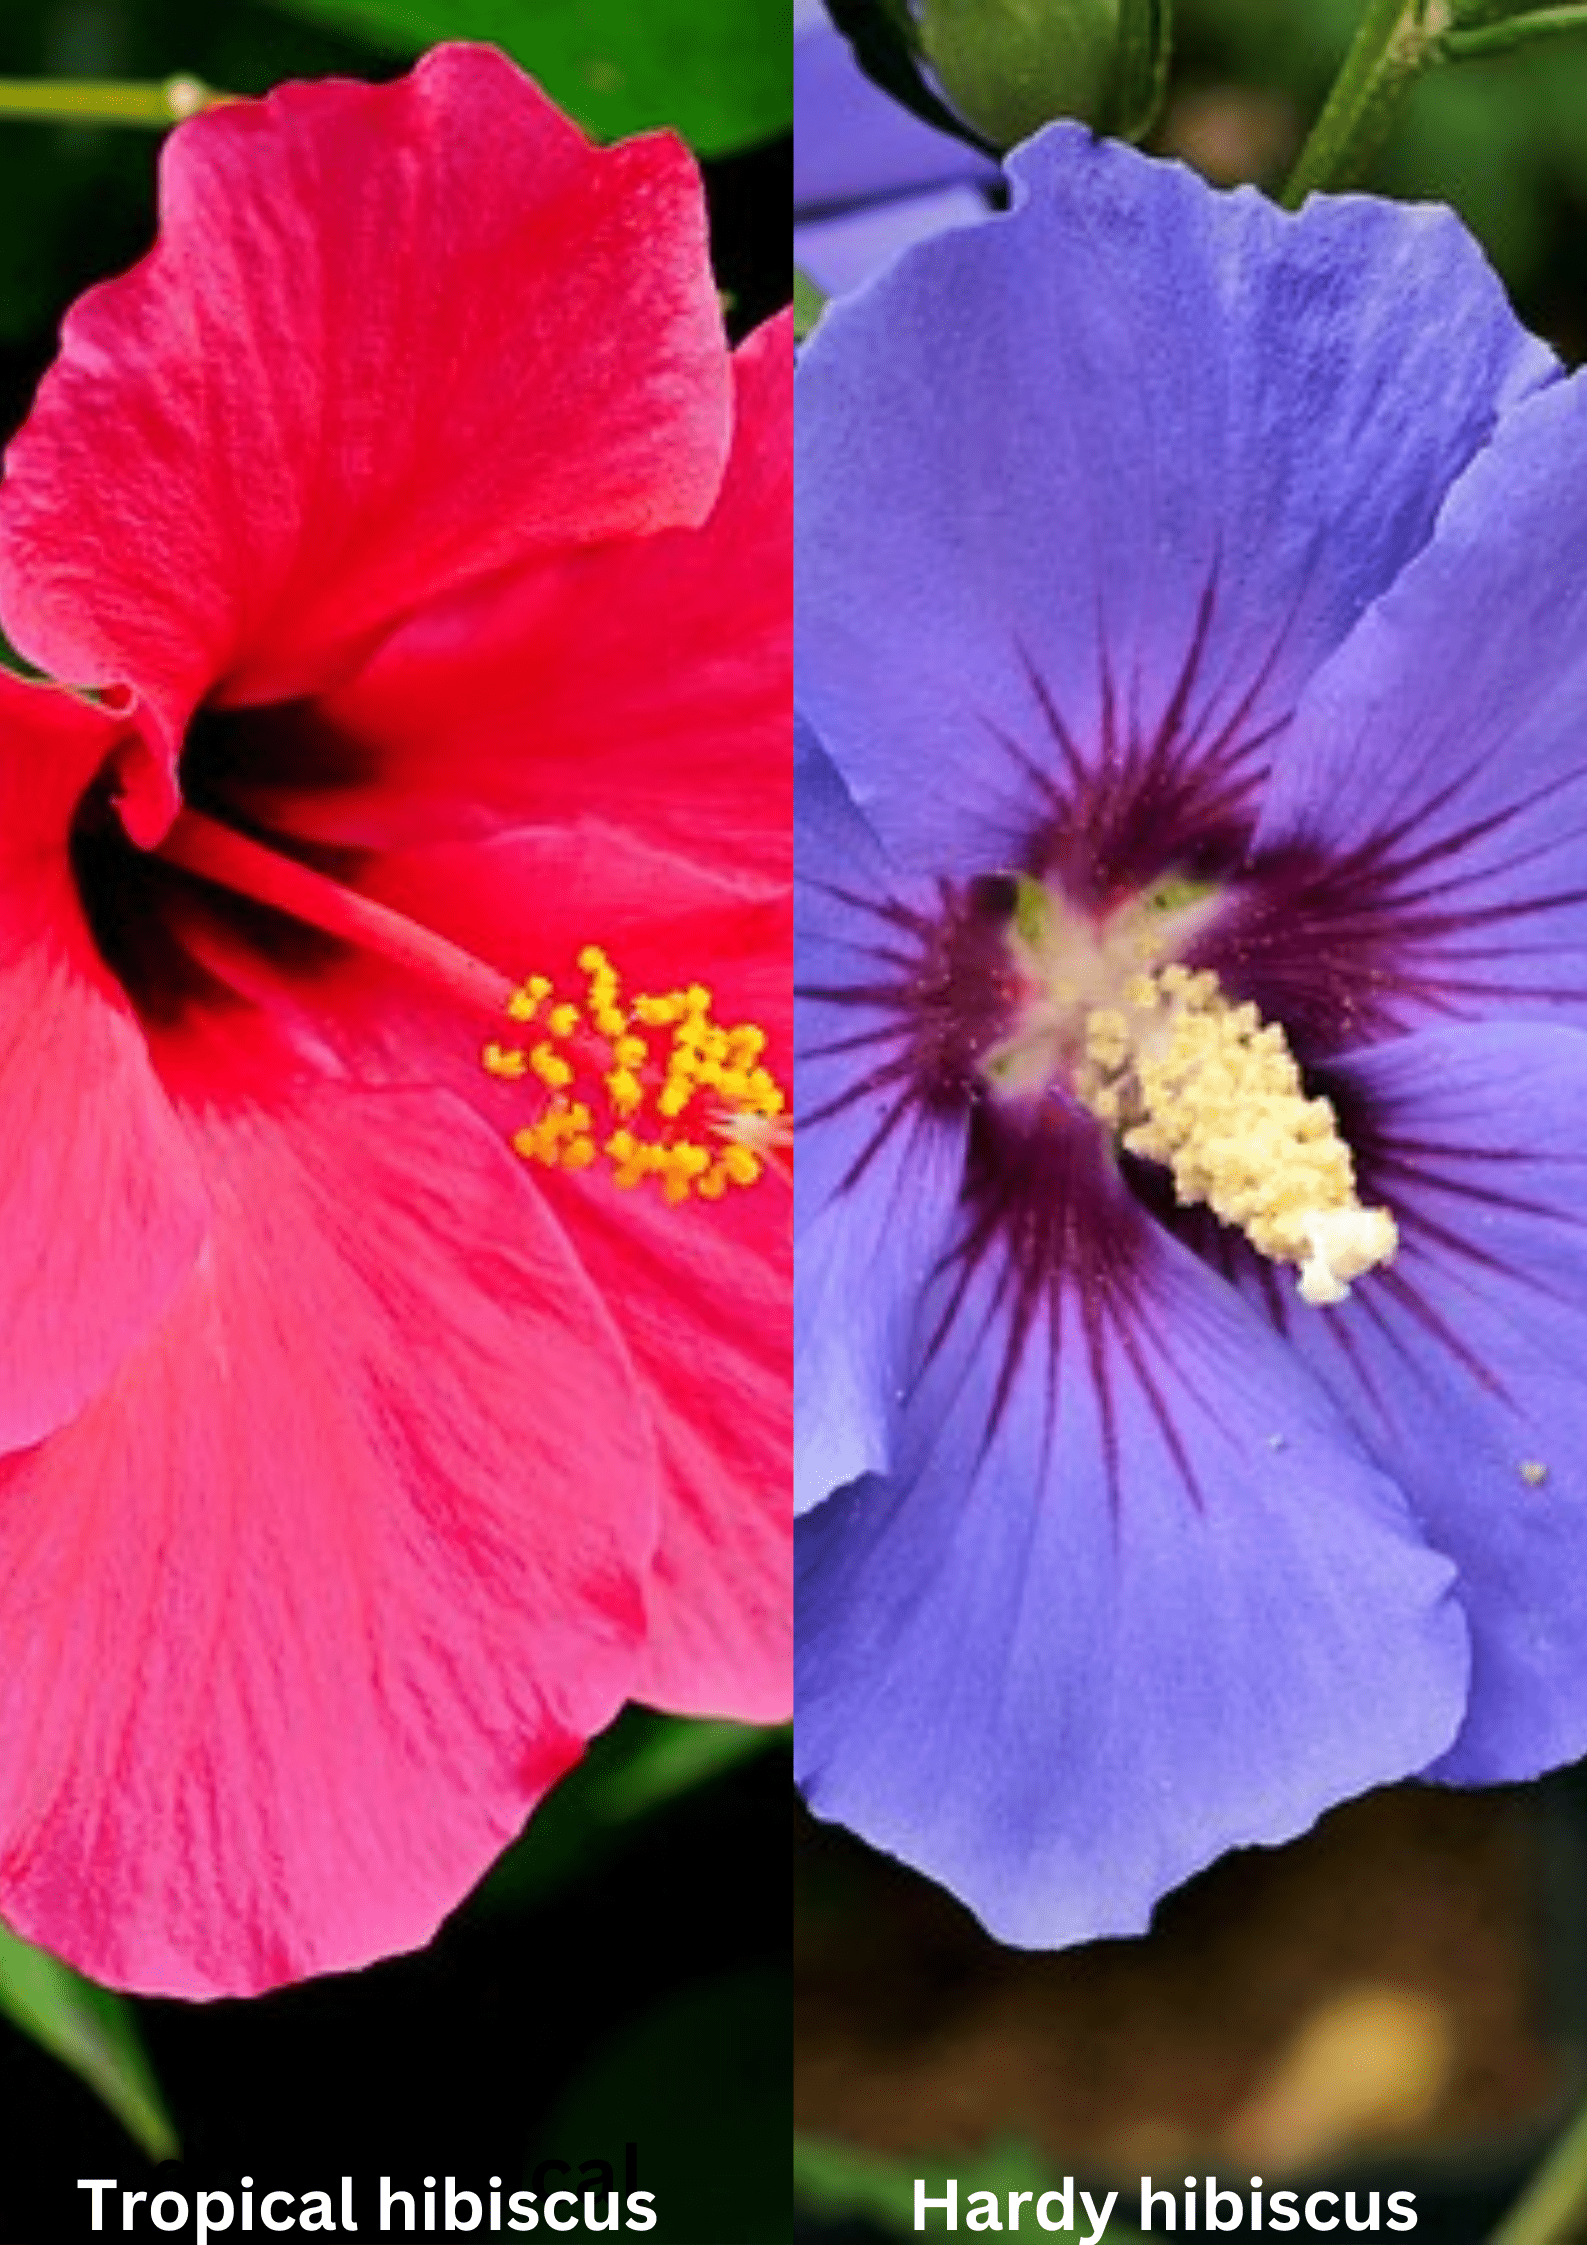
What is the difference between tropical hibiscus and hardy hibiscus?
It’s a question we often field. Although they do look alike, there are distinct differences between the two
First, the plants are two different species. Tropical hibiscus is Hibiscus rosa sinensis while hardy hibiscus is Hibiscus moscheutos.
Tropical hibiscus thrives in USDA hardiness zones 9 and above and is sensitive to cold temperatures. Hardy hibiscus, on the other hand, is far hardier and can withstand winter conditions in USDA Zones 4 through 9.
There are telltale signs that will help you tell the difference between the two plants.
Tropical hibiscus has shiny, deep green leaves. Hardy hibiscus leaves are heart-shaped, lack the glossiness of the tropical plant and they are a lighter shade of green.
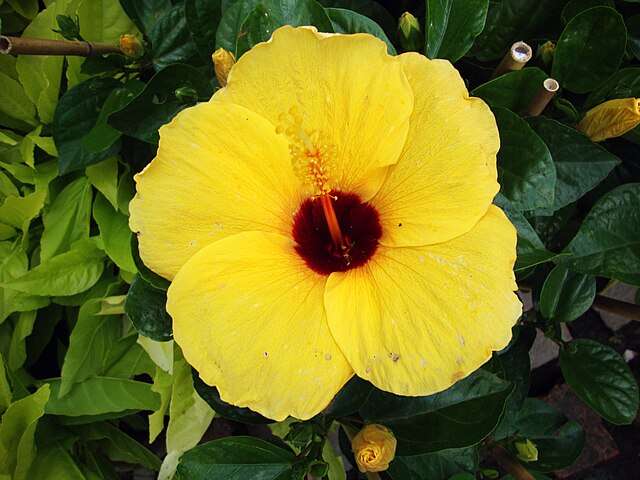
Flowers also have a tale to tell as well. The flowers of tropical hibiscus are large, and showy, and come in a wide range of colors, including red, pink, orange, yellow, and white. The blooms can be single or double and often feature intricate patterns and color variations.
The flowers of hardy hibiscus are also large and showy, but they tend to be more open and hollyhock-like in appearance. They typically have a single layer of petals and come in shades of white, pink, red, and even bicolor combinations.
Tropical hibiscus growth habit
Tropical hibiscus typically grows as an evergreen shrub and can reach heights of 8 to 16 feet, with a width of 5 to 10 feet.
The flowers are edible. Because of this, they are often confused with the hibiscus that studies have shown can lower blood pressure, H. sabdariffa. Commonly known as roselle, the calyx is dried and crushed and used to brew tea.
Choosing the planting site to grow hibiscus
Light
When selecting a location to plant tropical hibiscus, prioritize a spot that receives ample sunlight. These plants thrive in full sun but can tolerate light shade.
There is a caveat to the lots-of-direct-sun suggestion, however. If you live in the U.S. desert southwest, grow hibiscus in a spot that provides it with afternoon shade.
Temperature
Hibiscus grows best when temperatures are between 60- and 95 degrees Fahrenheit.
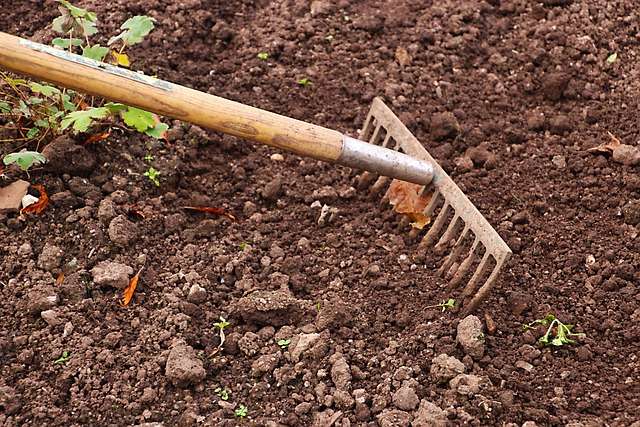
Soil
The soil should be well-draining and slightly acidic, with a pH between 5.5 and 7.0. Prior to planting, amend the soil with organic matter to enhance its fertility and drainage. Add elemental sulfur if needed to acidify the soil. Not sure if you need it? Use a soil pH meter.Amazon.com.
For a more in-depth look at acidifying the planting site, check out page 4 of this PDF from Oregon State University.
Care of the tropical hibiscus grown in-ground
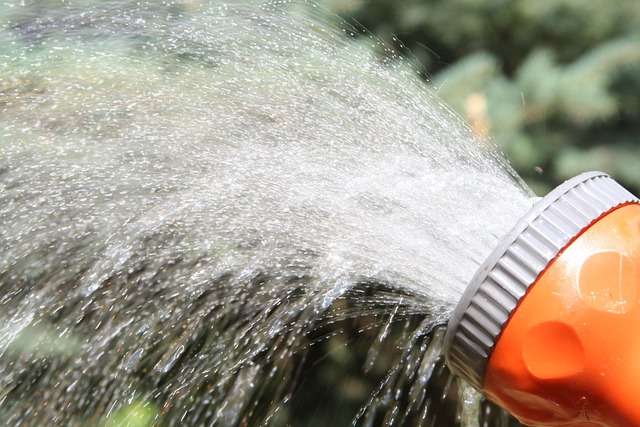
Water
Water is the hibiscus’ best friend, but there is still the danger of root rot when overwatered. If the weather is particularly hot and dry you may need to water, deeply, daily.
“As a general rule, water hibiscus once per day when summer temperatures are in the 70s and low 80s, and twice per day when they reach the upper 80s and 90s,” suggest the folks at Hidden Valley Hibiscus.
When it’s cold out, back off the watering schedule to once a week if the soil seems dry.
Fertilizer
Use a formula that is low in phosphorus and high in potassium. Fertilome makes a 17-7-10 hibiscus fertilizer and it’s available at Amazon.com. We like Carl Pool Hibiscus Plant Food (10-4-12) as it has less nitrogen and more potassium.
Apply the fertilizer every two weeks while the hibiscus is actively growing.
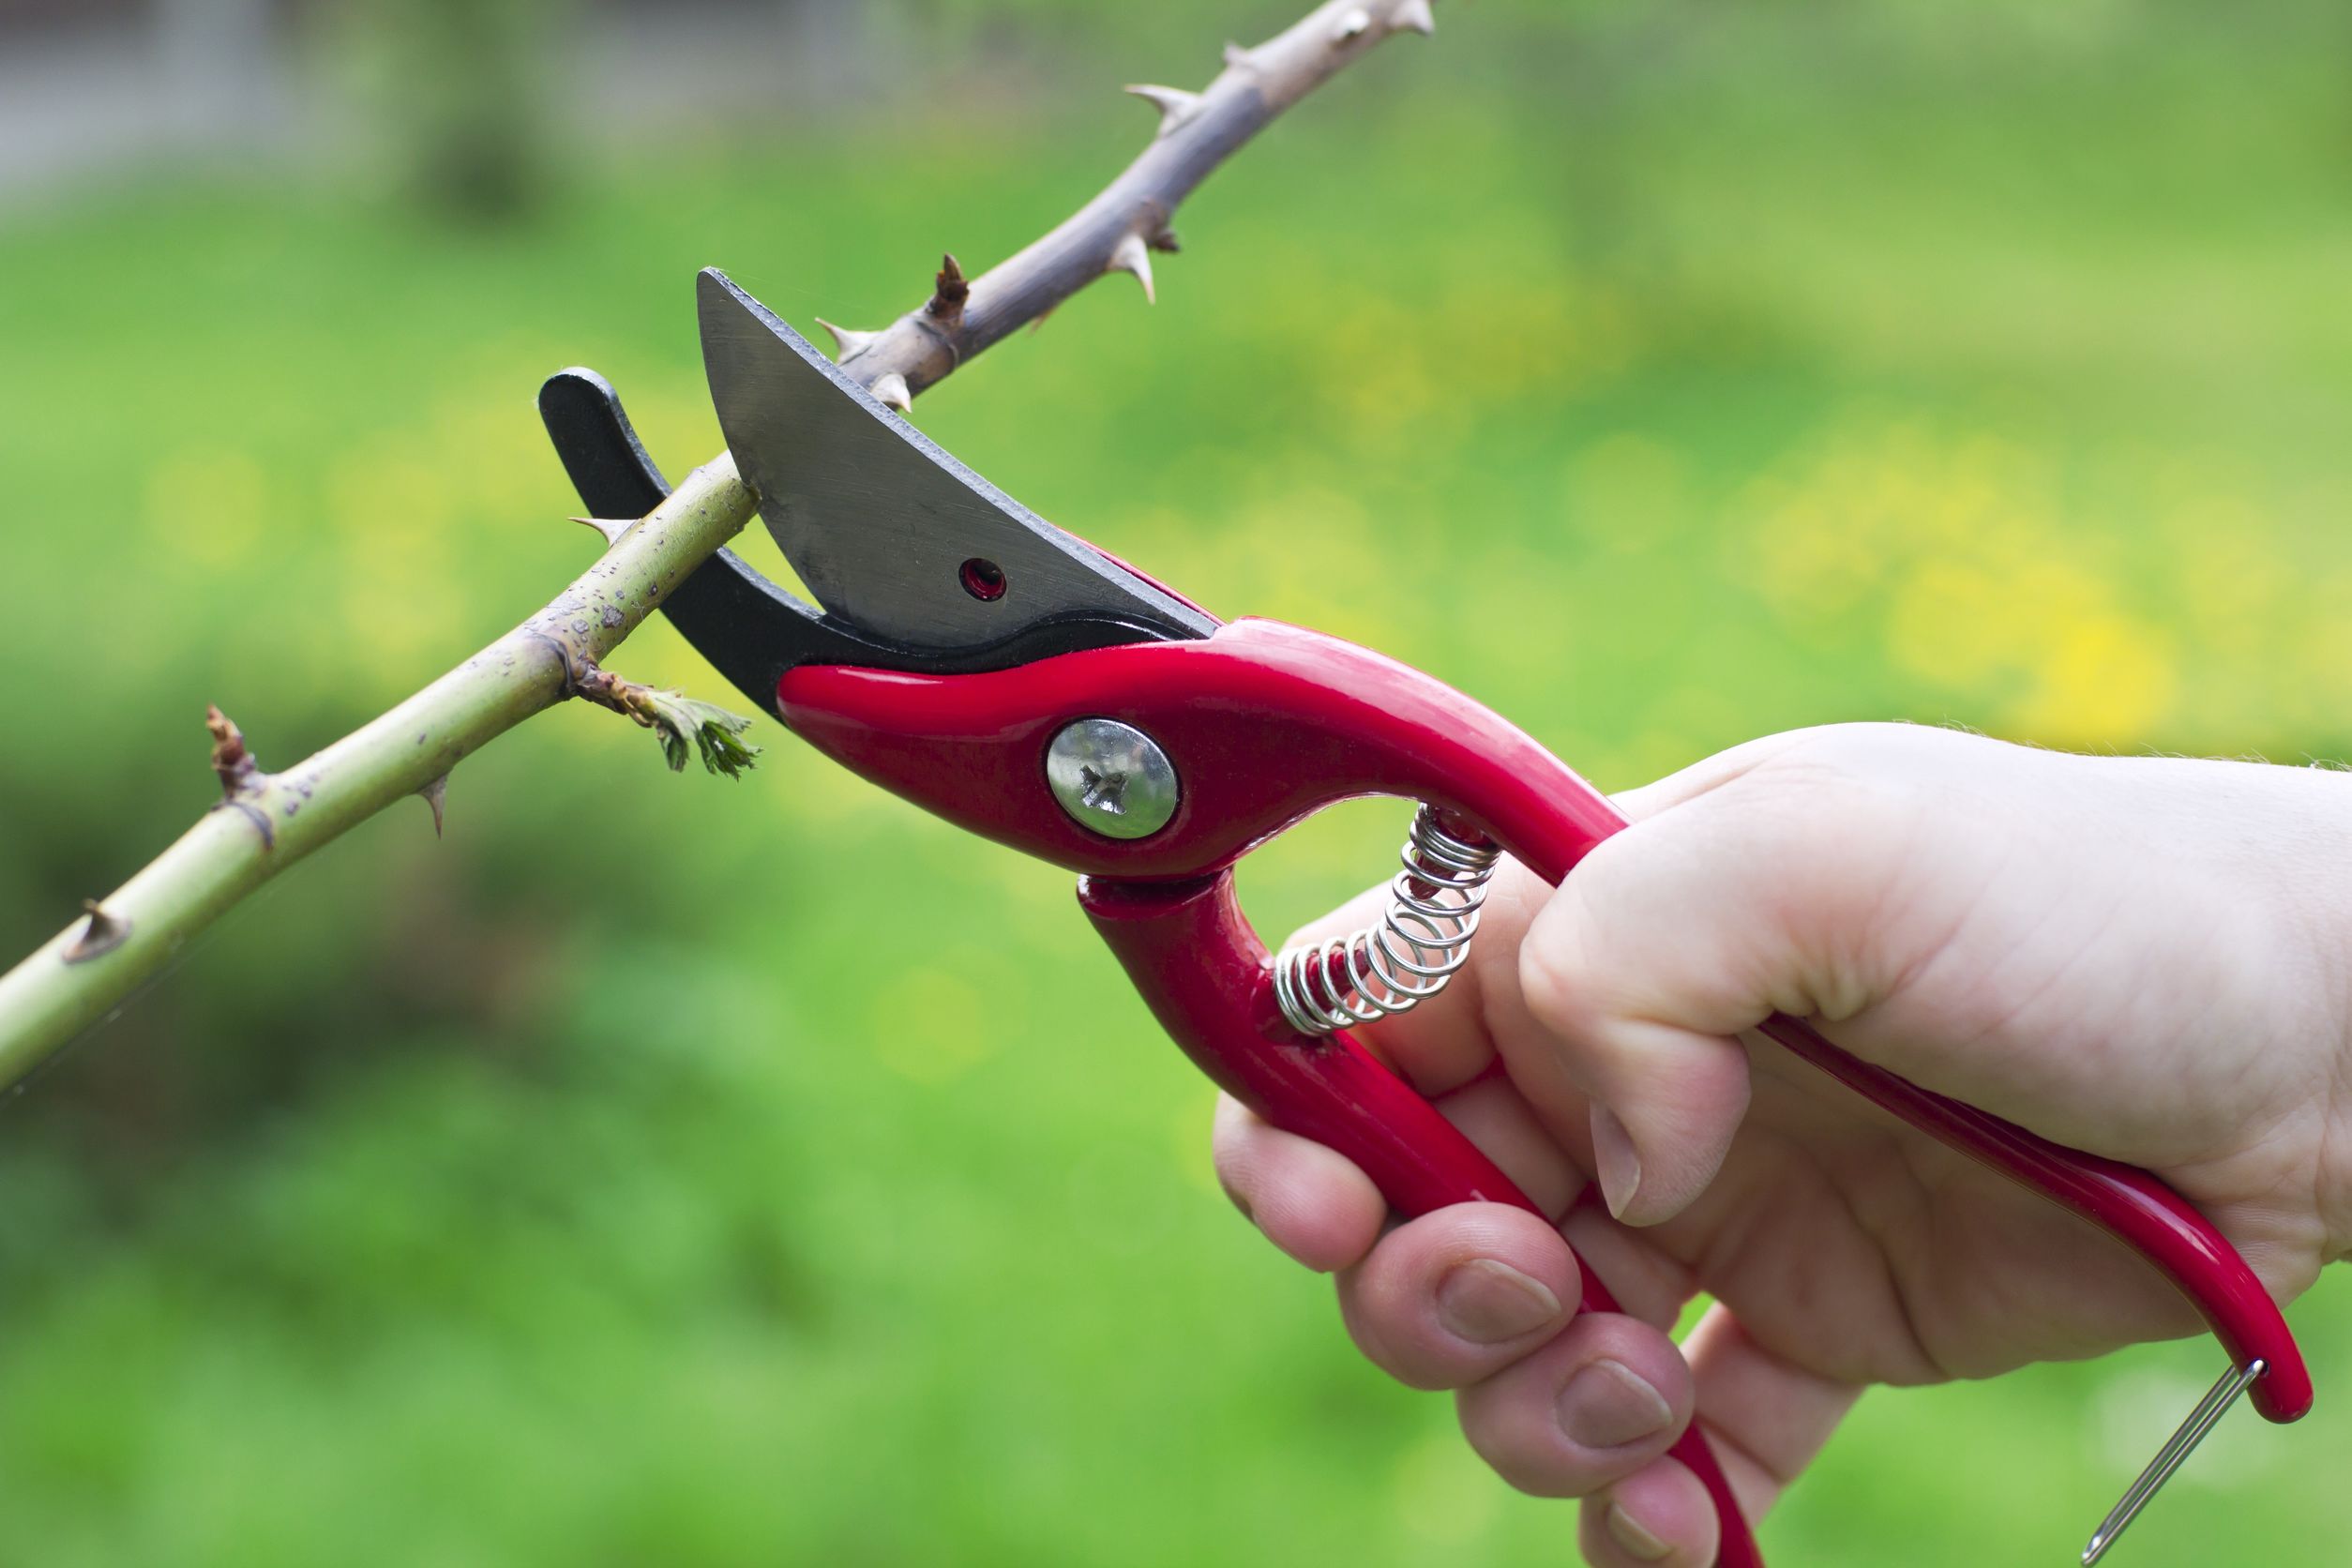
Pruning
Keep an eye on the weather forecast for your area. As soon as you see a warm period coming, sharpen and disinfect your pruning shears. Then get to work on the plant.
You can cut it back as far as one-third of its growth but ensure that each branch has at least two nodes left intact.
Cut ¼ inch above an outward pointing node, just as you would were you pruning a rose bush.
There is a “but” to this rule, however. If your hibiscus is sprawling, rather than growing upright, prune to an inward-facing bud. The folks at Hidden Valley Hibiscus say that this will “… force new growth to become more upright.”
If you want your hibiscus to grow bushier, use your fingers to pinch the growing tips of the branches.
Over-wintering
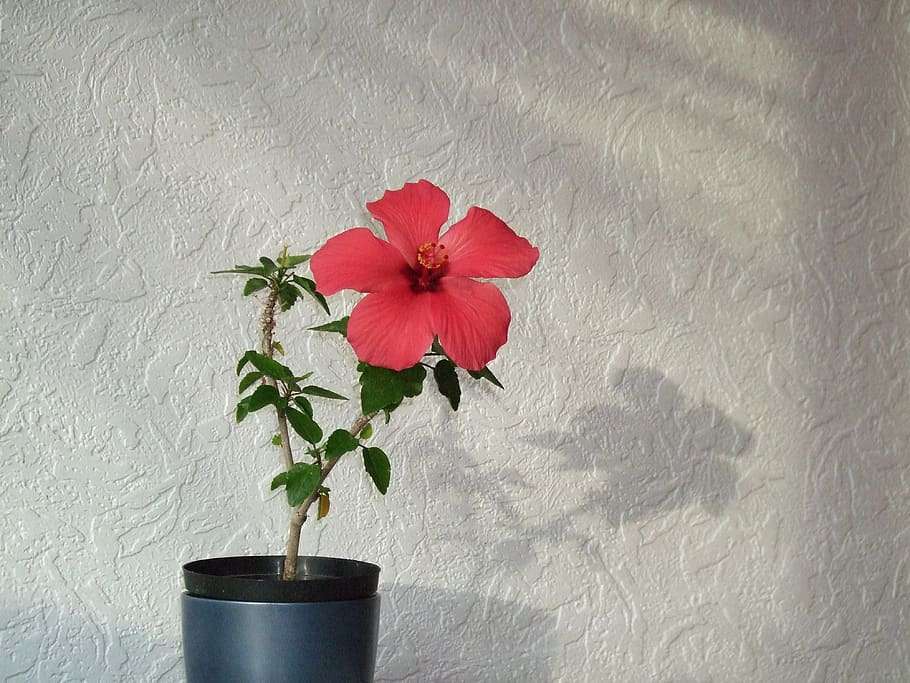
If you live in Florida, you don’t need to worry about this. The rest of us probably need to protect our tropical hibiscus. I mentioned earlier that I bring the potted one indoors. I treat it first with a systemic insecticide so I don’t bring the creepy crawlies into the house.
I set it in an area that gets lots of sunlight and it continues to bloom all winter.
For the in-ground hibiscus, water the soil around the plant. Then, apply a thick layer of mulch over the soil, to about one foot past the dripline. By thick, we mean 3 to 4 inches, piled up. This and the moist soil will help protect the roots from freezing.
If it gets exceptionally cold where you live, cover the hibiscus with frost cloth. Avoid using plastic sheets, towels, blankets or anything other than frost cloth.
Purchase lightweight frost cloth — it can remain in place because the sun typically penetrates the cloth.
There are many ways to install the frost cloth over the hibiscus but the method most commonly used includes:
- Installing the frost cloth just before sunset. This way, the soil is warm and the cloth will help keep that warmth around the plant.
- Drape the cloth all the way to the soil and out to the drip line.
- Ensuring there are no openings in the cloth.
- Using rocks, bricks or other heavy objects to hold the frost cloth to the soil. We use both bricks and landscape staples, such as these, available at Amazon.com. Just ensure that there are no gaps where the cold air can get in and the warm air gets out.

Managing common pests
The most common pests on my hibiscus plants are mealy bugs. They usually start their infestation late in the summer. I’ve tried many things to get rid of them and the only thing that works for me is a systemic insecticide.
If you decide to go this route, follow all precautions and instructions on the product’s label.
Other common hibiscus pests include:
Click on the name of the pest to learn more about it and control solutions.
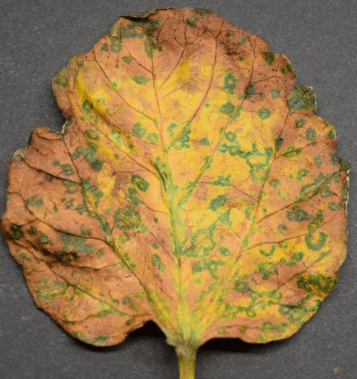
Hibiscus diseases
- Dieback disease (or branch tip dieback)
- Leaf spot
- Canker
- Mushroom root rot
 Yes, you can grow hibiscus in pots
We grow several hibiscus in pots. These are the ones that we find don’t tolerate temperatures below about 54 degrees Fahrenheit so we bring them inside during the winter. The best part of this is that they continue to bloom all winter long.
If your garden space is limited or you want to bring the beauty of tropical hibiscus indoors, consider growing it in pots.
If your new hibiscus is growing in a 2.5 to 3-gallon nursery pot and you want to plant it in something more attractive, a 10” pot is highly recommended by growers.
Other sizes should be planted in the next-sized pot, such as going from a 4” to a 6”. Hibiscus doesn’t tolerate overpotting very well.
Remember, the pot should have drainage holes and be filled with a quick-draining potting mix.
DIY potting soil for the hibiscus
The pros at Hidden Valley Hibiscus recommend a soilless mixture composed of:
Feel free to throw in a handful of worm castings or kelp meal and combine it with the potting mix.
When growing in a pot, the hibiscus will need frequent doses of fertilizer. Again, the pros at Hidden Valley Hibiscus have a suggestion:
“Use 1/2 the dose on the fertilizer label each time you water, and watch carefully for signs of fertilizer burn – brown edges on otherwise healthy leaves.”
If the hibiscus does show signs of burning, they recommend that you “… stop fertilizing for 2-3 weeks. When you resume, dilute the fertilizer even more.” We would cut the strength by 25% of that recommended on the label.
Pruning the potted hibiscus is important if you love the flowers. You can promote blooms by snipping stems above a node that is located on top of the stem.
Finally, you’ll need to root prune every other year. Remove the plant from its pot and use a sterilized knife to slice off the bottom two inches of roots.
Throw some fresh potting soil into what’s left in the pot and then replant the tropical hibiscus.
Hibiscus propagation with cuttings
Fill a planting pot with perlite, water well and allow it to drain while you deal with the cutting.
Choose and prepare the cutting
Choose a healthy stem, no thicker than the diameter of a pencil. It should have at least 8 inches of brown, woody stem. Cut off any green growth and remove all leaves but two or three at the top.
Use a scalpel or a grafting knife to make a diagonal cut through the bottom of the stem, at a node. Dip the end in water and then dip it in rooting hormone. We highly recommend Hormex Rooting Powder #3.
Stick the hibiscus cutting
Use a pencil to create a planting hole in the perlite and stick the hormone-covered end of the cutting in the hole. Pack the perlite around the cutting and keep it consistently moist (not soaking wet).
Provide humidity
Enclose the cutting and pot in a plastic bag or cover with a clear plastic dome to create a humid environment. For taller cuttings, such as these, we purchased a mini greenhouse that sits on a tabletop. Wish we would’ve gotten it a long time ago — it’s amazing for tall cuttings that need humidity.
Root development: Place the cutting in a bright but indirect light location. Rooting can take several weeks. At around three weeks after planting, tug gently on the cutting. If you meet with resistance, the cutting most likely has roots.
Allow the cutting to grow on until it has foliage and then transplant the cutting into a larger container or the garden.
We hope you enjoy growing your tropical hibiscus and the tropical vibe it lends to your garden.
Mention of a pesticide or fungicide is for educational purposes only. Always follow the pesticide label directions and cautions. Ensure that you wait the required number of days between pesticide application and when you can harvest your crop (that information is on the label).