This post may contain affiliate links. As an Amazon Associate we earn from qualifying purchases.
Cilantro (Coriandrum sativum) is what gives Mexican cuisine its kick. In fact, can you imagine salsa without cilantro?
A biennial herb in the parsley family, cilantro can be grown either indoors or out. In England, by the way, cilantro is commonly called “coriander.” Here in the U.S. we reserve the word coriander for the plant’s dried seeds and “cilantro” for the leaves.
We receive so many questions about growing cilantro indoors, however, that we’ve decided to devote today’s post to the topic.
What you’ll need to grow cilantro indoors
- Potting mix
- Sand
- Planting container
How to plant cilantro seeds
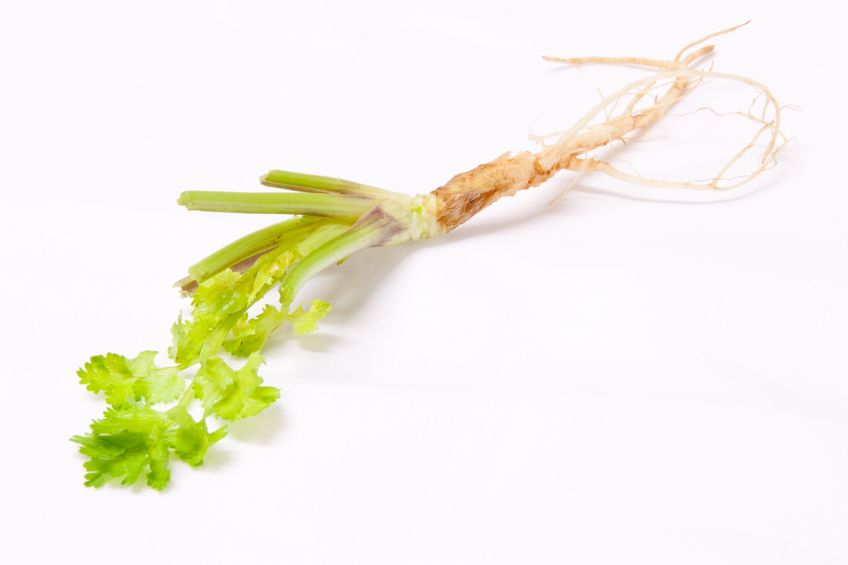
The choice of growing container is critical when planting cilantro seeds. The plant develops a taproot quite early. It’s sensitive and doesn’t tolerate being disturbed.
So, choose a container that the cilantro can grow into without having to dig it up to transplant it (at least 12 inches in height but taller is better). And, remember, cilantro is a seasoning, so you won’t need to plant window-box style planters full of it.
 Combine equal parts of a high-quality, sterile potting mix and coarse sand. Don’t be tempted to cut corners when it comes to potting mix. Cheap mixes tend to harden, impeding drainage. And sterile soil is required because cilantro seeds are prone to damping off, a disease of seeds and seedlings cause by various organisms (Pythium spp., Rhizoctonia solani, and Fusarium spp. in cilantro seedlings).
There are ways of preventing damping off, short of dusting the seeds with fungicide. Ensure that everything that the seed will touch, including the soil, is disinfected. Disinfect planting pots that you will be reusing by washing and soaking in a disinfectant. We walk you though the process, here.
Pasteurize the planting mix by heating it to kill off the pathogens. Place the mix in a pan that is 3 to 4 inches deeper and place it in a preheated 200 degree Fahrenheit oven. Use a meat thermometer to check the temperature every 15 minutes or so. When it reaches 160 degrees, turn off the oven and allow the mix to sit in the cooling oven for 30 minutes.
Don’t plant until the soil is completely cool. Then, fill the container until it’s almost full with the planting mix. The higher the level of the mix, the more air it will be exposed to, which is necessary to avoid the aforementioned fungal problems.
Moisten the mix well and, no, you don’t need to leave your water out for 24 hours to allow the chlorine to “evaporate,” as one Southern California gardening video maker insists. Especially if you live, like she does, in Southern California – where, by and large, your tap water is disinfected with chloramine, not chlorine, and it won’t “evaporate” within 24 hours.
Most plants tolerate chlorinated water just fine (as long as it’s not from a swimming pool), so ignore the amateur advice you may read online.
 Allow the water to drain completely from the bottom of the container and then push the cilantro seeds one-half inch into the soil, 2 inches apart. Don’t tamp the soil over the seeds, just push them in and leave them.
Set the container in an area that receives lots of sunshine (at least 4 to 5 hours per day) but not overly-warm temperatures (remember, this is a cool season crop and the plant bolts when the temperatures rise). The soil temperature should remain no warmer than 75 degrees.
Place a fan next to the germinating container and keep it running. It should gently blow air over, not on, the soil.
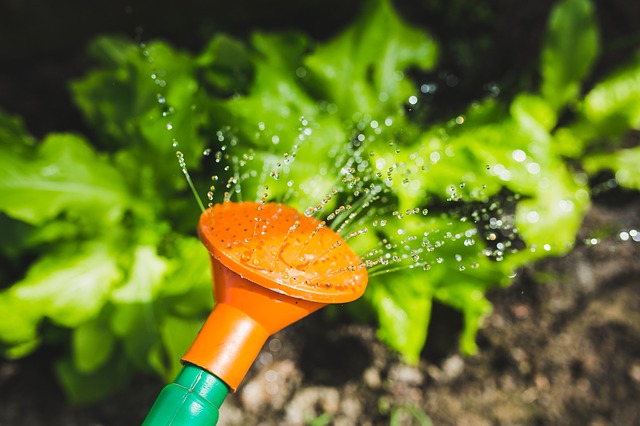
Water the mix just often enough to keep it slightly moist. Slightly is the key word to focus on here. Damping off strikes seeds planted in cold, wet soil. We use a spray bottle to water to avoid this and to not disturb the seed or the seedling. As it grows, allow the top of the soil to dry out before watering. Then, drench the soil, until water runs from the bottom of the container.
You should see the cilantro sprout within 10 days, but don’t freak out if it takes longer. The leaves should be ready to harvest within 40 to 50 days of sprouting, when they leaves are 4 to 6 inches in height.
If you’ll want more, repeat the germination procedure, in a new container, every two weeks.
Fertilize the cilantro seedlings when they have their third set of leaves. Use a nitrogen fertilizer (see Resources, below), diluted to half the strength recommended on the label. Then, reapply in two to three weeks. Be careful not to over-fertilize cilantro or it may effect its flavor.
How to store fresh cilantro
You’ll need to use quickly all the cilantro you don’t give away, unless you freeze it or dry it. You’ll find lots of advice on how to freeze cilantro online, but be aware that as it thaws, the herb tends to turn to mush.
Dried cilantro, on the other hand, loses a lot of its flavor. Not good for an herb used specifically to flavor foods.
Keep it in the refrigerator for several weeks by following the tips you’ll find at TasteEssence.com.
If you’re unsure of how to prepare cilantro for cooking, check out this walkthrough at RealSimple.com.

Cilantro recipes
Cilantro-Lime Chicken Fajitas with Grilled Onions
Black Bean Potato Vegan Enchiladas with Avocado Cilantro Sauce
Roasted Vegetables Plate with Cilantro Parsley Dressing
Seared Sea Scallops with Gingered Pea Purée and Cilantro Gremolata
Beef Sirloin with Soy, Ginger and Cilantro
Resources
Potting soil: Happy Frog
Sand: Calibonsai Coarse Sand
Fertilizer: Cilantro above all needs nitrogen. Our favorite organic nitrogen fertilizer solution is Lily Miller’s Fish Fertilizer.