This post may contain affiliate links. As an Amazon Associate we earn from qualifying purchases.
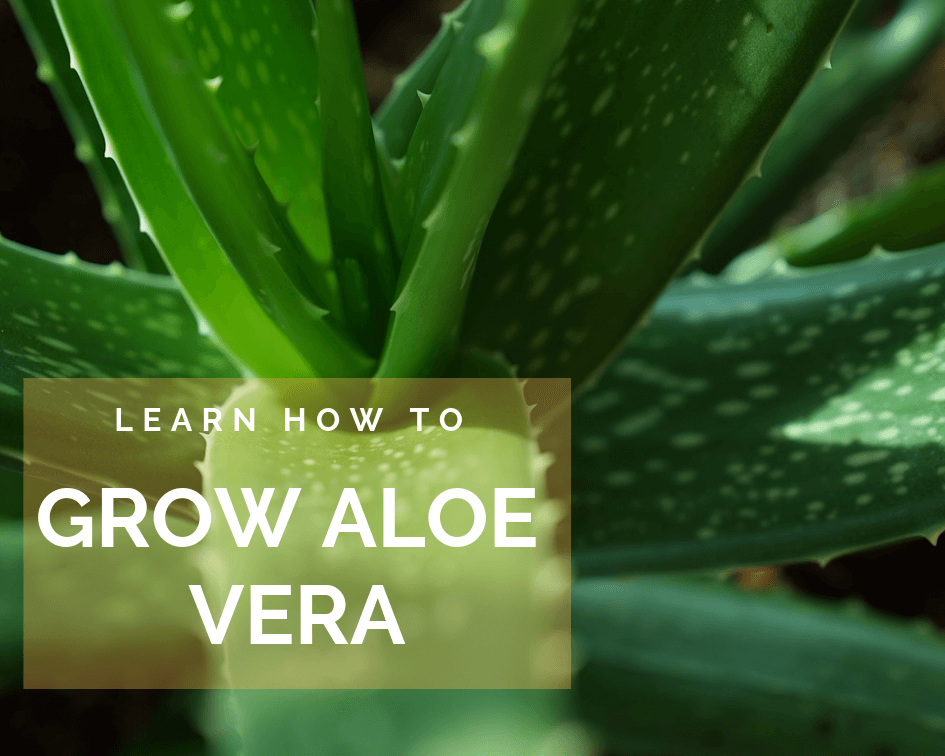
Growing Aloe vera gives you access to one handy, multi-tasker. It’s one of the most commonly used plants in alternative medicines, according to Steven D. Ehrlich, NMD, of the University of Maryland Medical Center.
The juice of its succulent leaves is used to treat burns, soothe skin irritations and wounds. It’s also been touted as a way to lower cholesterol and triglycerides, reduce blood pressure, improve dental health, treat ulcerative colitis, manage diabetes and relieve symptoms of psoriasis, according to Chelsea Clark of the Natural Health Advisory Institute, in an article at MotherEarthNews.com.
Keep in mind, however, that studies as to the effectiveness of the plant in medicine have varied results and are frequently disputed by additional studies. Be that as it may, my mama used to wipe me down with the plant’s pulp whenever I had a sunburn and it worked!
The benefits of growing Aloe vera for the indoor and outdoor gardener is that it’s a surprisingly easy plant to grow.
Things you’ll need when growing Aloe vera plants outdoors:
- Shovel
- Wheelbarrow
- Coarse Sand
- Compost
- Gardening Fork
- Fertilizer

Growing Aloe vera outdoors
Click here or scroll down to find out how to grow Aloe indoors.
If you live within USDA hardiness zones 9a to 11, you can easily grow Aloe vera outdoors. Choose the sunniest, warmest spot in the garden and check the soil there to ensure it drains quickly.
The best way to do this is to dig a hole 1 foot wide and 1 foot deep. If the soil on the sides and bottom of the hole is moist, cover the hole with cardboard or a piece of plywood and let it sit for a few days until the soil dries.
Fill the hole with water and time how long it takes for all of the water to drain from the hole. Ideally, you want it to drain within 30 minutes. If it takes longer than one hour, you’ll need to amend the soil to hasten drainage or choose another planting spot with better drainage.
Let’s plant that Aloe.
First, fill in the hole with the previously removed soil. Then, use a wheelbarrow to mix equal parts of compost and coarse sand.
Add 6 inches of this mixture to the soil and, using a garden fork or shovel, mix it into the top 10 inches of soil.
Dig a planting hole just deep enough to cover the root ball without allowing the fleshy leaves to touch the soil (which may cause rot).
Allow the Aloe to acclimate and heal any damaged roots for several days before giving it the first watering. Then, soak the soil. Don’t water again until the top 6 inches of soil is bone dry.
Apply a bloom-type fertilizer to the soil around the Aloe vera in the spring. Dilute the fertilizer to half the amount specified on the label. We use Fox Farm Tiger Bloom Fertilizer, available at Amazon.com.
Protect the outdoor-grown Aloe during the winter if temperatures in your area get colder than 32 degrees Fahrenheit.
Aloe pests and diseases
Common Aloe Pests

Snout beetle
This guy is a pest, literally. He has this weird little snout and he uses it to pierce the Aloe’s leaves and suck out the sap. Technically, this makes him a weevil.
Symptoms of an infestation include “… a telltale dark spot that dries into a pea-sized dry spot with a puncture mark in the middle,” according to Bob Williams with the Henry Shaw Cactus and Succulent Society.
Then, the kids come along and do even more damage. “The newly hatched larvae bore straight into the stem, where they spend the remainder of their larvae cycle. The rot and destruction caused by the larvae are what eventually kills the Aloe,” according to Williams.
Get them before they mate by picking them off the plant. A systemic insecticide will take care of the youngins. Try this one from Bonide.

Aloe gall mite
As a houseplant and/or outdoor gardener, you are no doubt acquainted with the dreaded spider mite. The red spider mite (Tetranychus urticae) is one type that is attracted to Aloes (and can be controlled with Arber Bio Insecticide). In reality, this critter is attracted to a ton of different plants, so it’s not picky about what it eats.
There is another mite, however, the Aloe mite (Eriophyid spp.), that is just as attracted to the plant and even more dangerous.
If the Aloe’s leaves are spotted and have a bleached appearance and webbing on the leaves, suspect spider mites. If, on the other hand, new leaves are distorted, you’ll need to treat the Aloe for Eriophyid mites.
These jerks “… cause malformations in plants by injecting a chemical that induces galling into the plant tissue,” according to Jack Kelly and Mary W. Olsen at The University of Arizona Cooperative Extension.
“Once the plants are infected, the irreversible damage by aloe mite progresses,” according to a study published in The Journal of Economic Entomology.
Although the study recommends three treatments with an insecticide containing carbaryl, or two others not available to the public, the folks at Arbico Organics claim that “Control options for Aloe mites are limited and no chemical treatments have proven effective in university trials.”
Their recommendation is to prune out the infected parts of the Aloe. “If the problem is severe, remove the whole plant. Do Not Compost,” they caution.
Miticide sprays may work, they say, but the spray needs to directly come into contact with the mites. This is challenging because they hang out in areas that can’t be reached (smart little buggers). They recommend an OMRI certified organic spray, Pure Crop 1.
Kelly and Olsen say that the damage is irreversible and that the plant should be removed and bagged so as not to spread the infestation.

White Scale
If you notice something that looks like white powder on your Aloe, it may be white scale. If enough of the leaves’ surface is covered, it may block sunlight and the plant will die.
“They are stationary insects that are easy to kill, but they tend to remain where they are, creating the impression that the insecticide has had no effect on them,” cautions the pros at Sunbird Aloes.
Monterey Bug Buster-O is listed to control soft scale. Wait about 10 days after spraying to wash the dead scale off the Aloe. If it rains during that time, apply the product again and start the 10 day waiting period again. Remember to follow the label instructions and cautions.
Aloe Diseases
Basal Stem Rot
If it’s cold and wet and your Aloe has red/brown or black areas, kiss it bye bye. Before you do that, however, take a cutting well above the rotted tissues so that you can start a new plant.

Aloe Rust
For a very long time, the fungal pathogens Phakopsora pachyfhiza and P. meibomiae were known to cause rust on Aloes. In 2021, however, scientists found the first signs of rust caused by Uromyces aloes at a nursery in Pennsylvania. Although this pathogen is known in India and South Africa, this was a first in the United States.
Symptoms of this rust infection include dark-brown, flask-shaped fruiting bodies of the fungus. These spots are surrounded by a lighter brown or yellow band.
P. pachyfhiza and P. meibomiae rust is evidenced by a yellow spot, just under the leaf’s epidermis. The spot grows until it is “… a small coin size,” according to plant breeders at Sunbird Aloes. Eventually, the skin breaks, and the reddish-brown spores are exposed.
The good news for those of us who love our Aloes is that this disease requires no treatment, as it “… is self limiting,” according to the experts at Penn State University. In the meantime, if you want to prevent new spores from forming, dust the plant with sulfur powder. Yes, it will look crazy for awhile.
Sooty mold is as disgusting as it sounds. A fungal infection, it often is accompanied by its good buddies, mealy bugs and/or aphids. Actually, it shows up late to the party. Mealy bugs and aphids leave honeydew on the leaves after sucking the moisture out of the Aloe. This is why you often have an ant problem when aphids are around.
Sooty mold is attracted as well to honeydew and it decides to hang around a while. The best course of action, after you rid the plant of the mealys and aphids, is to wash the honeydew off of it.
 Anthracnose disease
Another fungal disease, anthracnose on Aloe vera is caused by Colletotrichum gloeosporioides. The disease starts with small, round spots that are dark green in color. Later, these spots will take on a circular shape and form a tan colored center. The lesions continue morphing. For instance, that tan center will turn a brick-color and then brown.
The worst part is that as the lesions grow, they’ll eventually join all the others to create one big dead spot.
Be on the lookout for anthracnose when the weather is wet and warm. Use caution when watering that you don’t splash soil onto the Aloe and apply a liquid copper fungicide, such as Liqui-Cop. Be sure to follow the label instructions and cautions.
Grow Aloe vera indoors
Things you’ll need to grow Aloe vera plants indoors
- Planting pot with large drainage holes
- Cactus mix
Much of the Aloe vera’s popularity stems from the fact that it grows quite easily indoors. It won’t get as large in a pot, however, as it can when planted outdoors.
Choose a planting pot that has large drainage holes in the bottom. Don’t cover the holes with pottery shards or rocks, as some gardening sites recommend. This actually impedes drainage, and Aloe vera plants need good drainage.
Cactus mix is the ideal soil in which to grow the plant. Sungro makes a decent, inexpensive mix (available here, at Amazon.com) and if you’re going organic, or want a higher quality mix, check out this coir-based blend, also at Amazon.
Fill the pot with enough planting mix so that when the Aloe is planted, the bottom leaves are located above the soil. Place the plant in the pot and pack the rest of the mix over and around the roots until the pot is full to within an inch of the rim.
Saturate the mix with water until it drains from the bottom of the pot. Don’t water again until a finger inserted all the way into the mix comes out dry.
Grow the Aloe vera plant in a sunny window but keep an eye on the leaves. If they begin turning brown, move it away from the window (but not too far).
Once a year, in spring, fertilize the Aloe vera plant with a bloom-type fertilizer (see the recommendation under “Growing Aloe vera outdoors”). Dilute the label recommended dose to half-strength.

Repotting Aloe vera
No, I didn’t forget to tell you how to repot your aloe. Let’s dive in.
- Water the Aloe the night before repotting.
- Fill the new pot with whatever you use to pot your Aloes. I like a half-and-half mixture of fluffy potting soil and cactus mix.
- Water the mix until it’s saturated and set the pot aside to drain.
- The next day, remove 1/2 to 2/3 of the potting mix in the new pot and set it aside.
- Remove the Aloe from its current home and place the roots into the new pot. Ensure that the roots aren’t all wound around one another and that the Aloe is centered.
- Add back the soil you removed from the new pot until the Aloe’s stem is covered.
- Use your hands to lightly pat the soil to remove air pockets.
- Place the Aloe in a lightly shaded area. In front of a window with a sheer curtain is ideal.
How to propagate Aloe vera
The easiest way to propagate Aloe vera is by removing and planting the “pups” that will grow from the base of the mother plant. When the pups have several sets of leaves, it’s safe to remove it from the mother plant. In fact, repotting the Aloe is the perfect time to take the pups.
Gently remove the mother plant from the pot, brushing the soil from the roots. Use a clean, disinfected sharp knife (we use a grafting knife, like this one at Amazon.com).
If the pups you remove have their own roots you can pot them right up. If they lack roots, they’ll need to form a callus over the wound created by cutting it from the main plant. Set those pups aside, out of sunlight, for about a week. Then, plant it in their own pots and water deeply. Allow the potting mix to dry completely between waterings.
Use a craft stick or rock to support the pup until it grows roots. Then place it in an area that receives indirect sunlight until it becomes established.
How to use your Aloe vera plant to soothe burns
To use Aloe vera for a kitchen burn or sunburn, remove a section of an Aloe vera leaf with a razor blade or sharp knife (again, we use our grafting knife). Peel ¼ of an inch of the outer skin from the leaf, at the cut end. Gently wipe the sticky gel on the burn
Wrap the remaining leaf in plastic wrap and refrigerate. Repeat the application every three to four hours.

Resources
If you are shopping for a new Aloe vera plant, you’ll find them online in a number of places. Amazon.com has a large selection (we like this one from Costa Farms) and Plants by Mail has an extraordinary Safari Rose aloe (pictured above).
Want to learn more about Aloe vera and succulents in general? We recently purchased a book as a Christmas gift and the recipient raves about it: “Essential Succulents: The Beginner’s Guide,” available at Amazon.com.


Sooty Mold