This post may contain affiliate links. As an Amazon Associate we earn from qualifying purchases.
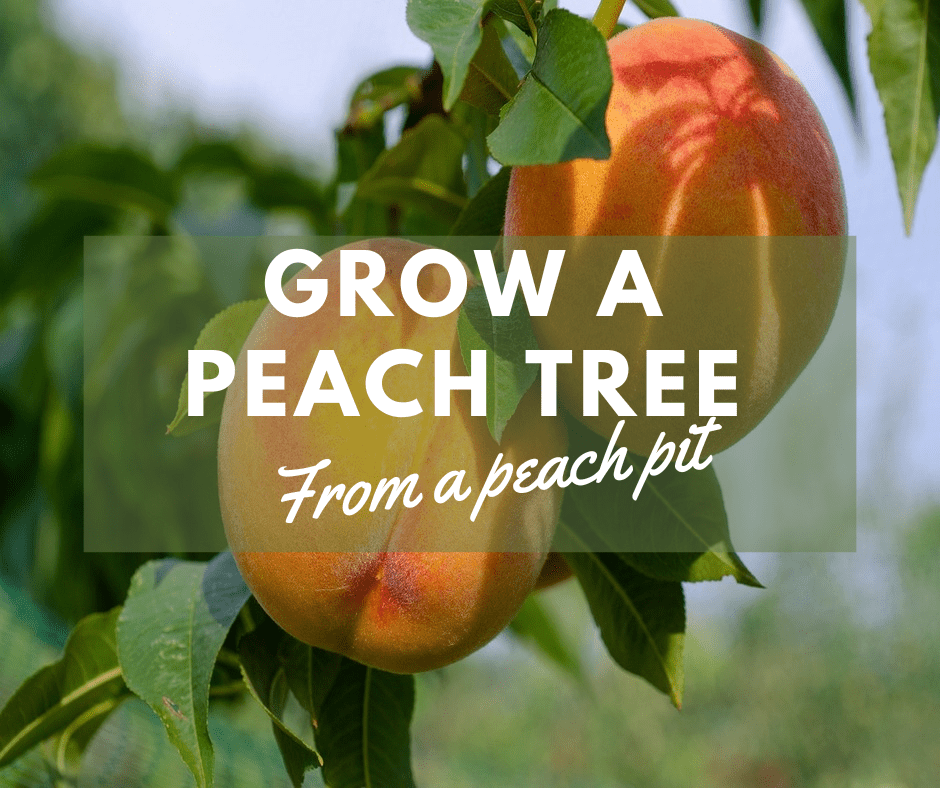
Your odds are good that when you tell a fellow gardener that you’re going to grow a peach tree from a pit they’ll try to dissuade you.
The main reason, they’ll explain, is that it won’t grow “true” to the mother plant. What that means is that the chances are good that your peaches won’t taste like the mother plant’s peaches. They may be tasteless, or, worse yet, sour.
But, here’s a secret for you: they may taste better!
Gardening is supposed to be fun, and experimenting, for some of us, is a blast.
So, if you’ve ever wondered how to grow a peach tree from a peach pit, you’ve come to the right place. Understand, however, that this isn’t a quick process so it requires plenty of patience.
What you will need to grow a peach tree from a pit
- Fresh and healthy peach pit
- Nutcracker, pliers or locking pliers and hammer
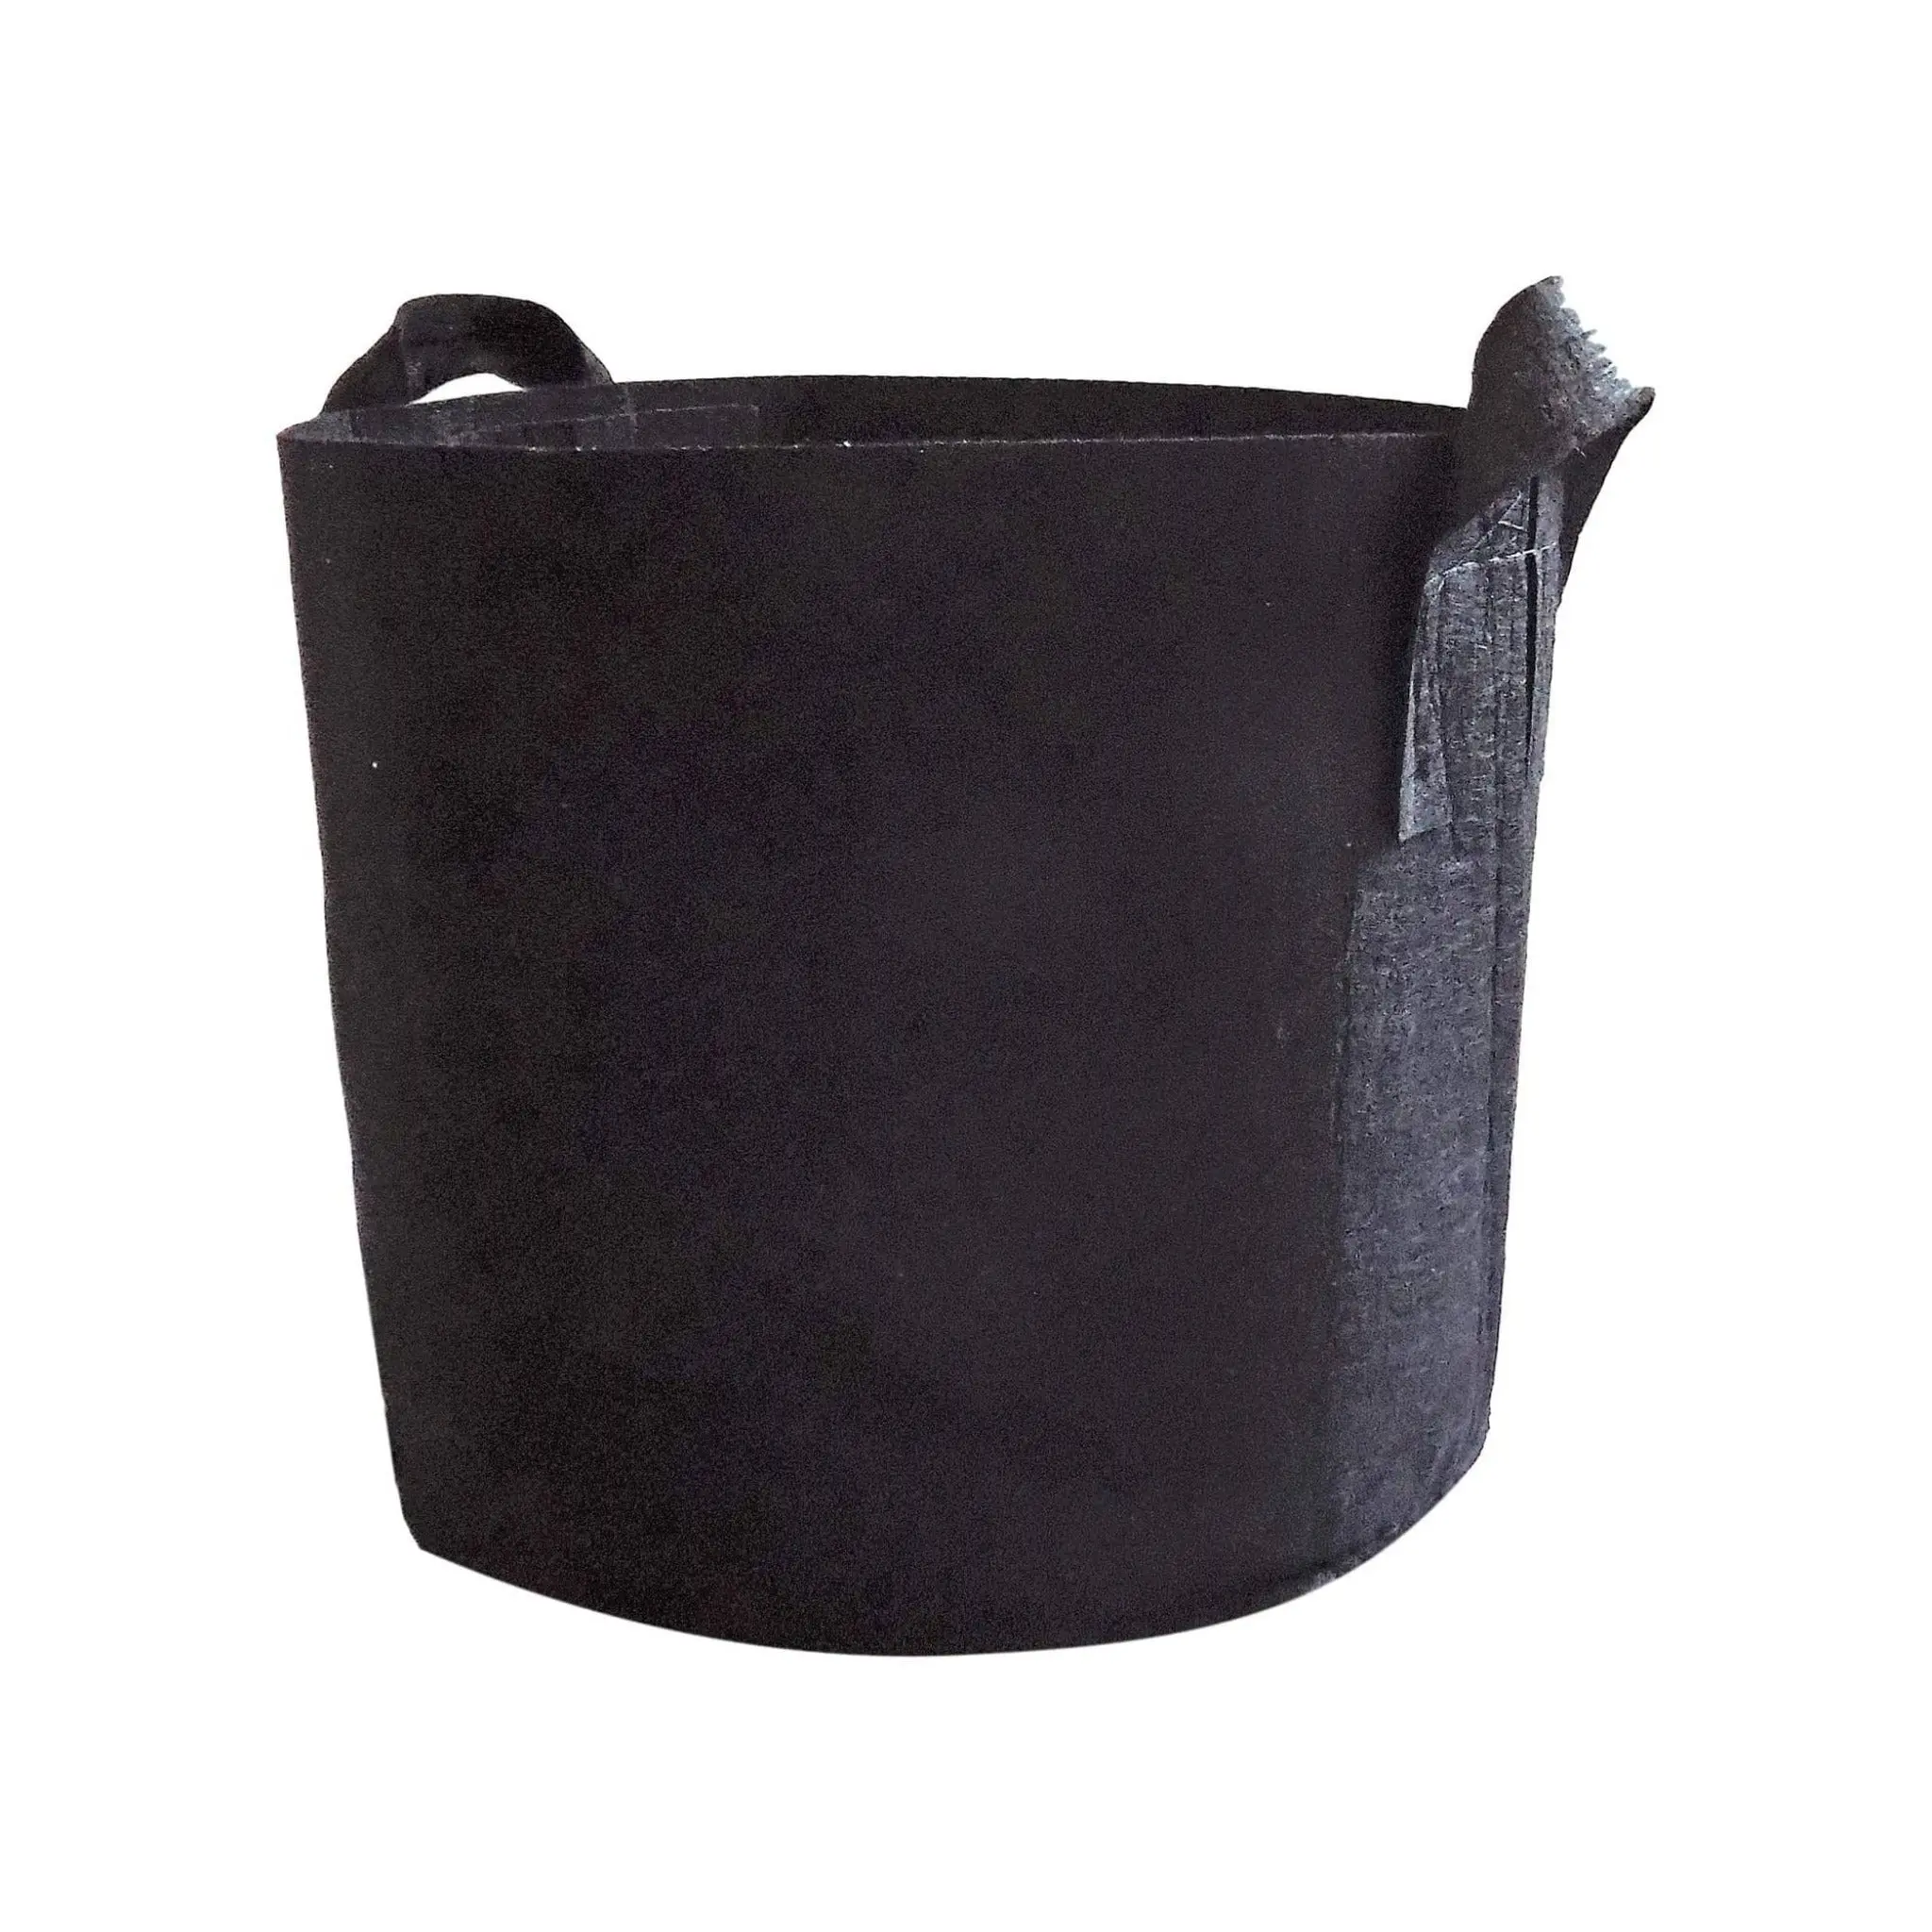
- 3 to 5-gallon nursery pot with drainage holes or Grow Pot
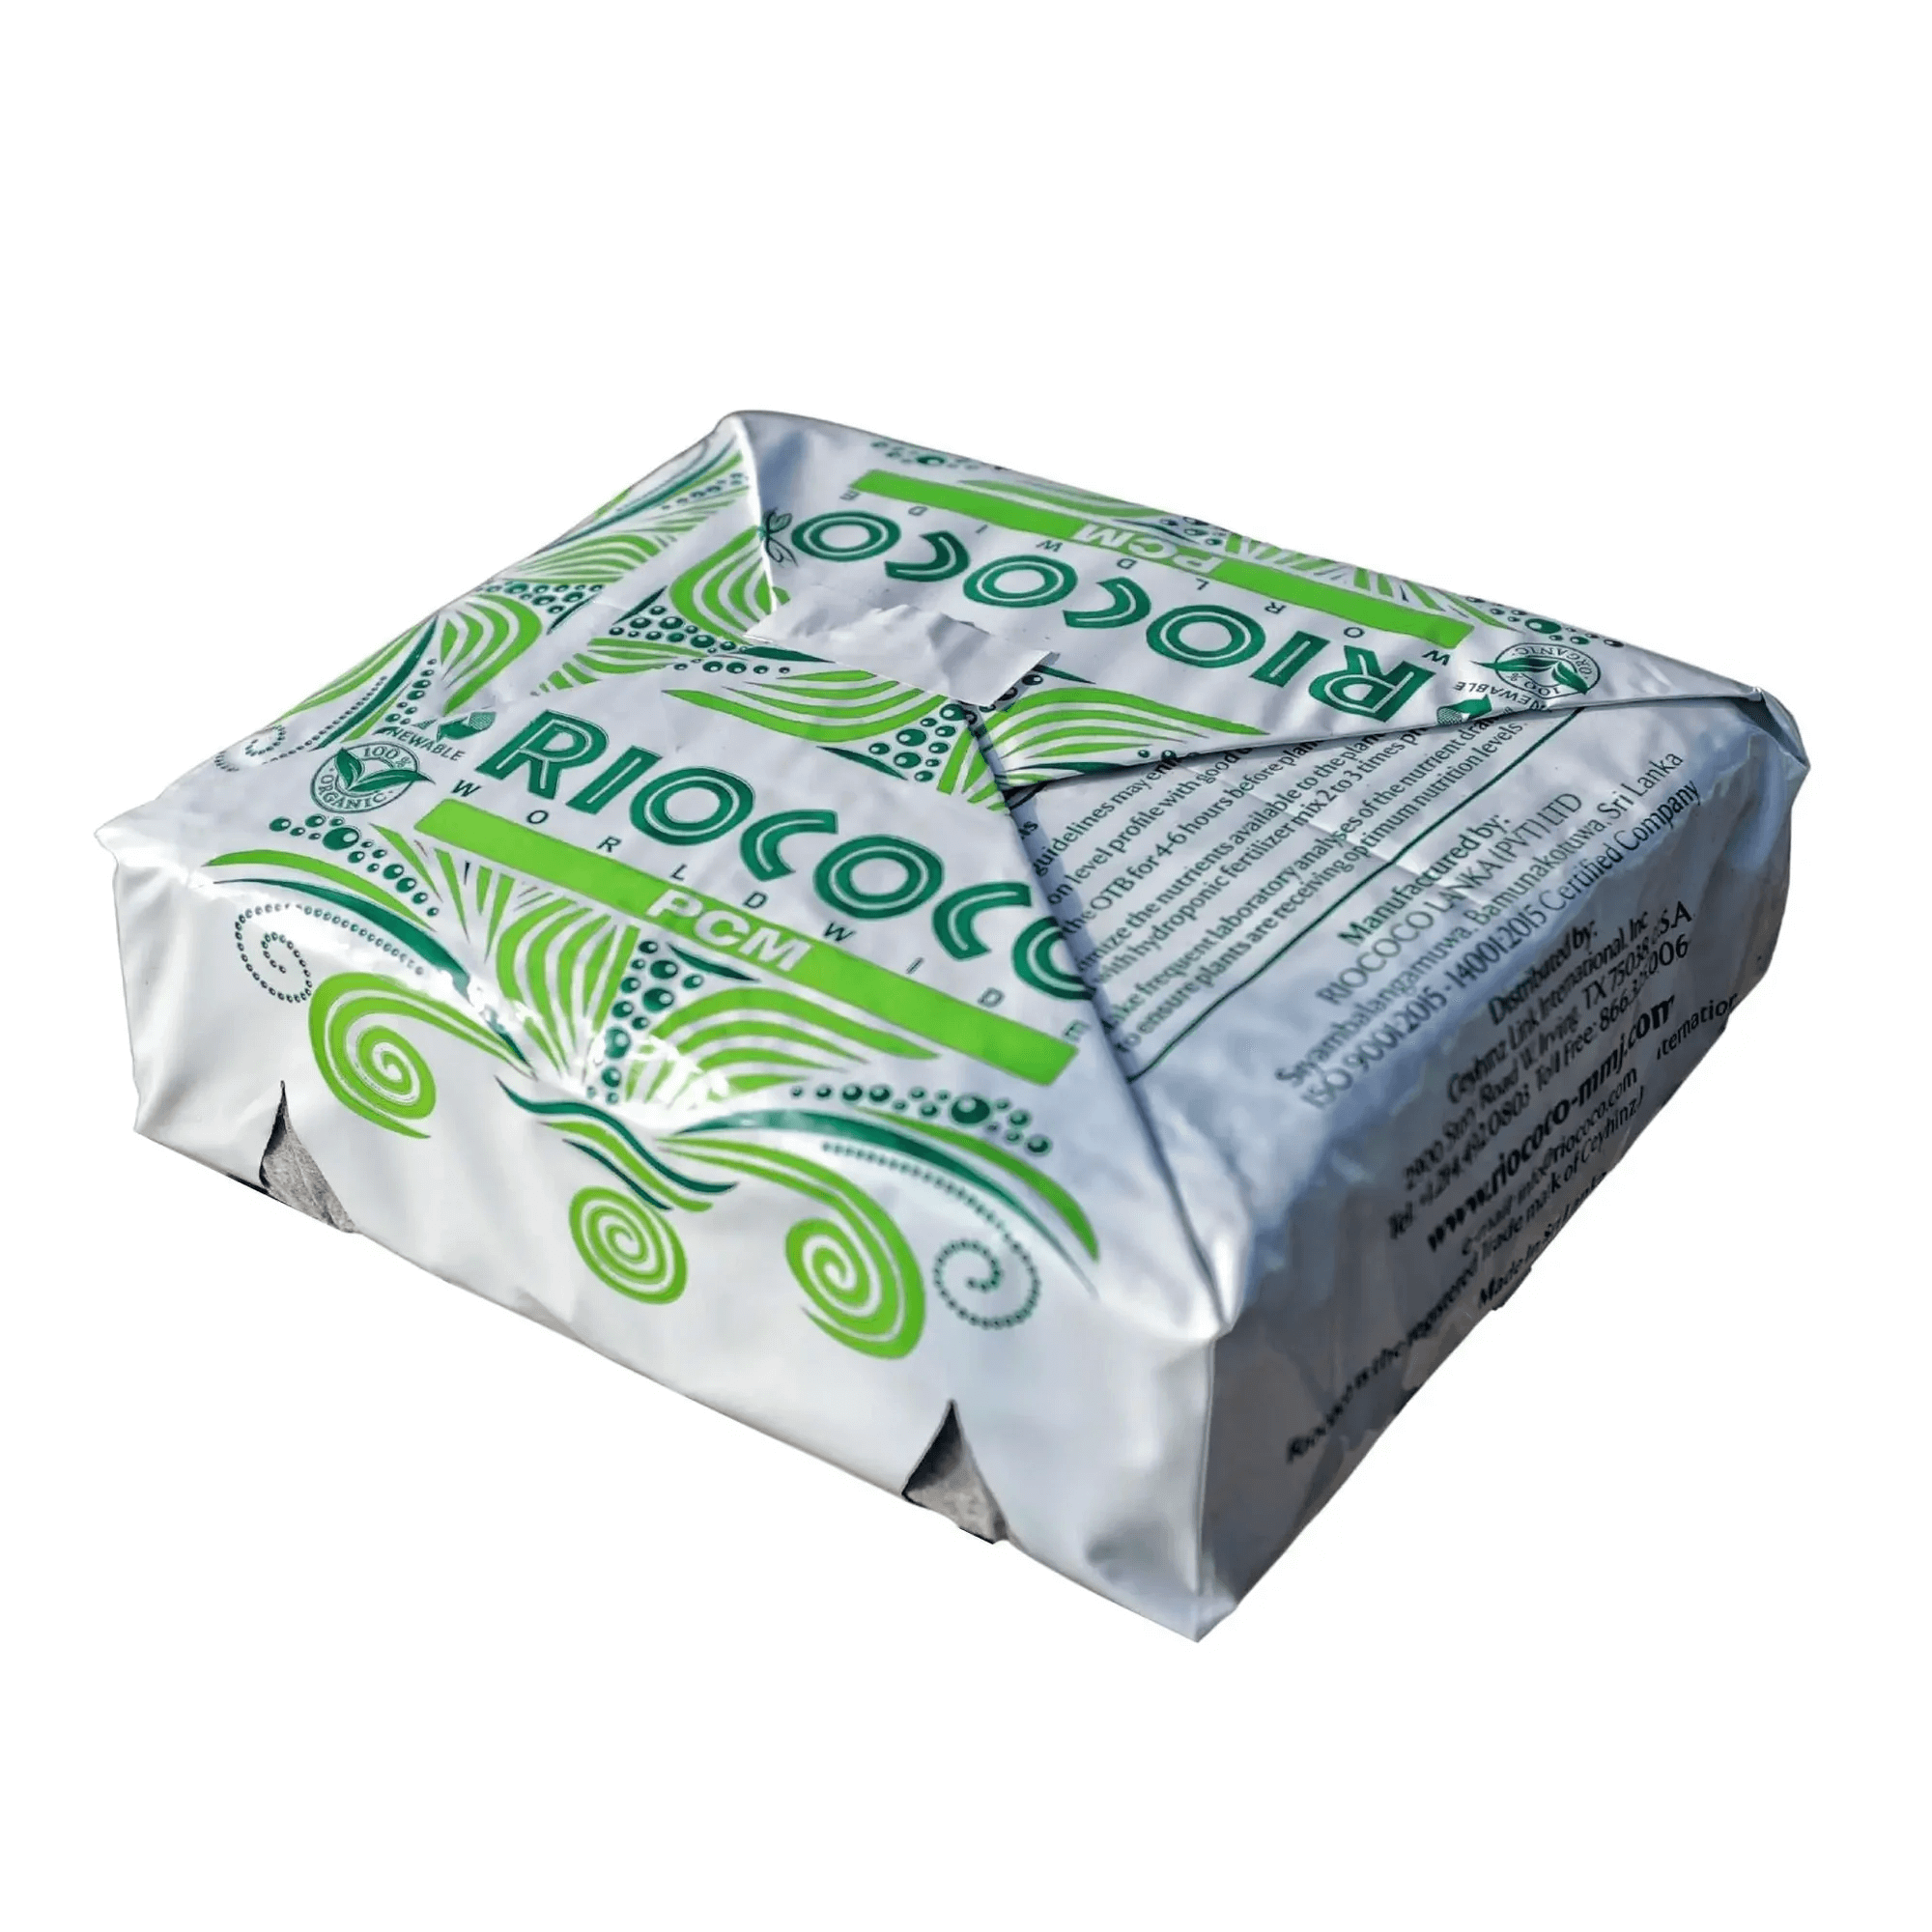
- High-quality, well-draining potting soil (we use the pre-mixed coco coir mix from Bootstrap Farmer.)
- Watering can or spray bottle
- Tree paint
- Fertilizer
 Step 1: Selecting the right peach pit
“Shucks, don’t tell me I’ll have to eat several peaches for this project. Twist my arm!”
Right? Eating a few ripe, healthy peaches will most likely be the most enjoyable part of this experiment.
When you’ve finished, choose a peach pit that is plump yet firm and has a nice, peachy aroma. This will ensure that the pit is viable and has the best chance of sprouting.
If you’d rather not pig out on peaches, check out this amazing hack for removing the pit from a whole peach. Thanks to Appalachia’s Homestead with Patara for this brilliant tip.
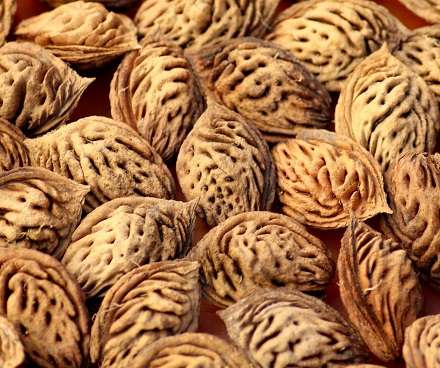
Step 2: Preparing the peach pit for planting
It is important to remove all of the peach pulp from the pit. If you don’t, the pit may rot before it has a chance to germinate.
Gently wash with water, using your hands to remove as much as possible. If all else fails, use a soft (very soft) toothbrush or scrub brush to remove what is left.
The actual seed is enclosed in the pit so you’ll now need to crack the pit open to get to it. While some gardeners completely remove the outer covering, we’ve had success with merely cracking it to allow moisture to get to the seed inside.
A variety of tools will crack the hard outer surface of the pit:
- Nutcracker
- Pliers (our method of choice)
- Locking pliers to hold the pit and a hammer to hit it with
If you won’t be planting the seed immediately, “… place it in a jar filled with slightly moist potting soil,” according to the pros at Philly Orchards.
Set the jar in the refrigerator in a spot where it won’t be disturbed and the kids can’t get to it. Peach pits are toxic if eaten.
Allow the seed to remain in the refrigerator until it’s time to plant out. You may even see that it’s sprouted when you remove it from the refrigerator.
 Step 3: Planting the peach pit
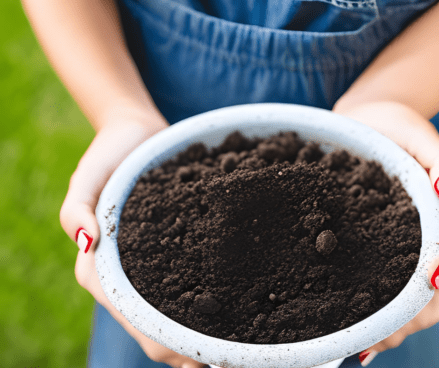
A month before your first frost is the ideal time to plant your peach pit and you can either plant it in a pot or in-ground. If you choose the former, use a pot that is at least 10 inches tall.
Fill it with moist potting soil and stick the un-sprouted pit 3 inches deep into the soil, pointed end down. For seed starting we love the Bootstrap Farmer’s Coco Coir Open Top Bags. First, the medium is composed of “… coco peat and coco chips as an superior replacement to mixing coco coir with perlite. Saves you the time and cost of making your own blend,” according to the Bootstrap Farmer’s website.
Since we decided to back away from perlite use in our blends, this one has become our go-to. The open top bag that it comes in is meant to double as a planter but it is far too short for the peach pit, which is why we recommend a planting pot to get the pit started.
If there’s a sprout, treat it like any other sprouted seed, with the sprout above the soil line.
Bury the potted pit to the rim of the pot in a protected spot in the garden. Water well and then top the pot with a deep layer of dry leaves or mulch. Over the course of the winter, check the soil. If it’s dry, water.
Your peach tree seedling should sprout in spring.
When your peach tree reaches at least 1 foot in height, remove it from its container and plant it in a full-sun spot where the soil drains well.
 Step 4: Providing ongoing care for your new peach tree
As your peach tree continues to grow, it will need ongoing care to thrive.
Watering: Keep the soil consistently moist, especially during hot and dry periods. Water deeply, allowing the water to penetrate the soil to the roots. The soil should have the moisture content of a well-wrung sponge. Avoid the temptation to overwater.
Fertilizing: Apply a fruit tree fertilizer according to the package instructions to provide essential nutrients for growth and fruit development. See the equipment needed list above, for our favorite fruit tree fertilizer.
Protection: Protect your tree from sun scalding by painting the trunk. While some gardeners choose to use a watered-down white latex paint, it doesn’t seem to last as long as the IV Organic product, listed above.
Growing a peach tree from a peach pit is an exciting and rewarding endeavor. With patience, care, and the right conditions, you can witness the transformation of a simple pit into a flourishing tree bearing delicious peaches. Enjoy the journey and the satisfaction of growing your own fruit tree from scratch. Happy planting!
 Resources