This post may contain affiliate links. As an Amazon Associate we earn from qualifying purchases.
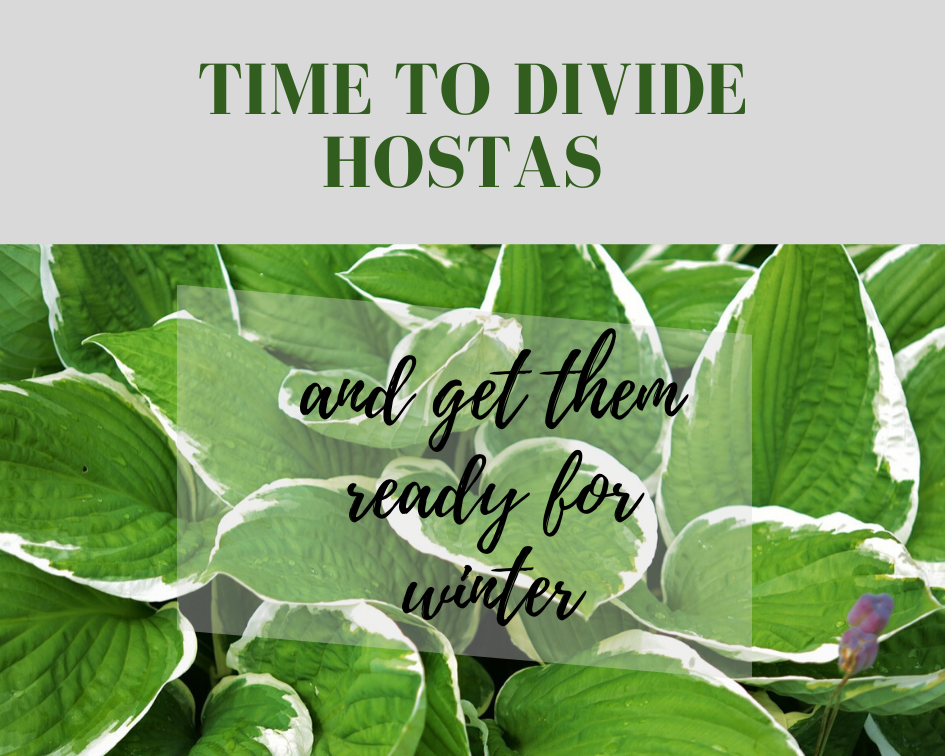
Yes, it’s just about time to cut back hostas, but you’ll also need to prepare them for winter.
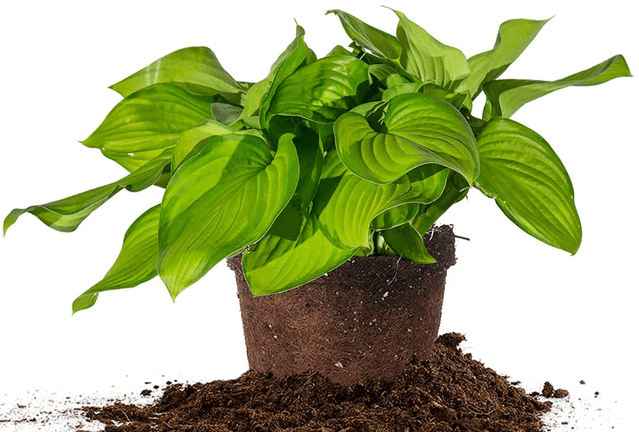
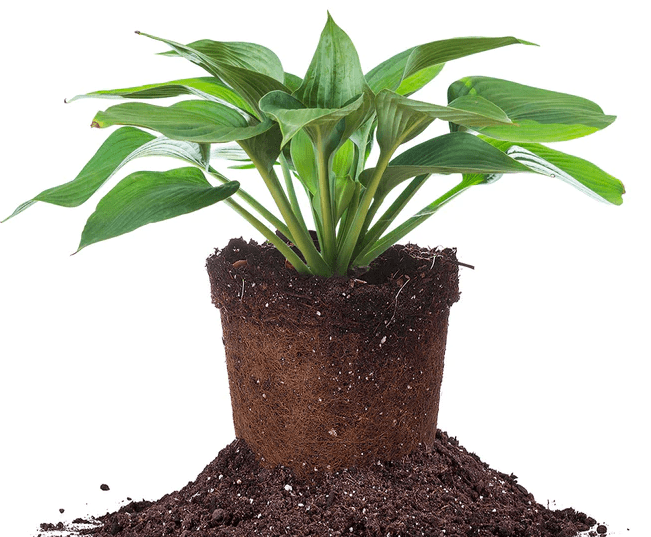
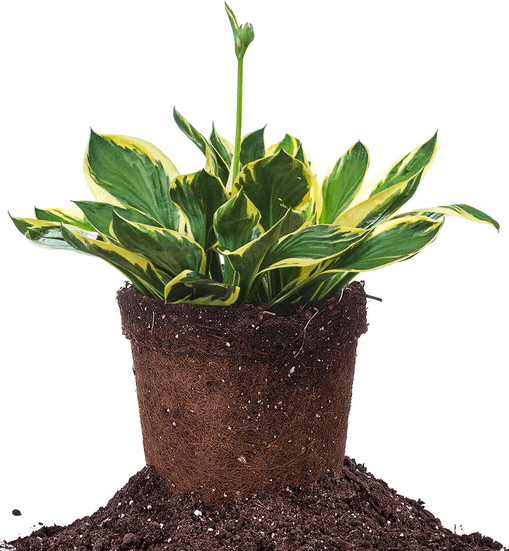
Hostas are one of the workhorses of the summer garden in USDA zones 3a through 8b (find your growing zone here). The variety of rich colors, sizes, leaf shape and texture adds glamour and color to those shady areas that so desperately need their charm.
Yes, they tolerate shade, but they prefer a few hours of morning sun, if possible. That said, we grow ours under the outside canopy of a huge African sumac tree, in dappled shade and they do quite well.
Come autumn, however, it’s time to help them get ready for winter (if you hope to see them again next spring).
Learn more about hosta below.
When to cut back hostas
The trick is to get to them early — right after the first frost. Until then, stop fertilizing and keep the soil barely moist at all times.
But wait! If you think you’ll also need to divide your hostas, do so at least 30 days before the first frost. We show you how, below.
What you’ll need to divide and/or cut back hostas:
- Sharp spade or shovel
- Bucket of water or hose
- Pruners
How to cut back hostas
Wait until after the first frost and then use pruners to cut the hosta’s foliage all the way to the soil.
This helps remove hiding places for all sorts of hungry critters.
Protect the hosta from the bitter winter elements by spreading a 2-inch layer of mulch over that exposed crown. When spring rolls around, and all danger of frost has passed, remove the mulch.
How to divide hostas
If this was your first season growing hostas, they probably look pretty good right now (early fall). They have grown, but not to the extent that they will in the future.
Most hostas spread by underground rhizomes and have a tendency to die out in the center when they become overcrowded, and they do become overcrowded.
Typically, hosta growers recommend that they be divided every two to three years to look their best and to maintain optimal health.
But you can figure out if an individual hosta is ready for division. Inspect the plant to figure out where it’s producing new growth. If it’s primarily toward the outside of the plant, and the middle of it has developed a gap, you definitely need to divide it.
This is easier to do if you cut the foliage to ground level. Yes, the foliage will die back as winter sets in, but in the meantime, all that “stuff” that’s getting soft and laying on the soil provides ideal hiding places for critters.
Now, dig it up
Insert your shovel or space into the soil at about the outer edge of the foliage. Give it a wiggle and then drive it in again, next to the first insertion. Do this until you’ve cut a circle around the hosta.
Insert the shovel into one of the areas in the circle you created. Pull down on the handle to carefully pry the plant, and its roots, from the soil.
Remove as much of the soil as you can with your hands or by gently shaking the root ball. Quite often, however, by this time of year, that soil is mud, so use a hose or swish the root ball in a bucket of water to remove as much as possible.
Once the gunk is off the roots you’ll be able to see where to divide the plant. Ensure that each piece has its own roots and at least one “eye” and use your fingers to pry them from the others.
For tougher rootballs, drive the spade down the middle of the rootball to cut it in half. Then you can use your fingers or the spade, again, to create smaller divisions if you like.
Replant these divisions immediately. Ensure the planting hole is wide enough so that when you place the root ball in it, you have room to spread the roots out horizontally. Ensure as well that the crown will sit just slightly above soil level. The crown, for those new to hostas, is “… the base of a plant where the roots and shoots join,” according to the experts at The American Hosta Society.
Fill the hole, pat the soil gently around the base of the hosta and water it. Then, get it ready for winter chill by piling up mulch on the soil around it.
The ideal winter mulch will be shredded leaves, wood ships, pine needles or a combination of these. Depending on how cold it gets in your region, aim for at least 3 inches of mulch, more if it is super cold where you live.
More on hostas
Hostas were introduced into Europe (from Asia) in the 1700s and didn’t arrive in North America until the mid-to-late 1800s. They almost instantly became a hit with the American gardener.
Today, although there is some debate, it is generally accepted that there are 45 species in the Hosta genus. There were more at one time, but those species were reclassified as cultivars (a plant that is the result of selective breeding).
Hostas can be diminutive (around 2 inches) to grand (4 feet in height). They do flower, but it’s the foliage most gardeners are after. Some cultivars have spectacular variation, while others are a bit more subtle. All are gorgeous.