This post may contain affiliate links. As an Amazon Associate we earn from qualifying purchases.
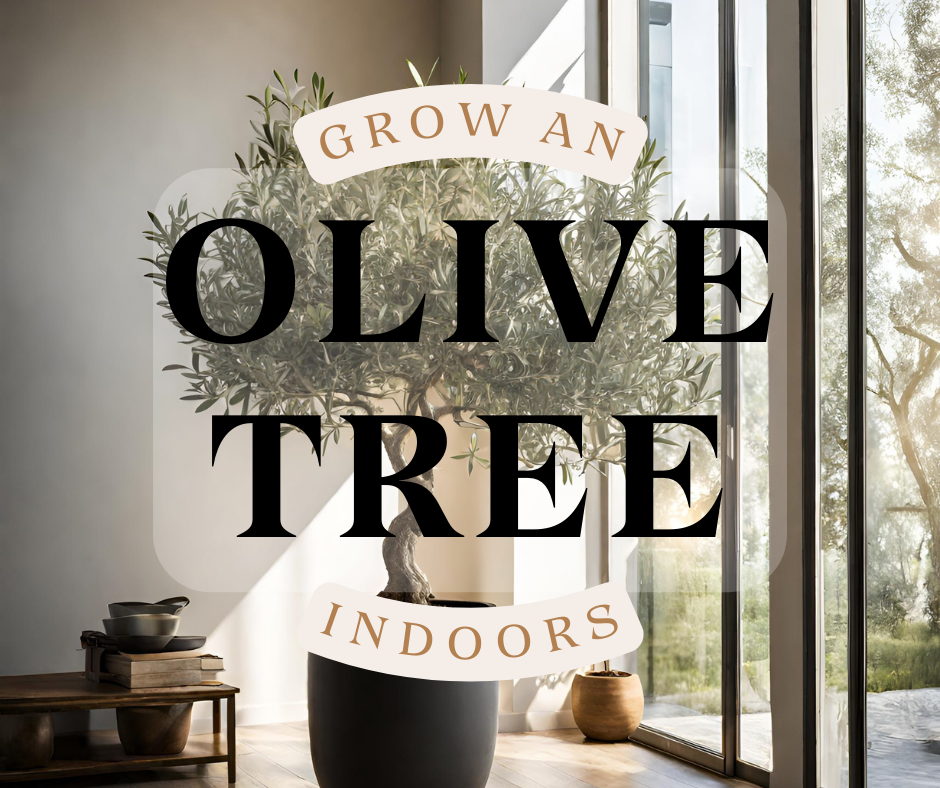
It’s all the rage: growing an olive tree indoors!
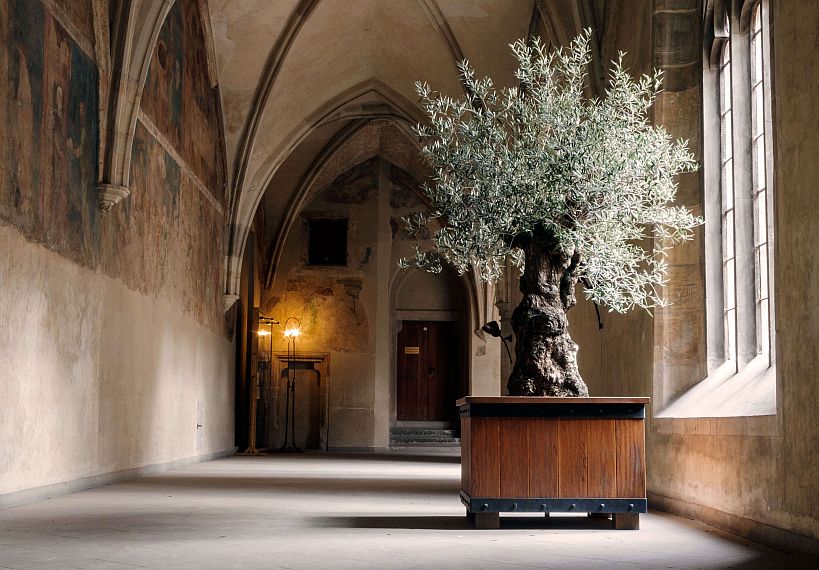
If you’re new to houseplants it may surprise you just how many “outdoor” plants can be grown indoors. One of the most popular, and stunning, is the olive tree (Olea europaea).
There are thousands of cultivars of olive tree, a testament to its popularity, not only for the fruit but the gorgeous tree as well.
This Mediterranean evergreen tree in the landscape can grow to a height between 25 and 50 feet. It grows considerably shorter when grown in containers, typically reaching about 10 feet in height.
The Arbequina cultivar quits growing at between 15 and 20 feet. There are, however, dwarf cultivars available which will top out at around 6 feet. Consider Olea europaea ‘Montra,’ (commercial name is Little Ollie or Olea europaea compacta, see it for sale, below.)
The latter grows as a shrub but it can easily be trained as a tree and will top out growth at between 6 feet and 8 feet tall.
The olive tree takes well to pruning so there is always that to fall back on if yours is getting too tall for its space.
Introduce the new olive tree gradually
One of the biggest mistakes that those new to gardening make is the rush to re-pot their plants.
Keep in mind that plants you purchase have been growing in a vastly different environment, especially indoor plants.
All plants, both indoors and out, should be treated gently when you first bring them home. For an olive tree, I would start by keeping it outdoors (if the weather permits), and gradually introduce it to the indoor environment.
Start with an hour or two indoors for the first few days and gradually lengthen that time over the course of two to three weeks.
This process is known as “hardening off,” and it applies to seedlings as well as new, even mature plants that are facing a drastic difference in environment. Typically, it is used to acclimate outdoor plants, but all plants benefit from hardening off.
Where will your olive tree live?
Olive trees, indoors or out, require at least 6 hours of direct sun. Choose a spot in the home near a southern or western facing window for best results.
Don’t place the olive tree so close to the window that it touches the glass because the foliage will burn.
Winter is another story.
You may have significant yellowing of leaves and leaf-drop during winter as a result of insufficient sunlight. A grow-light will help you avoid this. If your olive tree is on the tall side, check out this grow-light at Amazon.com.
Keep in mind that losing some leaves is normal. If the tree drops too many, you’ll need to act by providing more light.
Choose the right soil
Getting the soil right for growing the olive tree indoors is critical to its success. Pass by that big bag of yummy, rich soil at the nursery. In the Mediterranean, olive trees grow in limey, free-draining soil.
“Olives grow best in sandy, well-drained soil,” according to the experts at the University of Florida, IFAS Gardening Solutions program.
“The trees actually thrive in poor soil …” they conclude.
While it doesn’t fit the description of “poor soil,” the olive tree soil sold by Soil Sunrise will work well. Order it from Amazon.com.
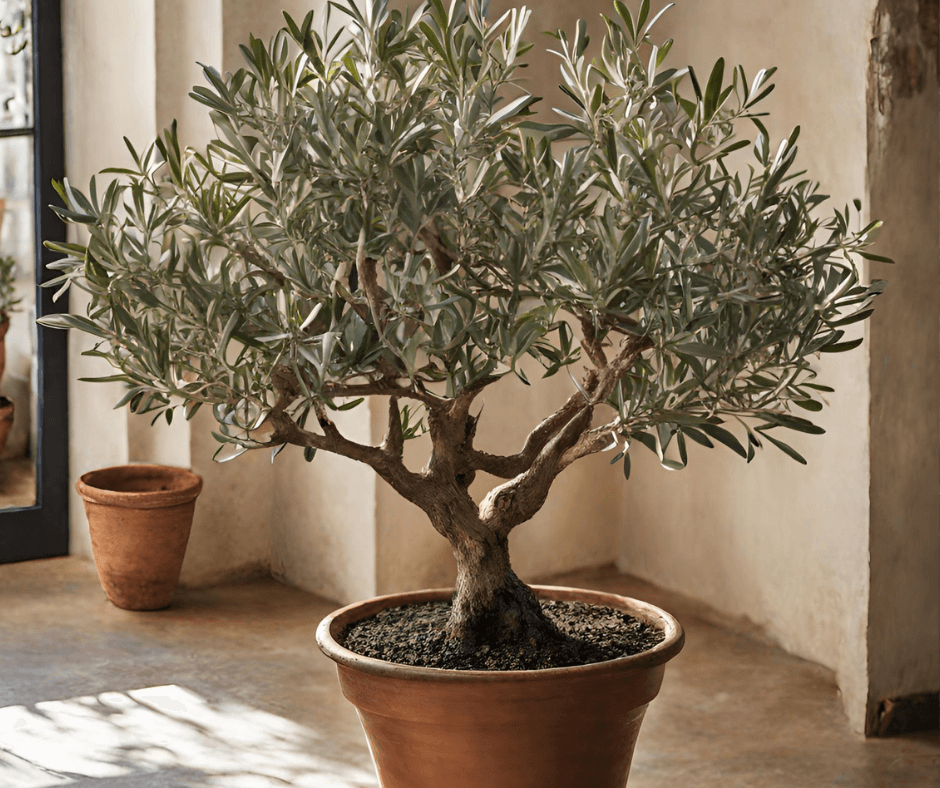 What will you plant the olive tree in?
Choosing pots for indoor grown plants is a lot different than shopping for outdoor containers. It’s important to many houseplant lovers that the pots complement their décor while still functioning as a place to grow a prized plant.
This should go without saying but ensure that the pot you choose has sufficient holes in the bottom to allow excess water to drain freely.
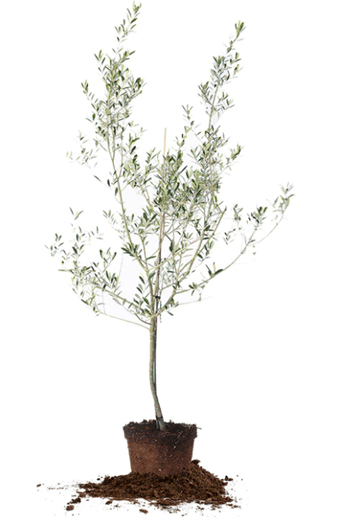
Choose a pot that is the next size larger than the pot it’s currently growing in. Although the tree grows slowly, you’ll find that the roots have a bit more pep and you’ll want to give them enough room to get comfy in the pot.
Let’s plant an olive tree indoors!
Completely moisten the potting mix before loading it into the pot. Get it soaking wet and then set it aside until it drains enough to have the moisture content of a well-wrung sponge.
Do not . . . do NOT put a layer of “… styrofoam, gravel, or any other kind of filler on the bottom of the pot to keep the soil well-drained,” as one blogger suggests.
It has been proven that this old, stale advice has killed a whole bunch of plants. Stuff in the bottom of the pot actually inhibits drainage so your beautiful olive tree’s roots, that hate water, will be sitting in puddles of it.
Fill the pot at least three quarters of the way full and place the olive tree’s roots on top. When planting is complete, the tree’s root flare should be exposed above the soil. You may need to add more soil so that the tree is planted higher to accomplish this.
Root flare?
“The root flare is part of the trunk, not the root system. Trunk bark is not water resistant and” will rot if constantly covered, according to Jerry Faulring of Waverly Farms.
Buried root flares also promote girdled roots which will eventually kill the tree. See our handy dandy diagram below to get a better idea of how your olive tree should look when planted.
After planting, pat the soil gently to remove air pockets.
 How to care for your olive tree
The reason the right soil is so important for the olive tree is that it doesn’t tolerate sitting in wet soil. Remember, this tree is native to the Mediterranean, where the climate is dry.
The tree is, in fact, resistant to drought and thrives in areas with hot, dry summers and mild winters.
The olive tree is also shallow rooted, with roots reaching a bit more than 3 feet.
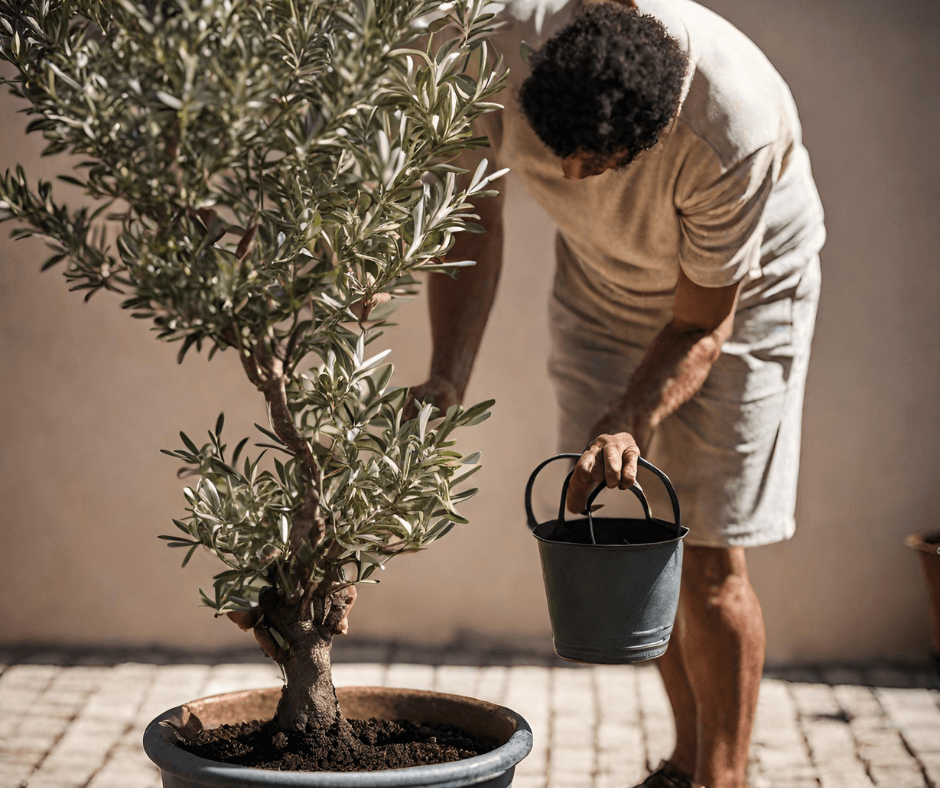
How much and how often to water your olive tree
Water the newly planted olive tree when the top 2 inches of soil is dry to the touch.
Water the mature olive tree when the soil in the top half of the pot is dry. We use a bamboo stake to determine the soil’s moisture content.
Insert the stake into the soil several times, deeper each time, until it comes out wet. That should give you an idea of when it’s time to water.
When you do water, ensure that all of the soil gets moist. Typically, you’ll know this has happened when water runs from the bottom of the pot. As insurance, we always use the bamboo probe again to make sure.
Fertilize the olive tree
Don’t add fertilizer to the soil at planting. Wait until spring and offer it a 9-3-6 fertilizer with minors. Dyna-Gro Foliage-Pro (order it online at Walmart.com)
Minors?
Nitrogen, phosphate (aka phosphorous) and potassium (AKA potash) are considered major nutrients and make up the NPK on a fertilizer’s label.
Minors is a quick way of saying “minor nutrients.” These include calcium, magnesium and sulfur.
But there is more that might be included in a fertilizer: micronutrients.
These are important to the health of your olive tree as well. But it only needs tiny amounts of:
- Boron
- Chlorine
- Cobalt
- Copper
- Iron
- Zinc
The Foliage Pro we recommended earlier in this section includes everything your olive tree will need. We have also recently discovered Drugs for Plants and so far, so good.
Don’t be tempted to overfertilize the olive tree. In fact, until it’s mature, plan on using half the recommended dosage listed on the fertilizer label, twice a year, in spring and again in summer.
Yes, you can prune
And you should, but make it a light pruning until the plant has been established for at least three years.
Wait until winter and then cut off any dead wood, remove height if you need to and shape it. If you see new growth coming from the soil or at the bottom or the trunk, pinch or snip it off.
One of the questions we get most frequently about most plants is whether or not it is toxic to kids and pets.
Nope. The olive tree is both kid- and pet-friendly.
Happy growing!
Learn how to grow an olive tree outdoors
Mention of a fertilizer or pesticide, or use of a pesticide or fertilizer label, is for educational purposes only. Always follow the product’s label directions attached to the container you are using. Be sure that the plant you wish to treat is listed on the label of the pesticide you intend to use. And observe the number of days between pesticide application and when you can harvest your crop.