This post may contain affiliate links. As an Amazon Associate we earn from qualifying purchases.
Growing Brussels sprouts requires more than a smidge of patience but, treat them right, and in the end you’ll end up with a dream harvest.
How can something that tastes so good smell so bad while it’s cooking? I tell ya — the smell of Brussels sprouts in the oven or on the stove is beyond unpleasant. Then, when we bite into them, it’s a totally different experience. Especially when the sprouts are fresh-from-the-garden fresh.
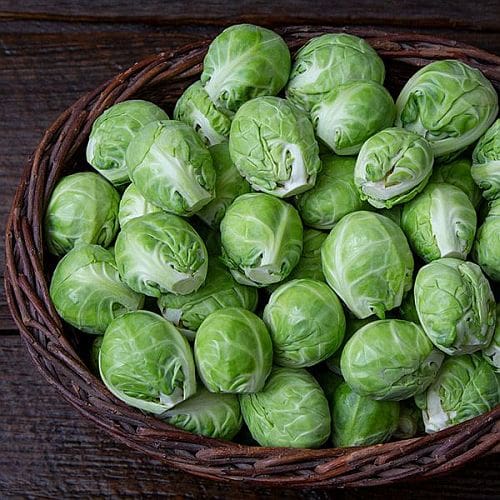
Brussels sprouts, scientifically known as Brassica oleracea var. gemmifera, are a nutritious cool-season vegetable that can be a winning addition to your garden. If you couldn’t tell from their appearance, Brussels sprouts are part of the cabbage family and produce small, cabbage-like buds along their tall stalks.
Ready to get growing Brussels sprouts?
Are Brussels sprouts annual or perennial?
Brussels sprouts are typically grown as an annual, meaning they complete their life cycle in one growing season. In regions with milder winters, they can behave as biennials, but for practical purposes, they are treated as annuals.

When to start brussels sprouts seeds
Brussels sprouts thrive in cool weather, so timing is crucial to ensure they mature during the cooler parts of the growing season.
For most gardeners, it is best to start seeds indoors about 14 to 16 weeks before the first expected fall frost. This allows you to transplant them outdoors after 4 to 6 weeks, giving them enough time to establish before the summer heat hits.
If you prefer direct seeding outdoors, you can do so about 10 weeks before the first frost date in your area, although this method may require more careful monitoring.
Can the seeds be started indoors?
Yes, starting seeds indoors is highly recommended for Brussels sprouts, especially if you live in an area with hot summers. Starting indoors allows for greater control over the growing environment, leading to stronger seedlings.
Plant the seeds in seed trays or small pots filled with a quality seed-starting mix. Keep the soil consistently moist and provide plenty of light—either from a sunny window or grow lights.
Aim to transplant seedlings outdoors when they are about 4 to 6 weeks old, after the danger of frost has passed but while temperatures are still cool.
Choosing a planting area to start growing Brussels sprouts
Brussels sprouts need full sun to thrive, which means they should receive at least 6 hours of direct sunlight per day.
Choose a location in your garden that has good air circulation to help prevent diseases and pests. They prefer cooler temperatures, so positioning them where they will receive some afternoon shade in hotter climates can be beneficial.
Amending the soil and what to use
Brussels sprouts grow best in rich, well-draining soil with a pH between 6.0 and 6.8. Not sure of the pH of the soil in the planting area? Get a pH meter here.
Before planting, prepare the soil by incorporating plenty of organic matter, such as compost or aged manure (or a mixture of both), which helps improve soil structure and provides essential nutrients.
If your soil test shows a deficiency, you’ll want to add specific amendments such as bone meal for phosphorus or blood meal for nitrogen.
Not testing the soil? Add a fertilizer with an NPK of 4-6-3, which offers a balanced mix of nutrients with a focus on phosphorus for root development and fruiting.
How much and how often to water Brussels sprouts?
Consistent moisture is key for Brussels sprouts, especially as the buds begin to form. They require about 1 to 1.5 inches of water per week, either from rainfall or supplemental watering.
Water deeply to encourage the roots to grow down rather than stay near the surface. Mulching around the base of the plants can help retain moisture and keep the roots cool.
How deep and how far apart to plant the Brussels sprouts seeds?
When direct seeding outdoors, plant the seeds about 1/4 to 1/2 inch deep in the soil. Space the seeds about 2 inches apart, then thin them to 18 to 24 inches apart once the seedlings are large enough to handle.
Rows should be spaced about 30 inches apart to allow ample room for the mature plants to grow and to facilitate airflow, which helps prevent disease.

Fertilizing schedule and NPK preference
Start fertilizing Brussels sprouts a few weeks after transplanting or when the seedlings have grown about 6 inches tall. Use a fertilizer with an NPK of 5-10-5, which provides extra potassium and phosphorus to support root and bud development. Espoma’s Garden Food is one we recommend.
Fertilize every 3 to 4 weeks throughout the growing season. Be mindful not to over-fertilize, especially with nitrogen, as this can lead to excessive leaf growth at the expense of sprout development.

Pest management
Brussels sprouts can attract a variety of pests, including aphids, cabbage worms, and flea beetles. Here are some common pests and how to manage them organically:
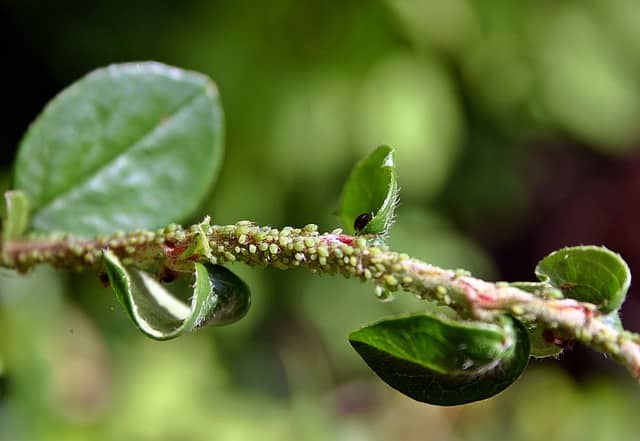
- Aphids: These tiny, sap-sucking insects can be managed by blasting them off with a strong spray of water (the method we use) or using insecticidal soap. Introducing beneficial insects like ladybugs and lacewings can also help keep aphid populations in check.
- Cabbage worms: These green caterpillars can be particularly damaging, feeding on the leaves and sprouts. Regularly inspect the undersides of leaves and handpick any caterpillars you find. Spraying with Bacillus thuringiensis, subspecies kurstaki (Btk), a natural bacterium that targets caterpillars, can be effective without harming beneficial insects. We recommend Monterey B.T., which contains the kurstaki subspecies that targets worms.
- Flea beetles: These small, jumping beetles chew small holes in the leaves. Using floating row covers can help keep them away from young plants, while neem oil sprays can reduce their numbers on established plants.

Disease susceptibility and organic treatment
Brussels sprouts are susceptible to a few common diseases, including clubroot, downy mildew, and black rot.
- Clubroot: This soil-borne disease causes swollen, distorted roots and stunted growth. The best prevention is to plant in well-draining soil and rotate crops, avoiding planting any brassica family crops in the same spot more than once every three years.
- Downy mildew: This fungal disease shows up as yellow spots on the upper side of leaves and white fuzz on the underside. Improve air circulation and avoid overhead watering to reduce the risk. If downy mildew appears, treat it with a fungicide containing copper, which is an organic option. (Check out our post What is Copper Fungicide? How and When to Use it.)
- Black rot: This bacterial disease causes yellow V-shaped lesions on the leaves. Crop rotation and avoiding overhead watering can help prevent its spread. Remove and destroy any infected plants to prevent the bacteria from spreading.
Pet toxicity
Brussels sprouts are non-toxic to pets, making them a safe choice if you have curious animals that might nibble on garden plants.
However, while they are not toxic, it is still best to discourage pets from eating too much, as large amounts can cause digestive upset.
Harvesting your Brussels sprouts
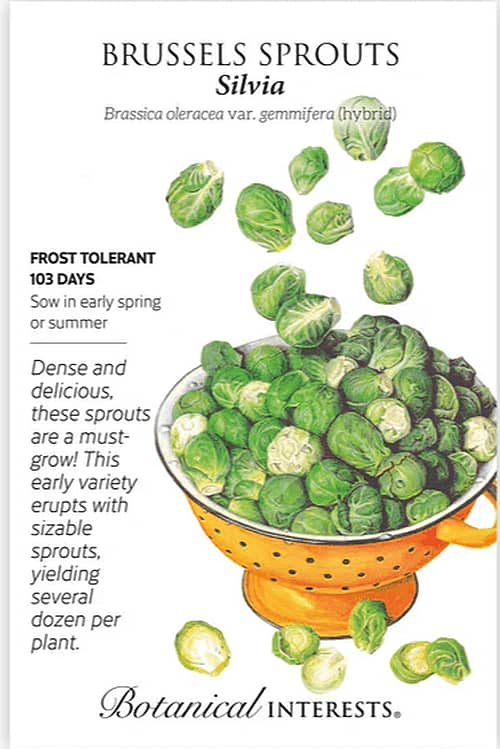
Brussels sprouts take a long time to mature, usually between 90 to 120 days from transplanting, depending on the variety. Harvest sprouts when they are firm and about 1 to 2 inches in diameter.
Start picking from the bottom of the stalk and work your way up as the sprouts mature. For the best flavor, wait until after the first light frost, which will sweeten the sprouts by converting some of their starches into sugars.
To harvest, snap or cut the sprouts off the stalk. You can continue harvesting over several weeks, as the plants will keep producing as long as the weather remains cool. If you prefer, you can harvest the entire stalk at once, which can be a convenient option if you need to clear space in the garden.
Enjoying your harvest
Brussels sprouts can be enjoyed in a variety of ways, from roasting to steaming to adding them to stir-fries and salads. Freshly harvested sprouts have a sweeter, more delicate flavor than store-bought ones, making all the effort of growing them well worth it.


