This post may contain affiliate links. As an Amazon Associate we earn from qualifying purchases.
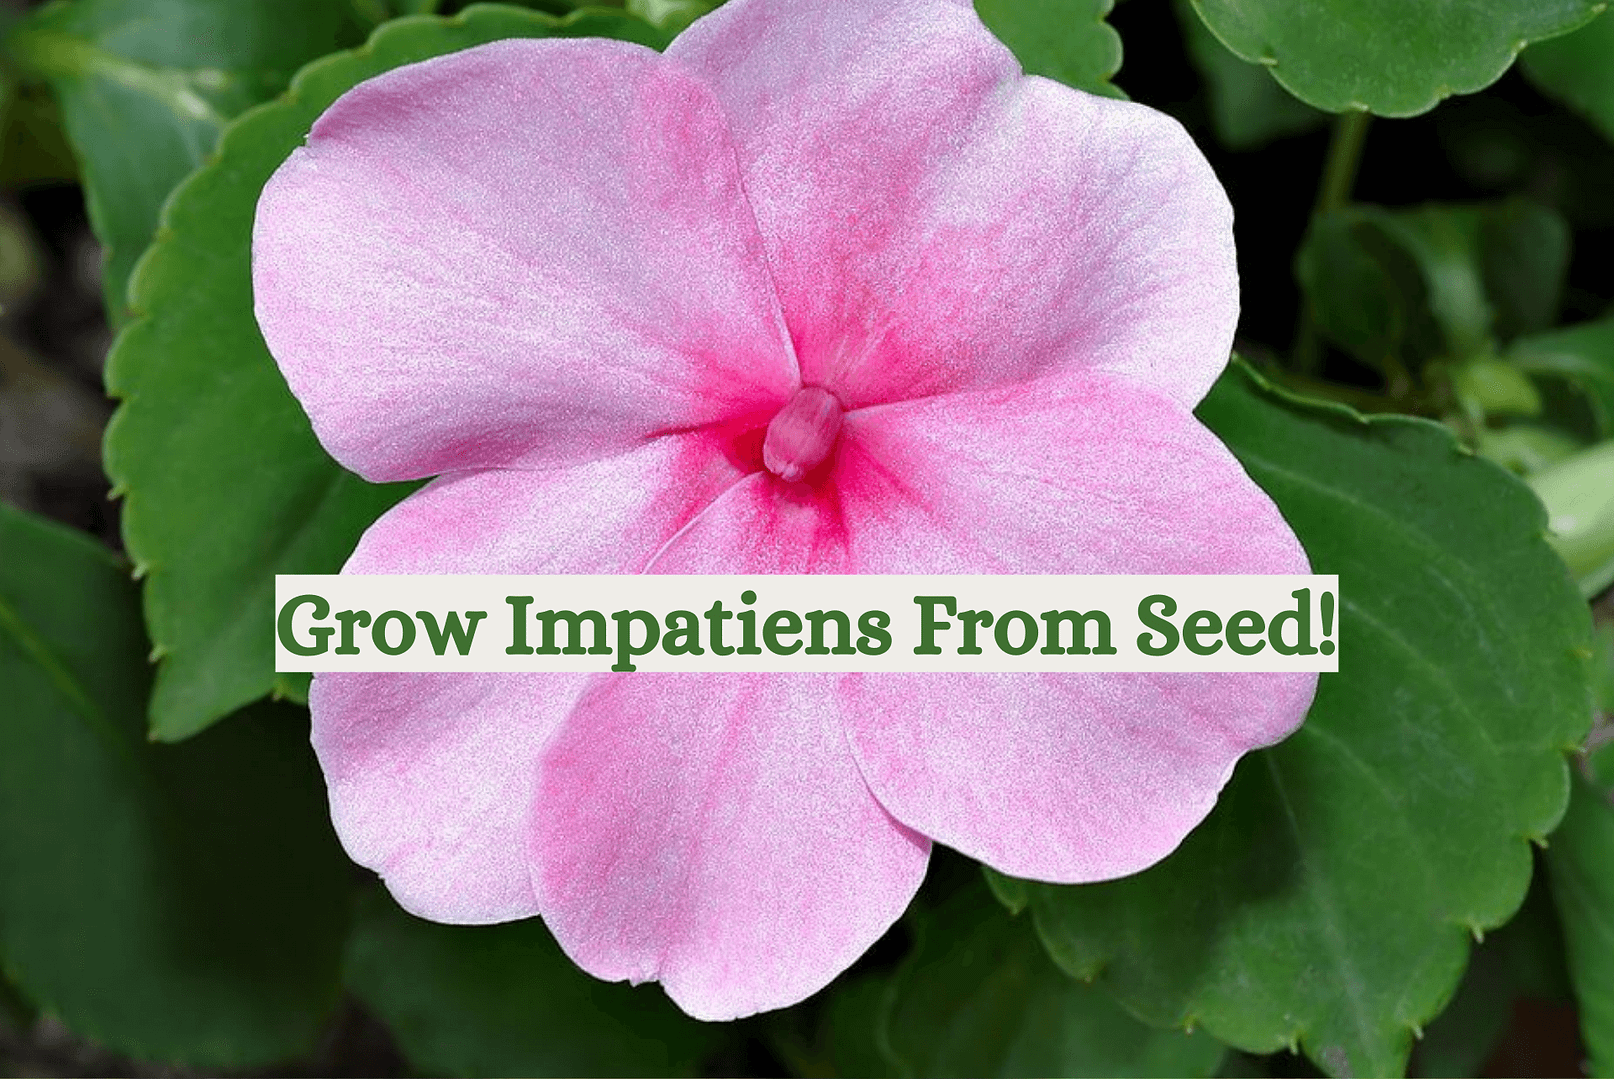
Want to learn how to germinate impatiens seeds? You’re in the right spot my friend. You’ll also learn how to grow on and care for this versatile and oh-so-colorful flowering plant.
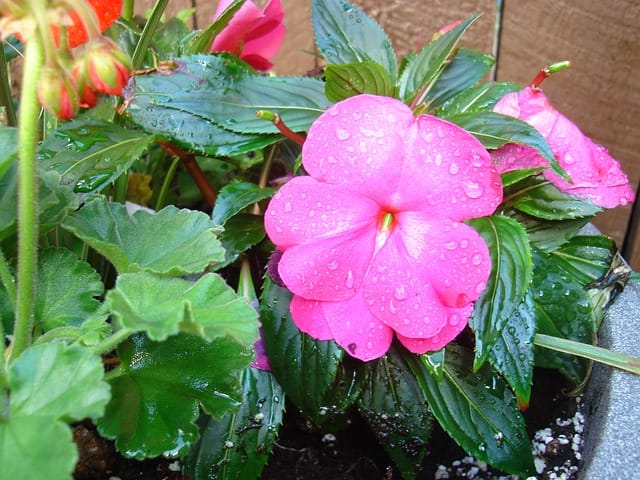
Anyone who has a shady garden, or even a shady spot in a garden, knows the value of impatiens. Although some species and cultivars can be grown in a bit more sunshine (New Guinea impatiens is one), the shade-loving Impatiens walleriana adds a blast of color to many a drab garden.
Impatiens can be grown indoors, or outdoors in planters and hanging baskets. Planted in masses, you can create a carpet of multi-colored impatiens in the garden.
The annual variety is easier to grow from seed, so choose the appropriate annual seed for your specific growing conditions. Start germinating your impatiens seeds 8 to 10 weeks prior to the last frost. The first flowers should bloom within 8 to 10 weeks of sowing the seed.
Impatiens are hardy to USDA Hardiness Zones 10 and 11, or grow them as annuals. Find your growing zone here.
What you’ll need to germinate impatiens seeds (and grow them on!)
- Seed tray, with water tray underneath
- Seed starting potting mix
- Impatiens seeds
- Plastic bag, large enough to enclose the seed tray (If you don’t have a domed try, use this)
- Propagation heat mat
- Small planting pots
The impatiens germination process
Fill the seed tray with seed starting potting soil. Water the soil well and allow it to drain. If the mix has a lot of peat, you may need to add it to another container first and stir as you water to ensure that it’s evenly moist.
Sow the impatiens seeds on the surface of the soil. They need light to sprout, so don’t cover the seeds with soil. Do lightly tap them to ensure seed-to-soil contact.
Find a place indoors that receives plenty of light. Place the dome on the seed tray (or slide it inside the plastic bag and secure it). Place the tray on top of the heat mat, set at 75 degrees F.
Depending on variety, germination should occur within two weeks or take as long as 90 days. When the seeds sprout, remove the dome or take the plastic bag from the tray.
When you germinate impatiens seeds, the first leaves you’ll see aren’t true leaves. They are known as cotyledon, (learn more about these leaves here). When they appear, turn off the heat mat.
Wait until the seedling produces two sets of “real” leaves to transplant them into small planting pots with adequate drainage. Keep them moist but not soggy.
Tip: If you do not have a heat mat you can help germinate impatiens seeds by placing the bagged planting tray 12″ below a fluorescent light. The light must remain on continuously (‘round the clock) for about 10 days.
When and where to plant the impatiens seedlings
Wait until the danger of frost has passed to get those seedlings into the garden.
Next, you’ll need to harden off the seedlings. This is the process whereby you gradually acclimate the plants to the outdoors, to breezier conditions, to the lack of a grow light and bottom heat. Sort of like a gentle boot camp for seedlings.
Place the pots of impatiens seedlings in a shaded area outdoors and leave them there for one to two hours. Bring them back indoors and then repeat the process, extending the length of time they spend outdoors every few days.
After a week, start exposing them to a bit more sunlight on their daily forays into the outdoors. By the two week mark they should be strong enough for the transplant process.
While you’re waiting for the plant babies to harden off, get to work finding a suitable place to plant them.

Impatiens need soil that will drain quickly yet remain slightly moist. It’s a bit of a tough balancing act, but since these cuties thrive in partially shady areas, at least you won’t be battling the sun as it beats down and quickly dries out the soil.
Also ensure that the planting site that you choose receives partial sun. This means the planting area should receive between three and six hours of sun per day. Dappled sunlight, such as you’ll find beneath some trees, is fine, but the more sunlight they receive (preferably morning sun) during the three to six hours, the better they’ll bloom.
If all else fails, plant the impatiens in full shade. This isn’t ideal, because, again, impatiens need a bit of sun to bloom.
Let’s get to planting those babies!
Now, get to work on the soil. Dig into the soil to 10 inches in depth. Add 2 inches of compost and about an inch of sand to the tilled area and mix it well with the existing soil.
Fill in the area and then dig small planting holes. Dig the holes no closer than 12 inches to one another.
Water the area thoroughly after planting and don’t forget to keep the soil moist as they become established.
What to look out for after transplanting
Young plants are especially prone to transplant shock so be prepared and don’t freak out if they appear to be wilting.
If you hardened them off, as recommended in the previous section, the chances they’ll experience shock are minimized.
Aside from wilting, look for yellowing leaves, leaves that turn white and curling leaves.
Keep watering them and protect them from winds. Add mulch to the soil around the seedlings, if you haven’t already done so.
Fertilizer – when and what to use
Give the newly-planted impatiens about one month before applying fertilizer. The best all-around fertilizer has a 3:1:2 ratio, so use 3-1-2, 6-2-4 or 9-3-6. We like Grow, from Mission Fertilizer.
For the first application, decrease the recommended solution by half, by diluting it half-and-half with water. Follow the instructions on the label for how much to use and how to apply it.
As your impatiens grow, deadhead them regularly. This is the process of removing dead flowers, which helps the plant to bloom again.
Pests that bug impatiens
Aphids
Aphids are tiny but voracious and they bring the entire neighborhood of aphids with them. They damage impatiens by sucking the juices out of foliage and stems.
I battle aphid infestations on my roses every year. I use a strong blast of water from the hose, repeated about every three days, to control them.
For super infestations, I use Arber Organic Bio Insecticide. I love this stuff. It not only handles aphids, but lots of other common garden pests as well, such as mealy bugs and spider mites.
Slugs and snails
We swear by Captain Jack’s Bug and Slug Killer, available at Amazon.com.
One of the best organic ways to rid the garden of slugs and snails is to figure out where they hide during the daytime and then wage war on them.
They’re drawn to spots that are dark, cool and wet. Check woodpiles, underneath logs and rocks, just below the soil and under leaf litter.
Spider mites
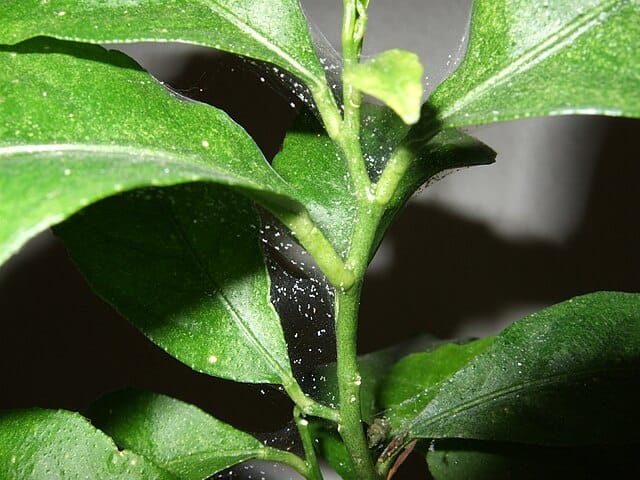
The first thing you’ll notice when your impatiens are infested with spider mites is the spider web-looking stuff. The mites are so tiny you may not even notice them. But the webs are all you need to see to know it’s time to take action.
I swear by Bonide’s Mite-X. If I’m out, I’ll reach for the dormant oil or horticultural oil (Bonide makes an all-in-one). Insecticidal soap spray really doesn’t work with mites.

Thrips
Thrips are the bane of rose growers but they can also decimate impatiens flowers. Unlike western flower thrips, which feed on leaves and blooms, impatiens thrips (Echinothrips americanus) puncture the leaves and then suck out the contents of the cells.
The damage left behind includes leaves that have a silver cast to them, distorted foliage and tons of tiny thrips poop.
Impatiens thrips “… populations on woody landscape plants are difficult to control,” according to the experts at the University of Florida IFAS extension.
Start by keeping the garden clean of plant debris and getting rid of weeds. Check the undersides of the impatiens leaves for the pest and/or eggs and hand remove them, if possible.
While not listed for this specific species of thrips, the experts at Arbico Organics recommend Amblyseius cucumeris, a thrips predator mite.
Bit too pricey? While we can’t guarantee it will work, give Monterey’s Take Down Garden Spray a try.
By the way, impatiens are pet safe!
Confused by seed starting lingo? Check out this post on gardening terms every seed starting gardener should know!
Mention of a fertilizer or pesticide, or use of a pesticide or fertilizer label, is for educational purposes only. Always follow the product’s label directions attached to the container you are using. Be sure that the plant you wish to treat is listed on the label of the pesticide you intend to use. If growing edibles, check the label for the number of days between pesticide application and when you can re-enter the area and/or harvest your crop.
