This post may contain affiliate links. As an Amazon Associate we earn from qualifying purchases.
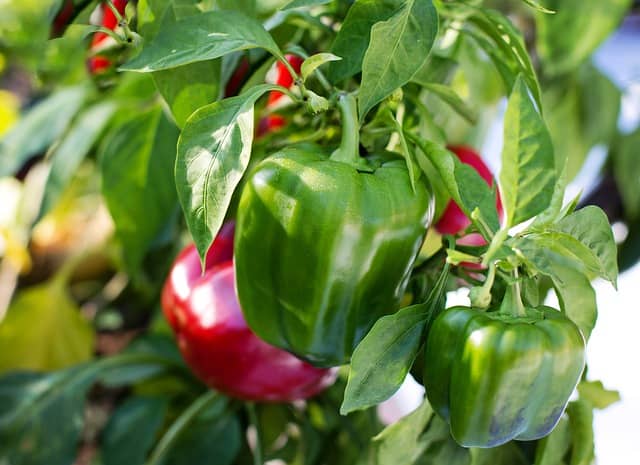
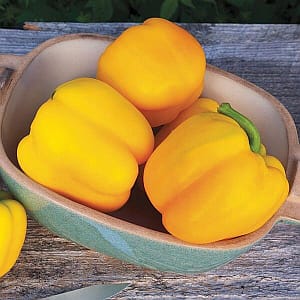
Often called “sweet peppers” to distinguish them from their hot rellies, bell pepper care is so easy, you’ll wonder why you didn’t plant them last year!
I get it; some people just don’t like the taste of bell pepper (Capsicum annuum). Me? I think I could live on them. Plus, they’re easy to preserve. I just slice some and chop some and stick them in the freezer for when I need them.
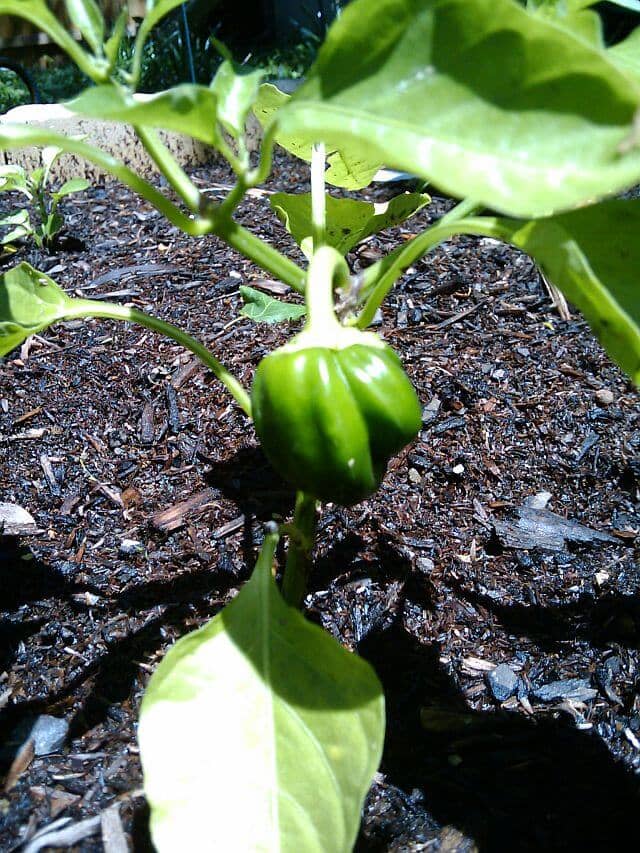
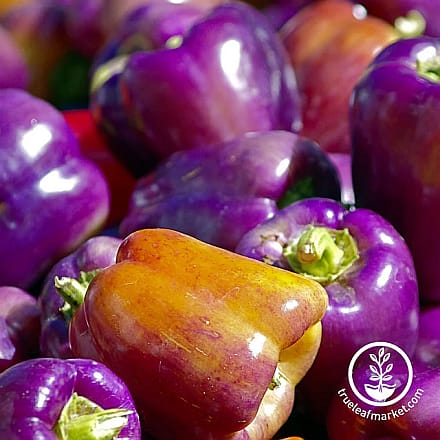
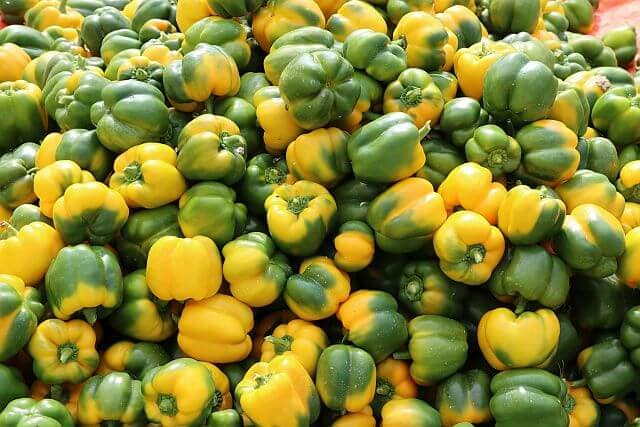
Kids love to watch them grow. They start out green and, if you leave them long enough, they’ll change to yellow, then orange and, finally red.
Ok, enough chit-chat. Let’s get down to basics here.
Understanding the basics
Bell peppers thrive in USDA hardiness zones 9 through 11. They are typically grown as annuals, meaning they complete their life cycle in one growing season.
However, in warmer climates, they can be perennial, meaning that if protected from the cold over winter, they may return again the following spring!
Do bell peppers need full sun or shade?
Bell peppers need full sun to grow their best.
Choose your planting location carefully, ensuring it receives at least 6-8 hours of sunlight daily.
The importance of meeting the plant’s sunlight needs can’t be overstated, as not enough sunlight can lead to poor fruit development and reduced yields.
For those gardening in extremely hot, desert-like conditions, bell peppers can indeed get too much sun.
To prevent sunscald and excessive heat stress, consider providing some afternoon shade. A simple cloth or shade net can work wonders in protecting your plants from the harshest rays of the day.
Planting seedlings in the garden
When planting bell pepper seedlings, wait until the danger of frost has passed and the soil has warmed up. Here’s a step-by-step guide:
- Preparation: Loosen the soil and mix in about 3 to 6 inches of compost or well-rotted manure to get these guys off to a good start. Be sure you mix it with the native soil.
- Spacing: Space your seedlings about 18-24 inches apart in rows that are 24-36 inches apart. This gives them enough room to grow and allows for good air circulation.
- Planting: Dig a hole slightly larger than the root ball of your seedling, place the plant in the hole, and cover with soil. Water thoroughly to help the plant settle in and remove air pockets in the soil.
Planting starter plants in the garden
If you’re using starter plants you bought at the nursery instead of seedlings, the process is similar but with a bit more robustness since these plants are more mature.
Ensure the roots are not root-bound (circling inside the pot). Gently loosen the roots before planting. Key word here? “Gently.”
Bell pepper care: Watering requirements
Bell peppers need consistent moisture but do not like to sit in waterlogged soil.
Water them deeply, allowing the soil to dry slightly between watering. A good rule of thumb is to aim for about 1-2 inches of water per week, more during hot, dry periods. To avoid blossom end rot, water consistently.
Mulching around the plants can help retain moisture and keep the soil temperature stable. Use the thickest layer you can. You’d be surprised how a thick layer of mulch can save a plant’s life during hot summers.
Should bell pepper plants be pruned?
Pruning bell pepper plants is not strictly necessary but can be beneficial. Remove the first set of flowers to encourage the plant to focus on growing strong roots and foliage.
Also, prune any dead leaves or those that are close to the ground to improve air circulation and reduce the risk of disease.
Common bell pepper pests
Bell peppers can fall prey to a variety of pests. Common culprits include:
- Aphids: Small, sap-sucking insects that can cause curling leaves and stunted growth. Squirt these off with water from the hose every other day. It typically takes me about three squirt days to get rid of them.
- Spider mites: Tiny pests that leave fine webs on the plant and cause speckled leaves. For these creeps, use neem oil. Please, please, please read the label before using. This stuff can burn your plants, so pay attention to the manufacturer’s cautions.
- Cutworms: These can sever young seedlings at the base, causing the plant to collapse. Use the bio-insecticide Bacillus thuringiensis, subp. Kurstaki, or Btk.
- Pepper maggots: These pests burrow into the fruit, causing it to rot from the inside. Unfortunately, by the time you know you have an infestation, it may be too late. Prevent these critters by keeping the soil around the plants free of debris.
 Common diseases of bell peppers
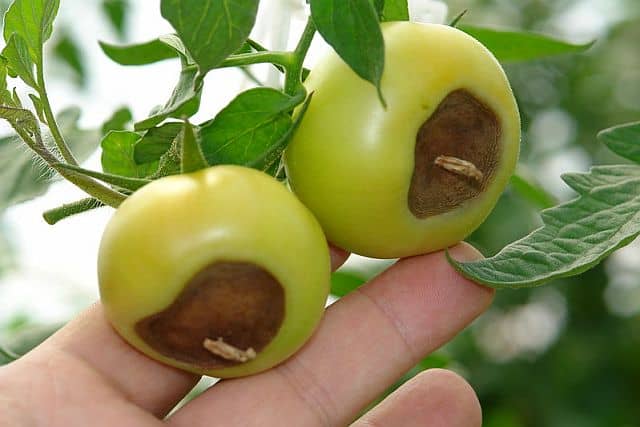
The most common malady of bell peppers is blossom end rot (BER), also a common problem with tomatoes. Although the photo, above, shows the symptoms of BER on tomatoes, it is exactly how it looks on sweet peppers.
BER is not a disease, but a physiological problem wherein the bell pepper plant can’t transfer calcium from the soil to the fruit. It sort of gets stuck in the leaves. There are a number of causes but the most common one is fluctuating soil moisture.
If you have a habit of watering only when you remember or have some other reason to be inconsistent with watering, you may find yourself faced with BER. Other causes include:
- Root injury
- Planting the seed in cold soil
- Excess nitrogen fertilization
- Overly acidic soil
- A calcium deficiency in the soil (this is not a typical cause so please test your soil to ensure that’s the problem)
Get consistent with watering and the chances are good that the next round of fruit won’t have BER. By the way, just slice away the rot and enjoy what’s left of the pepper. It’s perfectly safe to eat.
Bell peppers are susceptible to several diseases as well, including:
- Bacterial spot: Causes dark, water-soaked spots on leaves and fruit
- Powdery mildew: A fungal disease that leaves a white, powdery coating on leaves
- Phytophthora blight: All plant diseases are lousy, but this one is particularly nasty. It “… results in stem cankers, fruit rot, plant collapse, and complete crop loss in rainy weather,” according to Dr. Yonghao Lee with the Department of Plant Pathology and Ecology at the Connecticut Agricultural Experimental Station. Click on the link to see images of symptoms. Then, next season, plant resistant varieties, in a different part of the garden.
Dr. Lee suggests the following:
To minimize disease risk, rotate crops, avoid overhead watering, and ensure good air circulation.
Harvesting Bell Peppers
You’ll know bell peppers are ready to harvest when they reach their full size and desired color. They can be picked green, but allowing them to turn red, yellow, or orange will enhance their sweetness and nutritional value.
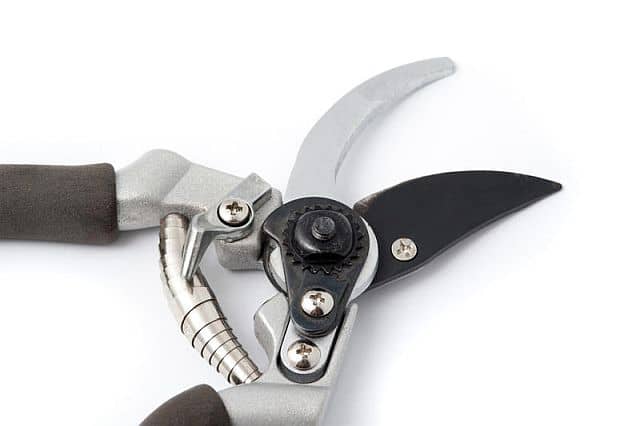
Use a sharp knife or pruners to cut the peppers from the plant, leaving a small portion of the stem attached.
Growing Bell Peppers Indoors
Yes, you can grow bell peppers indoors! Choose a sunny spot with at least 6 hours of direct sunlight or use grow lights. Plant them in pots with good drainage, and ensure they have enough space to develop. Regular watering and fertilizing will keep your indoor peppers thriving.
Growing Bell Peppers in Pots Outdoors
Growing bell peppers in pots is a great option if you lack garden space. Use a container that is at least 5 to 10 gallons with drainage holes.
If you live in an area with particularly hot summers, avoid using a black plastic pot. They just get too dang hot. Go with ceramic or glazed clay with thick walls.
Fill with high-quality potting mix and place the pot in a sunny location. Regular watering and fertilizing with a balanced fertilizer will support their growth.
Whether you’re growing in the ground, in pots outside or indoors, we wish you much success (not to mention a yummy addition to your meals!)