This post may contain affiliate links. As an Amazon Associate we earn from qualifying purchases.
What happens when you root a rose cutting? You get a new rose … FREE!
My daughter has the most beautiful old rose in her front yard. It has pink, highly fragrant double flowers and blooms profusely.
Not exactly a rosarian, she allows her plants to get more than a bit overgrown, so I pruned all of them last fall. This pink one grabbed my heart, though and I decided to root a rose cutting (or two or three).
I’ve no idea what it is. I am leaning toward it being an Austin; which one I’ve no idea, as they are all so similar.
At any rate, I decided to take a cutting. Within two weeks my rose cutting produced foliage.
I don’t know about you, but nothing but a pumpkin has ever sprouted this quickly for me. I have decided that fall is the optimum time for taking rose cuttings and propagating roses –just after the flowers have faded.
What time of year do you take rose cuttings?
There really is no “best” time of year to take rose cuttings. Gardeners have success with them at all growing stages. One of the rose growers we respect the most, Jason at Fraser Valley Rose Farm in British Columbia, says he has the best luck with semi-hardwood cuttings.
These are stems from the current season’s growth that are still green and somewhat pliant but will snap when bended. The best time to take these semi-hardwood cuttings is from the middle of July to early fall. I took mine in September.
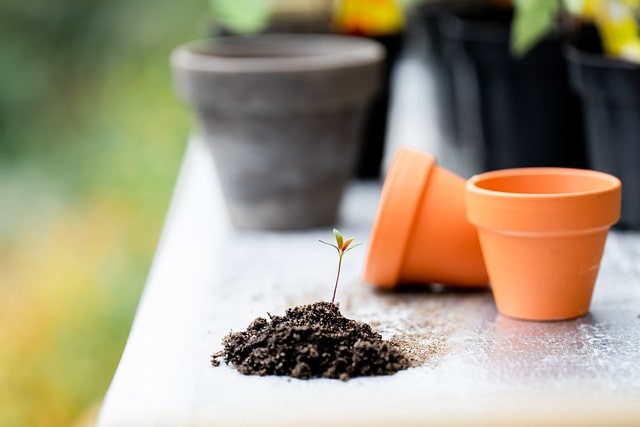 Prepare the Soil to Root a Rose Cutting
It’s best to get this part of the rose propagation process out of the way before taking the cutting. Remember, you want to go from the garden to the propagation container as quickly as possible.
How many cuttings will you be sticking? If it’s only one or two, you may just want to use small planting pots. More than that? Use a tray, such as this one from Bootstrap Farmer. Be sure to also purchase the humidity dome to fit this tray.
Next, choose the type of potting soil you’ll use. It should be fluffy and loose so that it doesn’t hang on to moisture for an overly long period of time. Ensure that the soil doesn’t contain fertilizer. We like a mixture of half potting soil and half perlite.
Fill the propagation container to within an inch of the rim and then set it in a bowl or other container. If you’re using a tray you may need to use the sink or bathtub.
Pour water into the container (not the pot) until it reaches about 2 inches up the side. Allow it to sit until the top of the soil is moist. Keep checking on it and if it has absorbed all the water, yet the top of the soil is dry, add a bit more water.
When the top of the soil is moist, remove the pot and place it in the sink or outdoors to drain.
 Prepare to Take the Rose Cutting
Start by cleaning and sterilizing your pruning shears. Use a damp paper towel to remove any dirt clinging to the blades. If that doesn’t work, soak them in a bowl of warm water for a few minutes to loosen the grime and then use the paper towel again.
Then, sanitize them to avoid transferring any pathogens to the cutting. I sanitize my pruners by wiping them with rubbing alcohol but you can use household disinfectants (such as Lysol) as a soak for about 15 minutes. Rinse them with water and make sure they’re dry before setting to work on the rose bush.
By the way, those pruners are sharp, right? If you crush the stem when making cuts, it will be useless when it comes time to root it. Pick up a sharpener at Amazon.com.
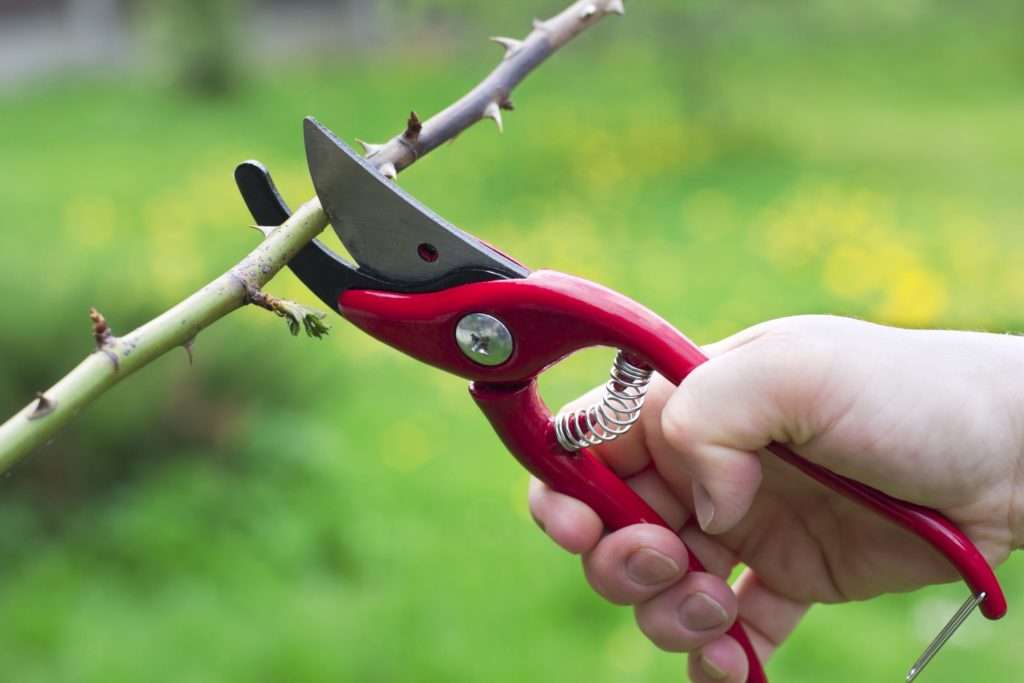
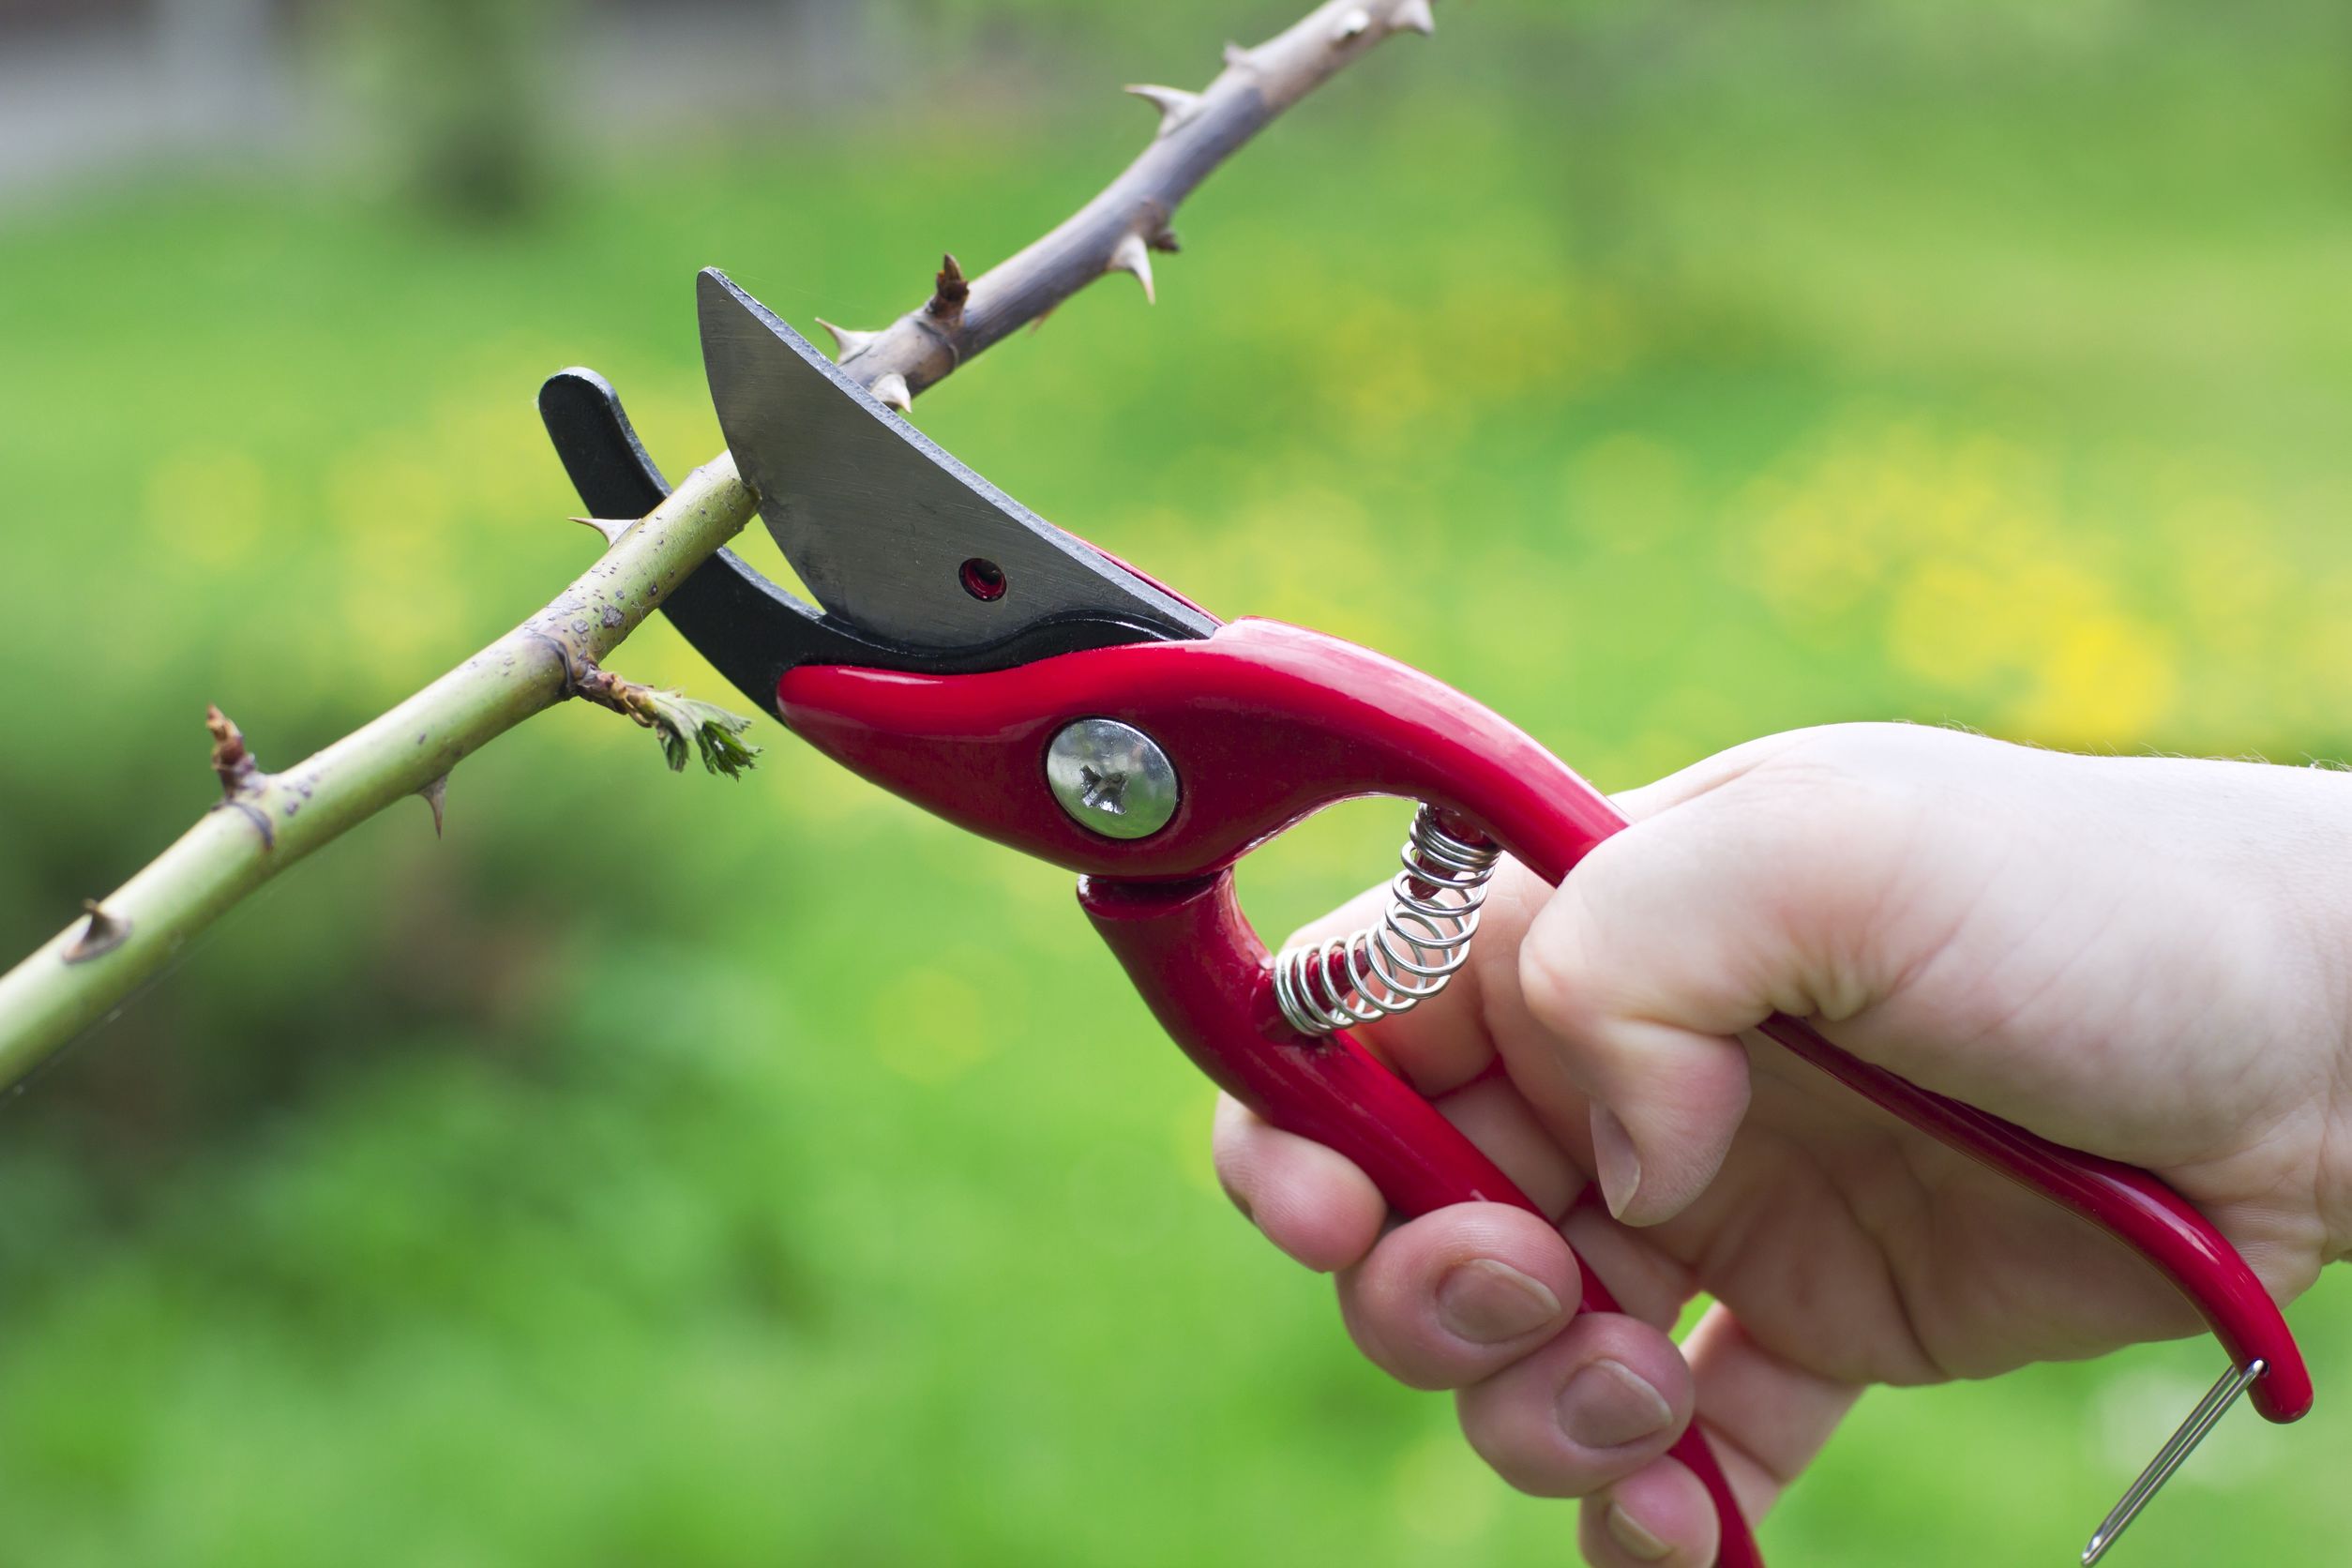
 How to Take a Rose Cutting
Look for a rose stem that has bloomed recently. I chose one that had a dead flower on it
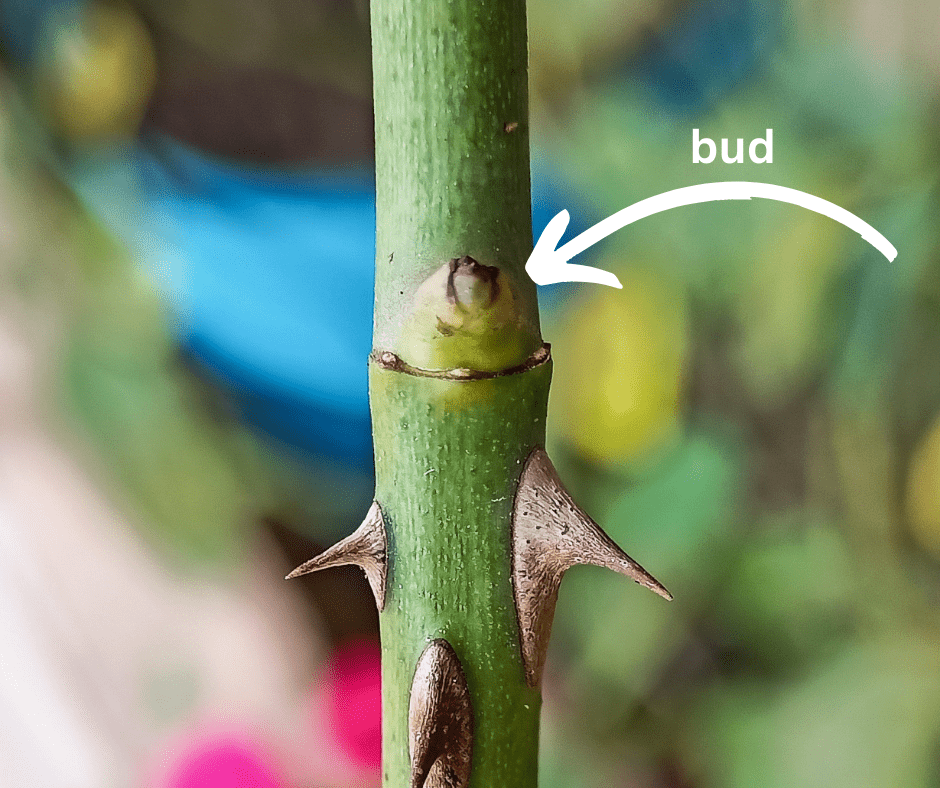
I was mainly interested in seeing that it had a lot of buds along the length of the stem. If you’re new to roses, the buds are those little upside-down “V” shaped structures, sometimes raised bumps, along the stem. See the photo, above.
Being able to identify a bud on a rose cutting is an important aspect of growing roses because you will also use them as a compass, or sorts, when pruning.
Make a diagonal cut just above a bud to remove the tip of the cutting and make your second cut below a node, about 4 to 6 inches down the stem from the first cut. I choose the shorter cutting because they’re easier to cover with a humidity dome.
If you won’t be sticking the rose cutting immediately, place it in a vase of water to keep it hydrated.
Since I live across town from the mother bush I wrapped my cutting in a very wet paper towel and placed it in a plastic bag to keep it moist on the way home. Allowing a rose cutting to dry, even for a short period of time, can ruin your chances of it rooting.
Prepare the Rose Cuttings
When I got home, I removed all the foliage with the exception of one at the top of the rose cutting.
Then I removed all the thorns. I once had a pretty nasty case of Sporotrichosis, also known as “rose gardener’s disease,” from a rose thorn puncture so I never mess around with rose thorns. If they aren’t there, they can’t hurt me, right?
 Root a Rose Cutting

Rooting hormone isn’t an absolute necessity when rooting rose cuttings but many growers will attest to the fact that they have fewer failures when they use it. We agree and we use Hormex #3, available at Amazon.com.
Use a pencil or something similar to create a planting hole in the soil. Wet the bottom of the cutting, including that bottom node or bud and then stick it into a pile of hormone powder. Shake off the excess and stick the hormone end into the planting hole.
You will need to provide humidity for the cutting and there are several ways to accomplish this:
- A zip-lock plastic bag
- A humidity dome
- A 2-litre soda bottle
If you decide to use the plastic bag, place plastic craft sticks or something similar around the edges of the pot. A member of our team uses plastic acrylic craft rods . They come in different heights so they work really well.
The purpose of the sticks or rods is to keep the plastic bag from touching the cutting and possibly causing rot. You’ll need a bag that is tall enough to accommodate the rods or sticks. Open the bag slightly during the day and close it at night.
Humidity domes are handy, especially for shorter cuttings (it’s hard to find domes that are high). We’ve linked to the one we use in the list above.
Check out Larry Hodgson’s tutorial on how to use 2-litre soda bottles as humidity domes.
Final Thoughts
Don’t be in a hurry to check for roots once you have foliage. The cutting produces foliage before roots so that it can carry out photosynthesis.  This will give it the energy to form the roots.
If you look at the photo to the right, courtesy of the Missouri Botanical Garden, you will see that the foliage happens first, then the roots.
I’m no rosarian, but the ease of rooting rose cuttings has renewed my confidence as a propagator. So, if you see me around the neighborhood with my pruners in hand, skulking in the bushes, you’ll know what I’m up to.