This post may contain affiliate links. As an Amazon Associate we earn from qualifying purchases.
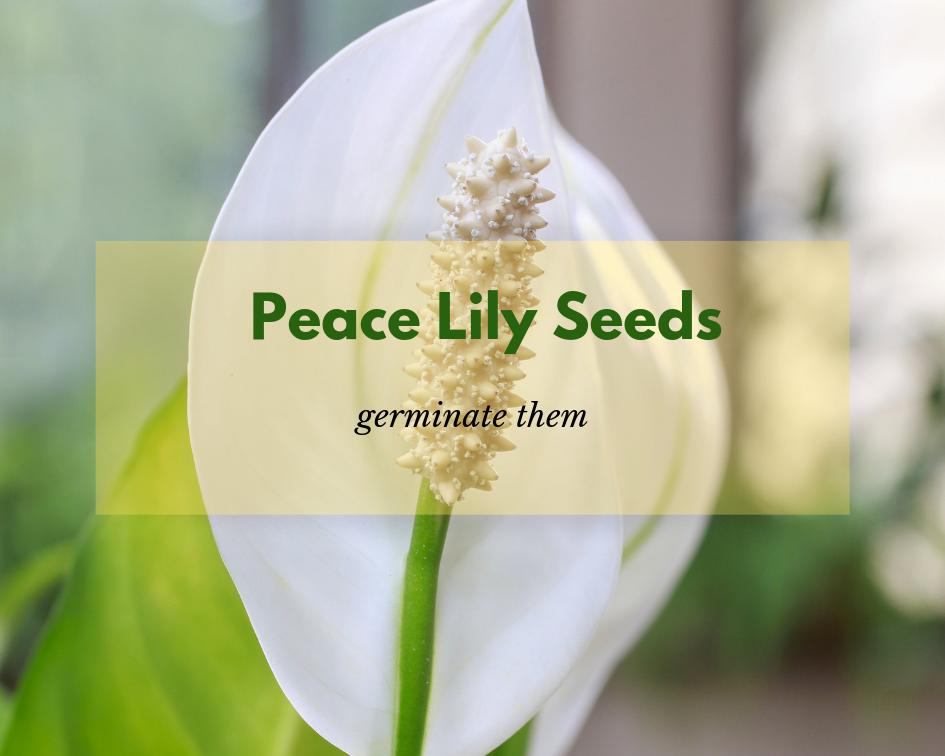
Peace lily seed germination isn’t the best way to propagate a peace lily, but it works (sometimes)
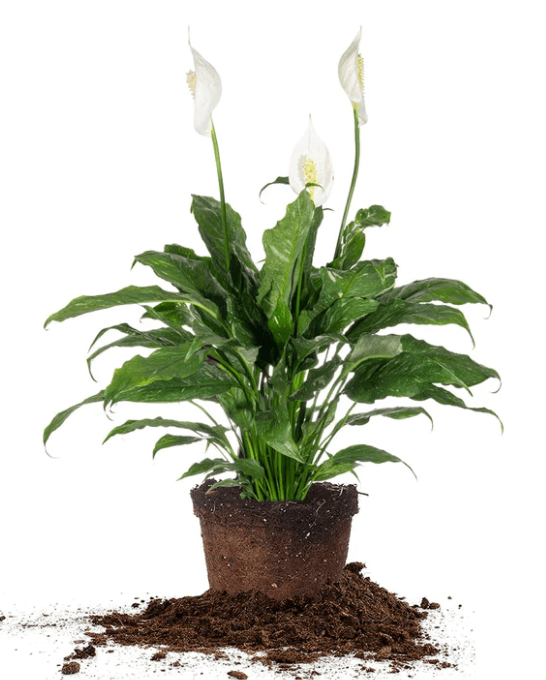
I love my peace lily. It sits in a dark corner and sends me flowers.
I’m constantly amazed at how it flowers without bright sunlight, but it sure does. I’m convinced it’s the warm temperatures inside my home that make it flourish. A friend asked me if it is possible to germinate peace lily seed. She found some online and wants to give it a whirl. Always up for an experiment, we made it a joint project.
One of the things we found out is that, if the germination project is successful, it will take our new peace lily plants years to produce their first flowers. If it’s the flower you’re after, and sooner rather than later, division of an existing peace lily is the way to go.
What you’ll need for peace lily seed germination
- Peace lily seeds
- Planting container
- Planting mix, optional
- Orchid mix, coco coir and vermiculite, optional

About the peace lily
The peace lily isn’t a true lily — in fact, it’s in an entirely different plant family (Araceae as opposed Liliaceae). A tropical plant, it takes surprisingly well to being grown indoors and demands little care. It even wilts to let you know it needs water.
It does cause problems for pets or kids that decide to chew on the leaves. Although it probably won’t kill them, the leaves do contain calcium oxalates which will make them feel as if they’ve just been to the dentist, with numbness around the mouth and tongue and drooling. Learn more about the plant’s toxicity on the ASPCA website.
Of course if you live in a tropical or sub-tropical region you can grow the peace lily outdoors in a shady area. Indoors, stick it in a shady corner and it will still flower for you. Now, just because this is a plant that forgives stuff that most others will keel over and die without, don’t neglect it completely.
Where to get peace lily seeds
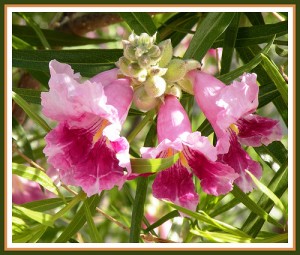
The majority of folks who ask us how to germinate peace lily seeds are planning on taking them from their plant. Many don’t have any idea where the seeds will form and want to know what the “peace lily seed pod” looks like.
The seeds form in the very small structures in the plant’s spadix. Pictures tell some stories so much better, don’t you agree?
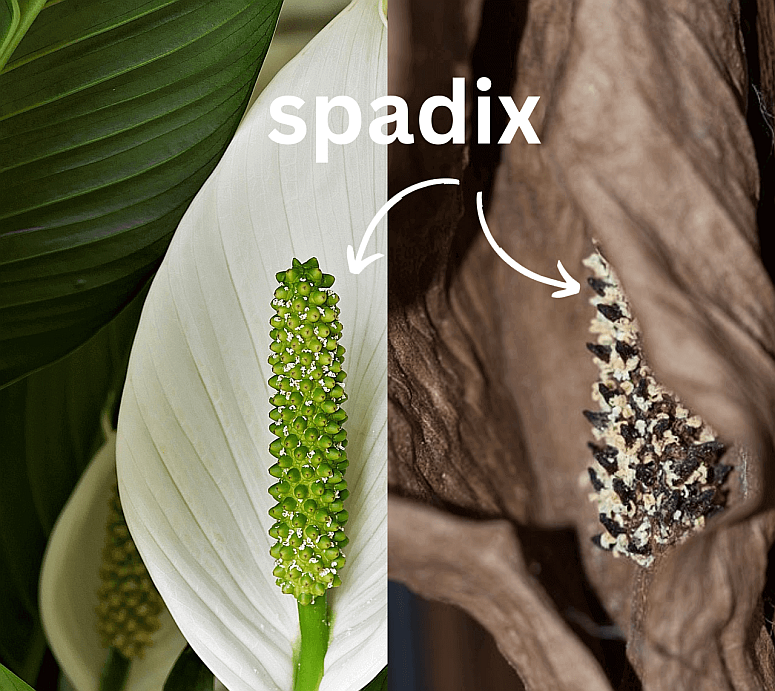
Wait until the spadix is completely dry, like the one in the photo on the right, to remove it from the plant. The easiest way to get at the seeds is to place a sheet of white paper on a table and gently rub your fingers along the spadix. Yes, you’ll also remove a lot of chaff. When finished with the spadix, remove as much chaff as possible before planting. A little bit won’t hurt though.
The best potting mix for peace lilies
All seeds are subject to a disease known as damping off, caused by a number of soil-borne pathogens. Damping off causes the seed to rot or attacks the seedling at the soil or crown. One way to avoid damping off is to not use a potting mix containing soil when germinating seeds.
Nurseries carry germination potting mixes that don’t contain soil, but are composed of peat moss, sand, perlite and other non-soil materials.
For the peace lily, I made my own mix by combining orchid mix, coco coir and vermiculite. One study I read suggested perlite and peat moss but I prefer vermiculite because it seems to hold moisture better. And coco coir is far preferable to peat moss as it holds water better and it doesn’t compact. It also doesn’t attract fungus gnats like peat does. Then there’s the whole sustainability issue.
Mix all the ingredients well in a large nursery pot and then pour water over it. Stir as you moisten the mix so that all the ingredients are wet and thoroughly combined with the other ingredients.
Plant the peace lily seeds
Set the peace lily seeds on top of the mixture and then sprinkle a light layer of vermiculite over them. Don’t bury them, but lightly cover. Use your fingers to lightly press the soil over the seed to ensure seed-to-soil contact. Spray the vermiculite layer with water until it’s moist.
Cover the pot with a piece of glass or plastic wrap and give it bright, but filtered sunlight. If you’re using grow lights, put them 6 inches above the pot and leave them on for 10 to 12 hours per day.
The cover on the container should act as a mini-greenhouse, keeping the soil moist but it’s always a good idea to check the planting mix every few days to make sure. You want it to remain about as moist as a well-wrung sponge.
If you do a lot of propagation, consider picking up a humidity dome. Bootstrap Farmer carries a variety of them. I recently purchased some to go over my seeding flats.
If you do need to water, avoid disturbing the seed by bottom-watering. Place the container in a larger container filled with enough water to come about half-way up the sides of the smaller container. Allow the germination container to sit in the water until the surface of the soil is damp.
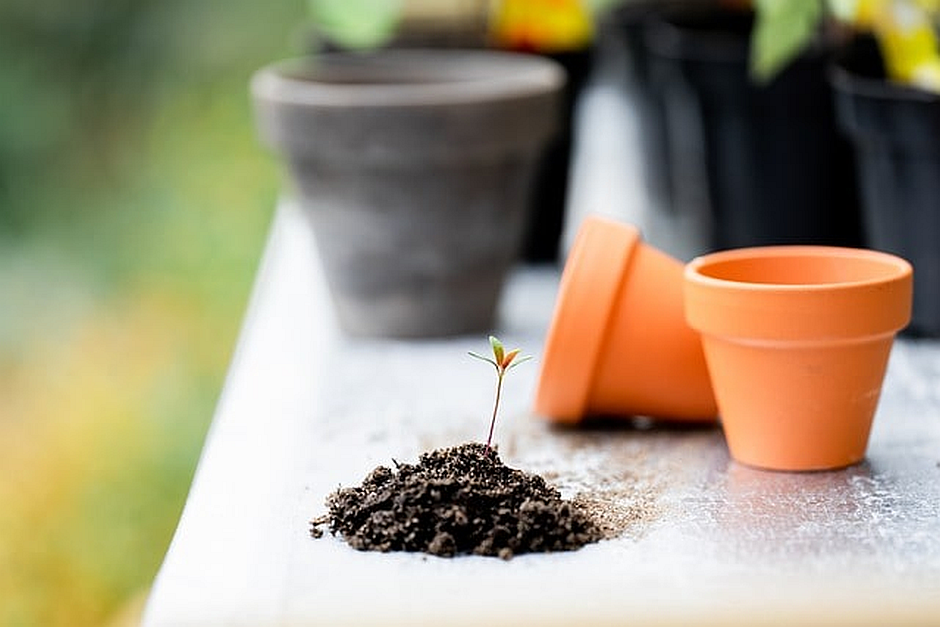
If all goes well, you’ll have peace lily seedlings within 10 days. But. . .it may take significantly longer. Sadly, they may not germinate at all. Which is why commercial growers don’t generally grow peace lily from seed.
Care of your peace lily
The peace lily typically blooms in spring so give it a shot of organic fertilizer to help it along. Dr. Bloom makes a decent one. Dilute the fertilizer to half strength and fertilize once a month throughout spring and summer.
I mentioned the infamous peace lily “droop” earlier. Once you see it a few times you’ll get a feel for how often the plant needs to be watered. When you do water, use chlorine-free water and drench the soil until the pot feels noticeably heavier and the excess water is draining from the bottom.
If you feel like you’re watering more often than you used to, check the bottom of the pot. If you see roots, it’s time to repot. This is a great time to divide the plant as well, giving you brand new peace lilies to share with your friends. As you gently brush the soil away from the plant’s roots you’ll see lots of places where you can separate smaller peace lilies. Pot them up immediately so the roots don’t dry out.
If you’d like a tutorial on how to divide peace lilies, let us know in the comments section.
Learn How to Deal with Peace Lily Fungus
Featured Photo Courtesy: RuffLife/Flickr.com


Hi, I just had to say what a great article about the Peace Lilly The way the explanation was covered was so simple and down to earth (sorry, no pun was intended), I felt comfortable actually growing my Peace Lilly from seed after the parent plant became very unwell and I tried for months to recover her.
It was simply amazing how she kept going and fought to stay alive but once we was down to one leaf and nothing more was happening, I could see her unhappiness in changes of colour and her mood even improved for a while. I was simply not good enough to provide the right intensive care on this occasion.
But I’m glad I kept some seed in my refrigerator. I’ll have to find how to treat it now so it becomes eager to germinate. This is the first time ever, that I’m likely to have a go at this, and thanks to this article giving me so much confidence in a simply non-fussy way.
You’re welcome, Richard. We’re happy you’re able to save some of your beloved peace lily!
Thank you for your instructions I’m going to have a go germinating seeds from my much loved plant.