This post may contain affiliate links. As an Amazon Associate we earn from qualifying purchases.
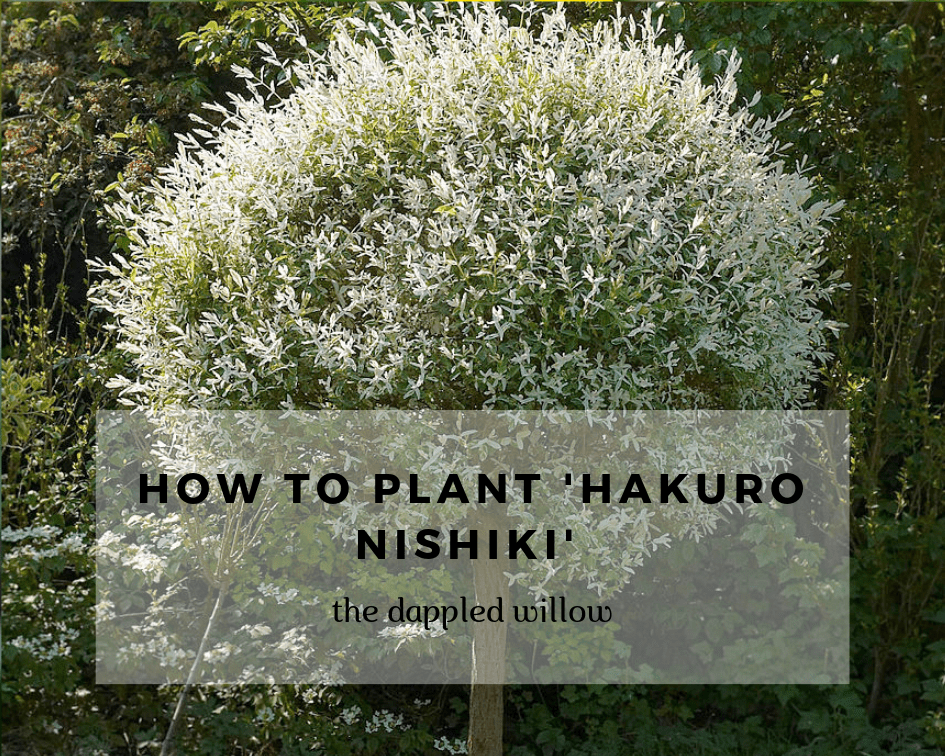
Salix integra ‘Hakuro Nishiki.’ That’s quite a mouthful, and it doesn’t even begin to describe this one’s beauty.
Hakuro Nishiki is a deciduous flowering shrub that thrives in full sun or partial shade and moist soil. Sometimes called the dappled willow, it is also available in tree form. You’ll find both forms for sale at Nature Hills Nursery online.
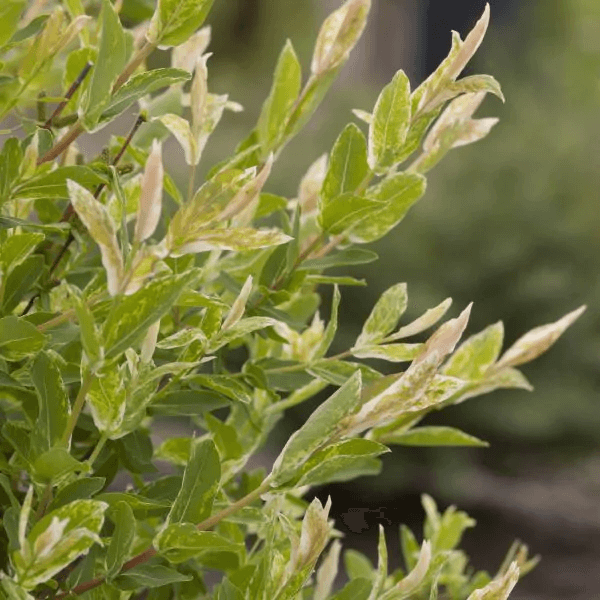
This plant is loved for its colorful foliage that turns from pink in the spring to white and green in the summer and then yellow in the fall. After the leaves fall the stems turn red. When planning where to plant Hakuro Nishiki, keep in mind that, when mature, its width can range from 4 feet to 10 feet.
 Prepare the soil for the Hakuro Nishiki
It’s always a good idea, after weeding, to break up and loosen the soil before planting anything. Roots, rocks and other debris should be removed and any clods of soil larger than your fist should be smashed with the spade or shovel.
Although it isn’t absolutely necessary, and the practice is being debated, you can add 2 inches of compost to the soil and mix it in to a depth of 5 inches. This will give the Hakuro Nishiki a jump start after planting
The Planting Hole
Take a look at the container in which the plant is growing and dig the planting hole 2 inches wider and the same depth. Firm the soil at the bottom of the hole but drag the tines of a gardening fork over the inside walls to give the plant’s roots a head start penetrating the soil.
Planting the Salix integra
Loosen the outside of the rootball with your fingers. Don’t man-handle it — lightly work some roots loose.
Place the Hakuro Nishiki’s roots in the prepared hole, spreading them outward. The base of the plant, where the roots begin to flare, should be level with the surrounding soil.
Fill the hole halfway with soil and then run water into the hole until it’s full. As the water drains, it will settle the soil around the roots, removing air pockets. Finish filling the hole with soil and add a 1-inch layer of mulch to the soil, 6 inches from the base of the plant and spread completely around it.
Water the plant well.