This post may contain affiliate links. As an Amazon Associate we earn from qualifying purchases.
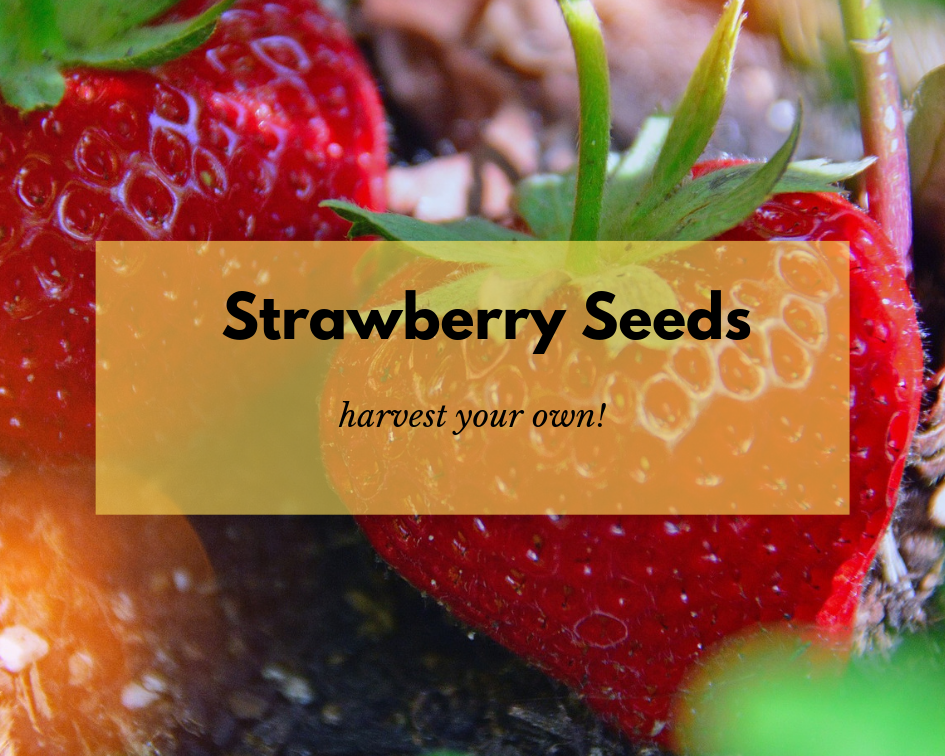
Think it’s impossible to get the seeds out of a strawberry? Think again!
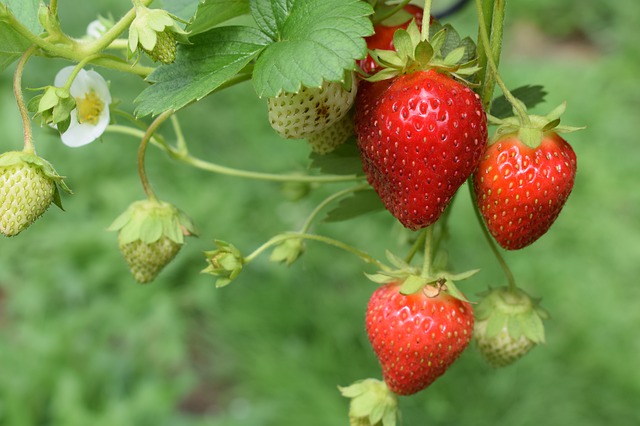
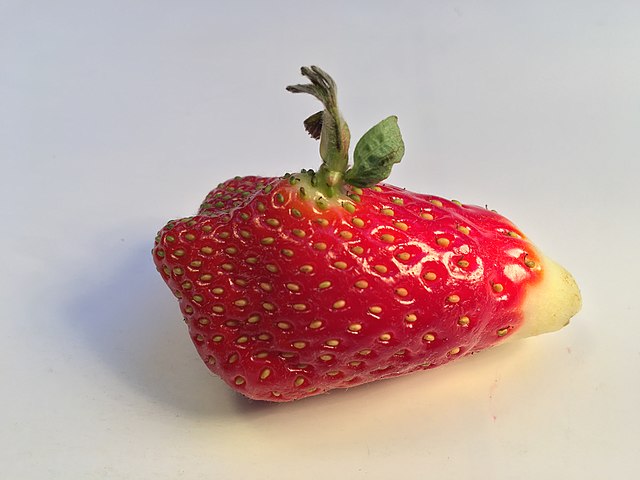
Strawberries, which aren’t true berries, by the way, wear their seeds on their sleeves. Although I’ve never counted them, someone has and determined that the outside of a strawberry contains over 200 seeds and each one of these seeds represents a potential strawberry plant.
“Surprisingly, eggplants, tomatoes and avocados are botanically classified as berries,” suggests Lynn Parrucci and Amy Eubanks of the Carnegie Museums of Pittsburg.
“And the popular strawberry is not a berry at all. Botanists call the strawberry a ‘false fruit,’ a pseudocarp. A strawberry is actually a multiple fruit which consists of many tiny individual fruits embedded in a fleshy receptacle,” they continue.
Here’s the truly fascinating part about strawberries. Those specks that we consider seeds? “They are the true fruits, called achenes, and each of them surrounds a tiny seed,” Parrucci and Eubanks conclude.
Now, how to get the seeds out of those ‘true fruits’ and into the garden? It’s not as difficult as you may think. Just follow these easy steps.
Tools you’ll need to get the seeds out of a strawberry
- Blender
- Fine sieve or cheesecloth and strainer
- Bowls
- Hydrogen peroxide
- Seed starting trays
- Cactus mix
- Spray bottle filled with water
- Plastic wrap
- 6-inch planting pots
- Soil pH testing meter
- 5-10-10 or similar fertilizer
Take these steps to remove the seeds from a strawberry
1. Check the soil’s pH about 6 months before planting and if it’s not between 6.0 and 6.3, you’ll need to amend it to bring the pH into the appropriate range for strawberries. Your soil testing kit should list what to use and in what amount to raise or lower the soil’s ph.
Find a link to an inexpensive meter for sale in the tools list, above.
2. Use fully ripe strawberries — the ones that are far too ripe and mushy to eat.
3. Place the strawberries in the blender and blend on the lowest speed for 10 seconds. Allow the ground strawberries to sit until they have settled. Bad seeds will float to the top, so scoop those out and get rid of them.
4. Pour the remainder of the mixture into a fine sieve, set over a bowl, and allow it to drip through, leaving the seeds in its wake. If you don’t have a sieve, line a strainer with four or five layers of cheesecloth and set the strainer over a bowl. This may take some time, so there’s no need to hover. Check on the process now and then to find out if the pulp has finished straining.
5. Soak the strawberry seeds in a bowl of hydrogen peroxide for about 30 minutes. It is important to remove all of the pulp from the seeds. Since they are so tiny, however, this isn’t always possible, so the peroxide will hopefully keep the fungus away. After soaking, place them on a paper towel to fully dry.
6. While the seeds are soaking, fill the cells of your seeding tray with cactus mix and water each cell until the mix is completely saturated. Set the tray aside to drain completely.
Get those strawberry seeds planted
Place the strawberry seeds on top of the cactus mix. You can plant up to three or four seeds per cell. Sprinkle a shallow layer of the planting mix over the top of the seeds and squirt the layer with water. Cover the planting container with plastic wrap and leave it in a greenhouse or room that remains no warmer than 75 degrees.
They should receive indirect sun and consistent moisture. Although the plastic wrap should keep the soil moist, check it periodically and if it’s drying out, spray the soil with water.
Post-germination care of the strawberry seedlings
Remove the plastic wrap when the seeds sprout — which may take as long as one month — and keep them moist and in indirect sun. Transplant the seedlings into their own pots when they are large enough to handle (typically when they have their second set of real leaves) as they will need to be grown on until fall, when you can set them in the garden.
Amend the garden soil with 2 pounds of 5‐10‐10 fertilizer for each 100 square feet of planting bed, two weeks before planting. In six weeks, fertilize the plants with one pound of the same fertilizer per 100 square feet.
The safest way to do this (to avoid burning the strawberry plants’ roots) is by side-dressing.
This method of fertilizing requires that you dig a trench, about 8 inches from the row of strawberry plants, and about 2 to 3 inches deep. Spread the fertilizer along the length of the bottom of the trench, fill the trench with soil and water to a depth of 6 inches.
Repeat this procedure again in August.