This post may contain affiliate links. As an Amazon Associate we earn from qualifying purchases.
Growing cabbage in winter is so easy and seeds can be started indoors.
At what temperature does cabbage stop growing?
The most important thing to remember is to set your transplants into the garden when the sunlight remains consistently below 10 hours per day. After this, plant growth begins to slow down and many just stop growing.
This period of fewer than 10 hours of sunlight per day is known as the “… ‘Persephone Period,’ referencing the daughter of Demeter, Goddess of the Harvest in Greek mythology,” according to Minda Daughtry at the North Carolina Cooperative Extension.
If you hope to overwinter your cabbage crop, the plants should be “… at least 75% mature when the Persephone Period begins. If you’ll be harvesting this winter, ensure the cabbage is fully mature when the Persephone Period begins.
Thankfully, the US Naval Observatory can show you exactly when the Persephone Period begins in your area each year. Enter the date of the table you want (by year), whether you want hours of daylight or darkness, your city and your state into their calculator. In return you’ll receive a table that lists the hours of daylight for each day of each month in that year. It’s genius.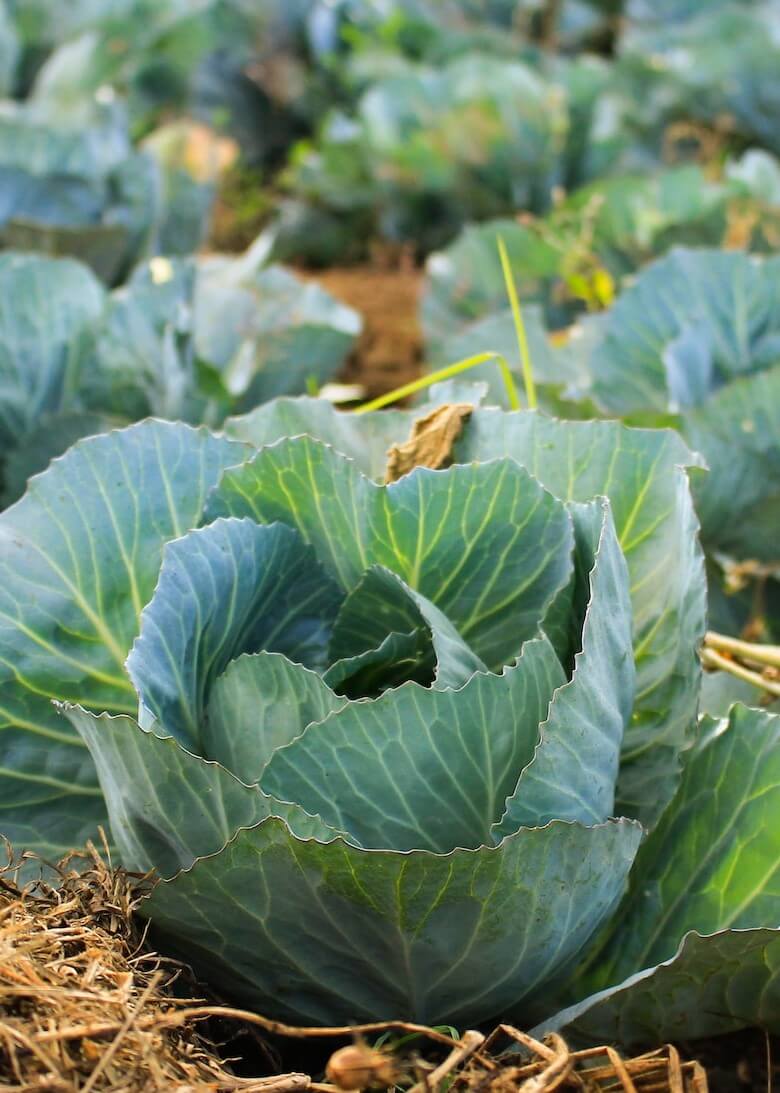
How late in the year can you plant cabbage?
Now we need to crunch some numbers to figure out when to sow our cabbage seeds. I’m horrid at math, so I let Google figure out this kind of stuff, but here’s what Daughtry suggests:
“If you are growing from seed, you will need to check the maturity date [I believe she is referring to “days” not “date] on the packet, pull out your calendar and start backtracking to 75% of the maturity date to determine when to sow the seeds [for overwintered cabbage] If you are planting transplants, you will need to estimate how old the transplant is based on its size and species.”
Do the same type of calculation if you want to harvest in winter, using 100%.
Shall we try it?
Here is what I know:
- My Persephone Period begins on November 26 this year.
- I will be growing Copenhagen Market Cabbage. The seed packet says this variety will take from 65 to 80 days to maturity.
- I don’t want to overwinter, I want to harvest in the winter.
I need to get my seeds started 80 days before November 26 to ensure the plants are 100% mature before daylight begins dwindling to the point where growth slows down or stops.
The latest I can safely plant my cabbage seeds is September 7. I do plan on hedging my bets, though and will start them at least a two weeks sooner, indoors.
How do you sow cabbage seeds for the winter?
As a general rule of thumb, start cabbage seeds indoors. When determining the best planting time, keep in mind that “Temperatures consistently below 50°F or above 75°F may cause bolting,” according to the experts at Botanical Interests. Bolting, for the new gardener, bolting describes an edible crop plant going to seed before we can harvest it. To be safe, choose cabbage varieties with short days to maturity for setting out in spring.
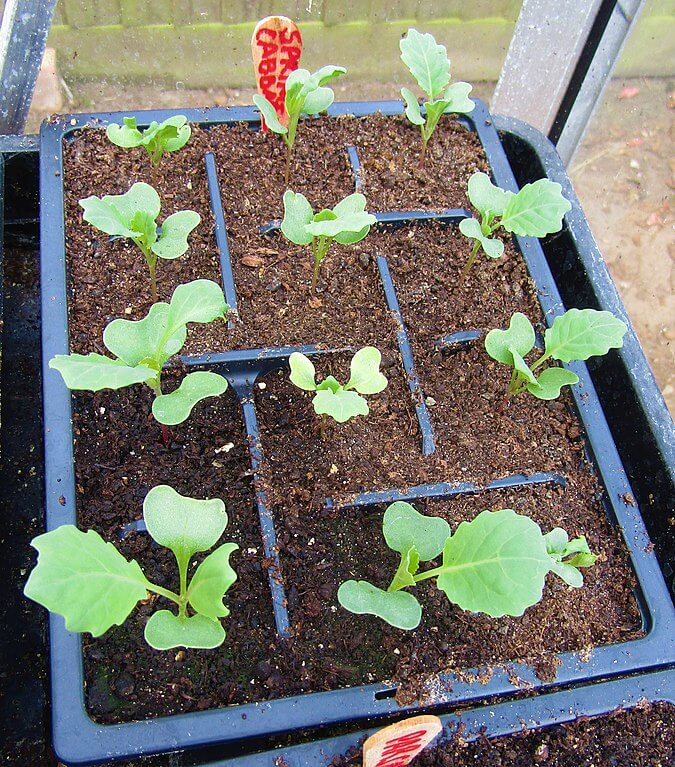
Plant the cabbage seeds 1/4 inch deep and 2 inches apart, in a soilless potting mix (Hoffman makes an excellent product and it’s sold at Amazon.com.) Place the germination container in a spot indoors that receives lots of sunshine, or under lights.
We built our own light setup with lights from Bootstrap Farmer.
Keep the cabbage seed’s soil moist, but not soggy.
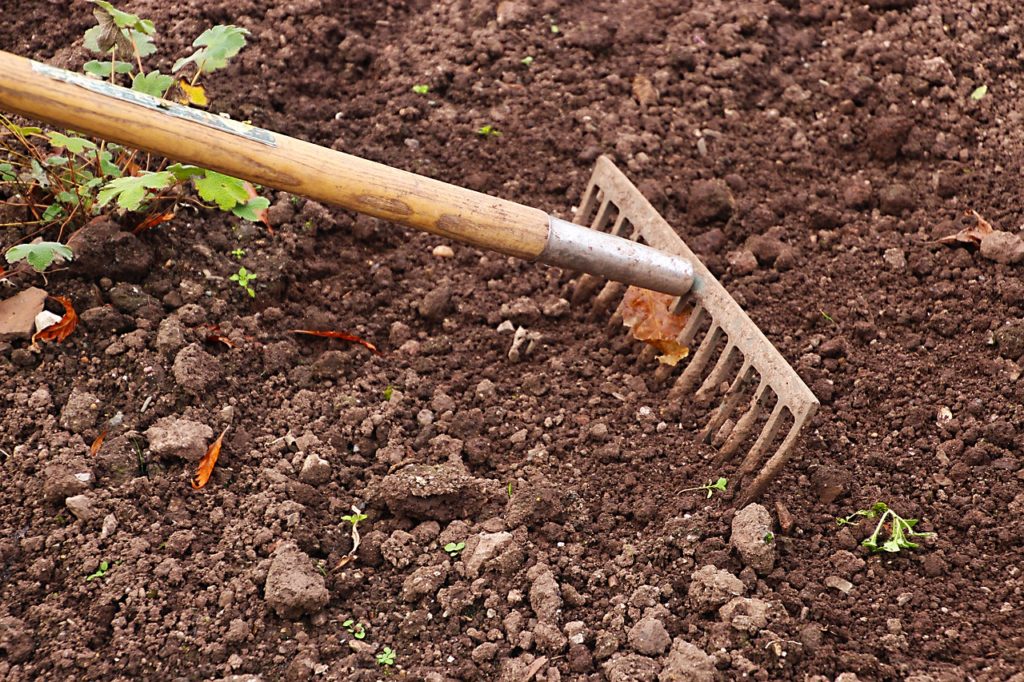
Get the garden bed ready for growing cabbage
Choose a planting spot where you haven’t grown cabbage, turnips, broccoli, rutabaga or Brussels sprouts for the last fours years, advise the experts at the University of Minnesota Extension.
This is known as “crop rotation” and it important even in the home garden. “Crop rotation helps return nutrients to the soil without synthetic inputs. The practice also works to interrupt pest and disease cycles, improve soil health by increasing biomass from different crops’ root structures, and increase biodiversity,” explain the experts at Rodale Institute.
Brassicas, such as cabbage, broccoli, rutabaga, cauliflower, turnip and others, are heavy feeders. The amount of nitrogen and potassium they absorb can deplete and damage the soil if planted repeatedly in the same plot.
So, choose a planting spot in which no brassicas were grown for at least three years.
Cabbage needs a soil pH of 6.5 to 6.8 so either test the soil yourself (there’s a nifty soil tester available at Amazon.com) or have the county extension office conduct a test for you. Get recommendations on what to use to amend the soil to bring it to the correct pH.
After you’ve dug up the garden bed, add 3 inches of composted manure and the amendments suggested by the soil analysis. Mix them into the top 6 inches of soil and rake the bed until it’s smooth.
Transplant the cabbage seedlings
Although most experts recommend that cabbage seeds be directly sown when grown in the winter, in some regions, especially the desert southwest, it’s just not always possible. These areas often transition from scorching hot to very, very cold in a short period of time.
If you plant your seeds indoors, transplant cabbage seedlings outdoors 2 to 3 weeks before the date you’ve calculated using the Persephone Period as a guideline.
You’ll need to harden-off the seedlings first so plan on placing them in a shady area, protected from wind, for one week before planting.
When you plant the cabbage starts, they should be set deep enough so that half the stem is buried. Space them 12 to 24 inches apart, unless you are growing the O-S Cross hybrid. Those giants need a minimum of 36 inches of space between them.
Make sure your cabbage plants get an inch to an inch and a half of water a week, either from rain or manual irrigation.
Three weeks after transplanting the cabbage seedlings, give them their first dose of fertilizer. Pick up some balanced fertilizer. Lily Miller makes a 10-10-10 all-purpose fertilizer that’s ideal for cabbage and you can find it here. You’ll need to apply 3 cups per 100 feet of row of cabbage plants.
Side-dress the plants by digging a trench along the length of the row, but 6 inches away from it. Sprinkle the fertilizer evenly along the length of the trench, cover it with soil and then water.
Then, 3 weeks later, apply a nitrogen fertilizer (such as ammonium sulfate, available at Amazon.) Nitrogen is vitally important to your cabbage crop, so don’t neglect this aspect of growing cabbage.
Be on the lookout for these cabbage pests
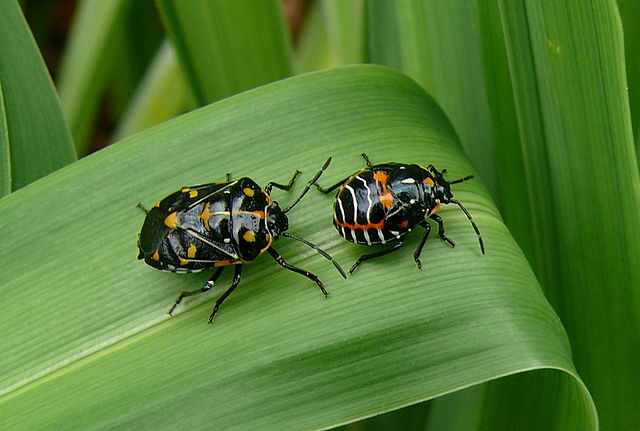
The harlequin cabbage bug ( Murgantia histrionica) is a type of stink bug that sucks the sap out of cabbage plants and a large infestation can destroy a crop.
Harlequins are most common in the southern United States. Look for their black and white eggs on the undersides of leaves. Nymphs (the bug on the right in the above photo) have predominantly black bodies with orange markings while adults have fewer white markings and a lighter, almost yellow shade of orange.
While there are insecticides that will control harlequins, many gardeners prefer to use organic means to control pests on vegetable crops. This is accomplished by picking off adult bugs from the plants and dropping them into a bucket containing 1 gallon of water and 2 teaspoons of liquid dish detergent.
Check the backsides of leaves for eggs and scrape them into the same bucket.
If it’s a particularly large infestation, spray the bugs with insecticidal soap containing pyrethrin, a natural product. Make sure you cover the entire bug with the spray and repeat the application as indicated on the product’s label. Safer Brand makes a quality pyrethrin spray and it’s available at Amazon.com.
Learn more about the harlequin cabbage bug and view additional photos on the University of Florida’s website.

Cabbage Root Fly
The cabbage root fly (Delia radicum brassicae) is an insect that looks very much like the typical housefly. It’s as benign as the housefly as well.
It is the fly’s larvae, or maggot, that does all the damage to cabbage, turnip, radish and other brassica crops. These tiny creatures eat their way through the vegetable’s root system, killing seedlings and transplants
Female cabbage flies lay their eggs near the vegetable plants’ stems. Your winter cabbage crop will most likely avoid an infestation because the eggs hatch in the spring so they essentially impact overwintered cabbage plants or those planted in early spring.
Maggots then enter the pupa stage and emerge a week later as adult cabbage root flies that typically lay eggs six to seven days after emergence. The cycle continues throughout the growing season with three to four generations until the weather heats up. The cycle may begin again in fall when temperatures drop and the final pupae overwinter in the soil.
The first symptom you may notice is a wilted plant — a symptom that mimics nutrient deficiencies. If not stopped, the infestation leads to the death of the young cabbage. Older plants are better able to tolerate light infestations.
Pest management specialists at UMass Amherst suggest using a nasty insecticide soil drench to fight the cabbage root fly’s maggots. The best way to control the pest is to prevent it from getting to your cabbage plants.
Cut a waxed, cardboard milk carton into 2-inch squares. Cut from one edge to the center and use this opening to slide the square around the brassica’s stem. Pat the cardboard onto the soil. This prevents the cabbage fly maggot from laying its eggs on the soil at the base of the plant.
Till the soil in fall to bring the pupae to the surface. This exposes them to birds and other predators and, while it may not cure an infestation, it helps to cut down on the number of maggots.
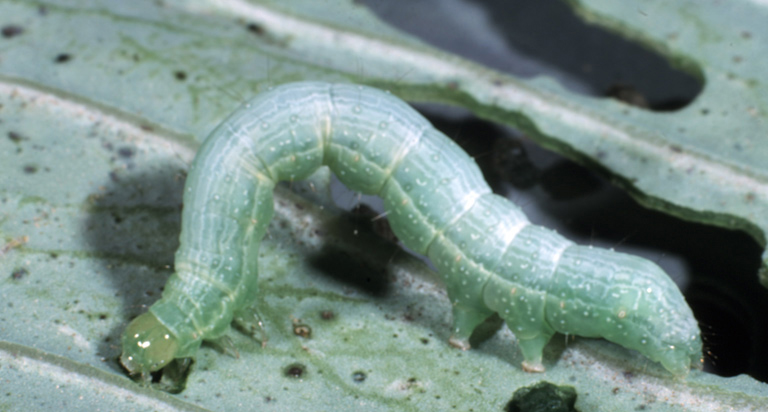
Cabbage Looper
Learn all about this voracious cabbage crop-destroying pest right here on Gardenologist.org.
Mention of a fertilizer or pesticide, or use of a pesticide or fertilizer label, is for educational purposes only. Always follow the product’s label directions attached to the container you are using. Be sure that the plant you wish to treat is listed on the label of the pesticide you intend to use. And observe the number of days between pesticide application and when you can harvest your crop.